Introduction
This documentation outlines the basics of Taguchi® V4 including email creation, subscriber management and post-broadcast reporting.
About Taguchi
Taguchi® is a world-class, enterprise-level digital marketing platform. It integrates with a range of existing data sources. It has powerful analytics, sophisticated automation, and patented optimisation technology.
But what sets Taguchi® even further apart is its ability to accurately predict your short and long-term ROI. Understanding the lifetime value of your database enables you to plan and implement your marketing strategies with more confidence than ever before.
For marketers, retailers and publishers, Taguchi® is much more than a one-to-one communications tool. It’s a window to the future.
Support
If you require further assistance with Taguchi® V4, please visit our support portal. Alternatively you can raise a support ticket with our Australian based support team, Monday to Friday, 9am – 5:30pm AEST.


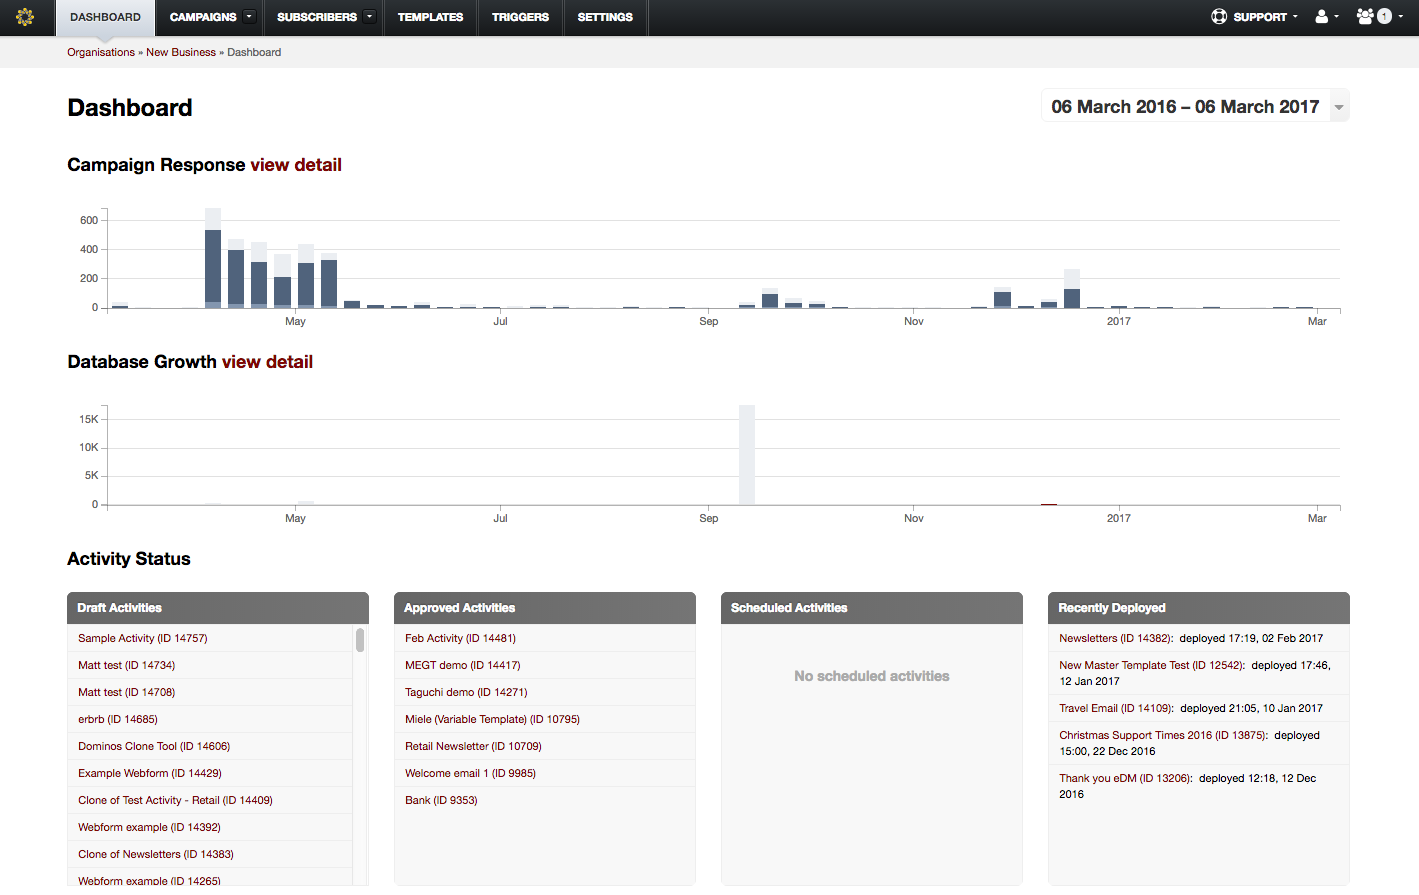 The dashboard contains an overview of your organisation within Taguchi.
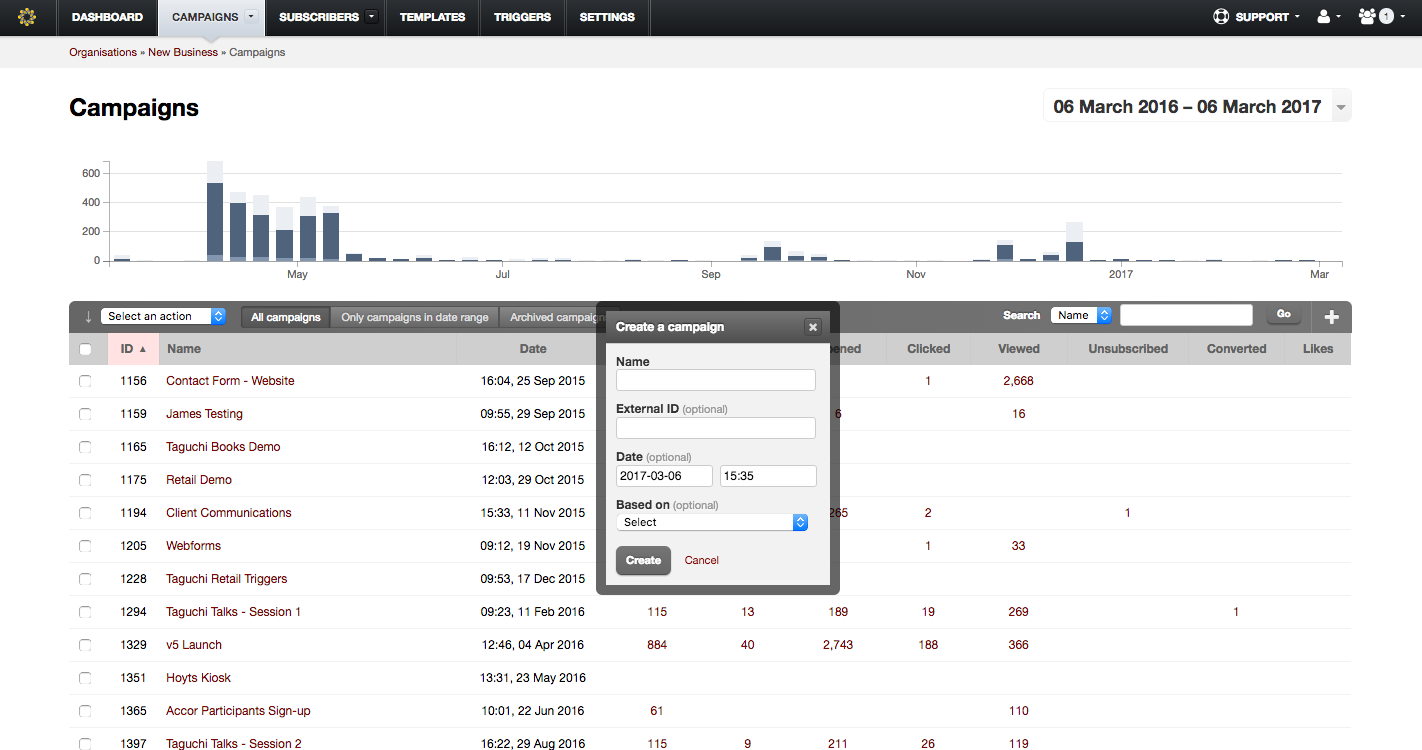 The light box form when clicking the '+' button in the top right corner of the campaign table to create a new campaign.
 The 'Edit Campaign Details' link.
 Select 'Clone...'
 The light box form when clicking the '+' button in the top right corner of the campaign table to create a new activity.
 The content of the Activity detail view changes depending on the current state of the activity.
 Select 'Clone...' from the dropdown
 A light box appears showing all available templates to select from.
 Easily change the subject line using the Subject cells.

 Select a block to add to the template from the dropdown box in the top right corner of the 'Content' channel.
 Select a block to add to the template from the dropdown box in the top right corner of the 'Content' channel.
 Click the 'Select...' button and launch the file browser to select an image to upload.
 Highlight a word or words in the textarea, click the 'link' icon in the WYSIWYG editor and fill in the information required.
 Highlight a word or words in the textarea, click the 'link' icon in the WYSIWYG editor and fill in the information required.


 Click 'Add a new proof list' to launch the light box modal.
 Click 'Add a new approval list' to launch the light box modal.
 Click 'Add a new notification list' to launch the light box modal.
 Click 'Add user', fill in all applicable details and select a user class.
 This diagram can be found under the 'Users' tab in Settings.
 Fill in your social media details and click 'Save'.