- Support Home
- Knowledge Base
- Integrations
- Email Extract Integration
Related articles
Need some help?
If you have questions or can't find what you're looking for, we're here for you.
Taguchi Support is available Monday to Friday, 9am - 5:30pm AEDT.
Create New TicketTaguchi Certified Training
Join our free and live online training sessions. You'll benefit from a better understanding of the platform's features and functionality. Learn from the experts, it's a great place to start!
View CoursesAPI Version 4
Did you know Taguchi has an API that supports all of the functionality provided by the admin interface and more?
Explore API Documentation
Thanks for your feedback!
Email Extract Integration
Integrations is not available for Taguchi V4 and is only available in V5.
Please contact Support if you don't know which version of Taguchi you are using.
Taguchi has an API integration which creates a seamless and automated connection between your email marketing database in Taguchi, and your organisation.
This integration means you don't need to manually handle your subscriber data externally between Taguchi and your organisation to achieve the above, reducing the risk of data security issues and not to mention effort.
Email Extract
Our simple, self-serve integration tool offers a smart and secure way to receive emailed extracts; without the risk and inefficiencies of manually handling customer data.
Credentials
There is one credential that you would need to set up for this integration which is the ZIP credential. Here is more information on the credential that you need to setup.
Create Your Email Extract Integration
New Integration
To create a new integration, ensure that you have the required User Type integration role privileges assigned to you. The 'integration' page is under Settings > Integrations.
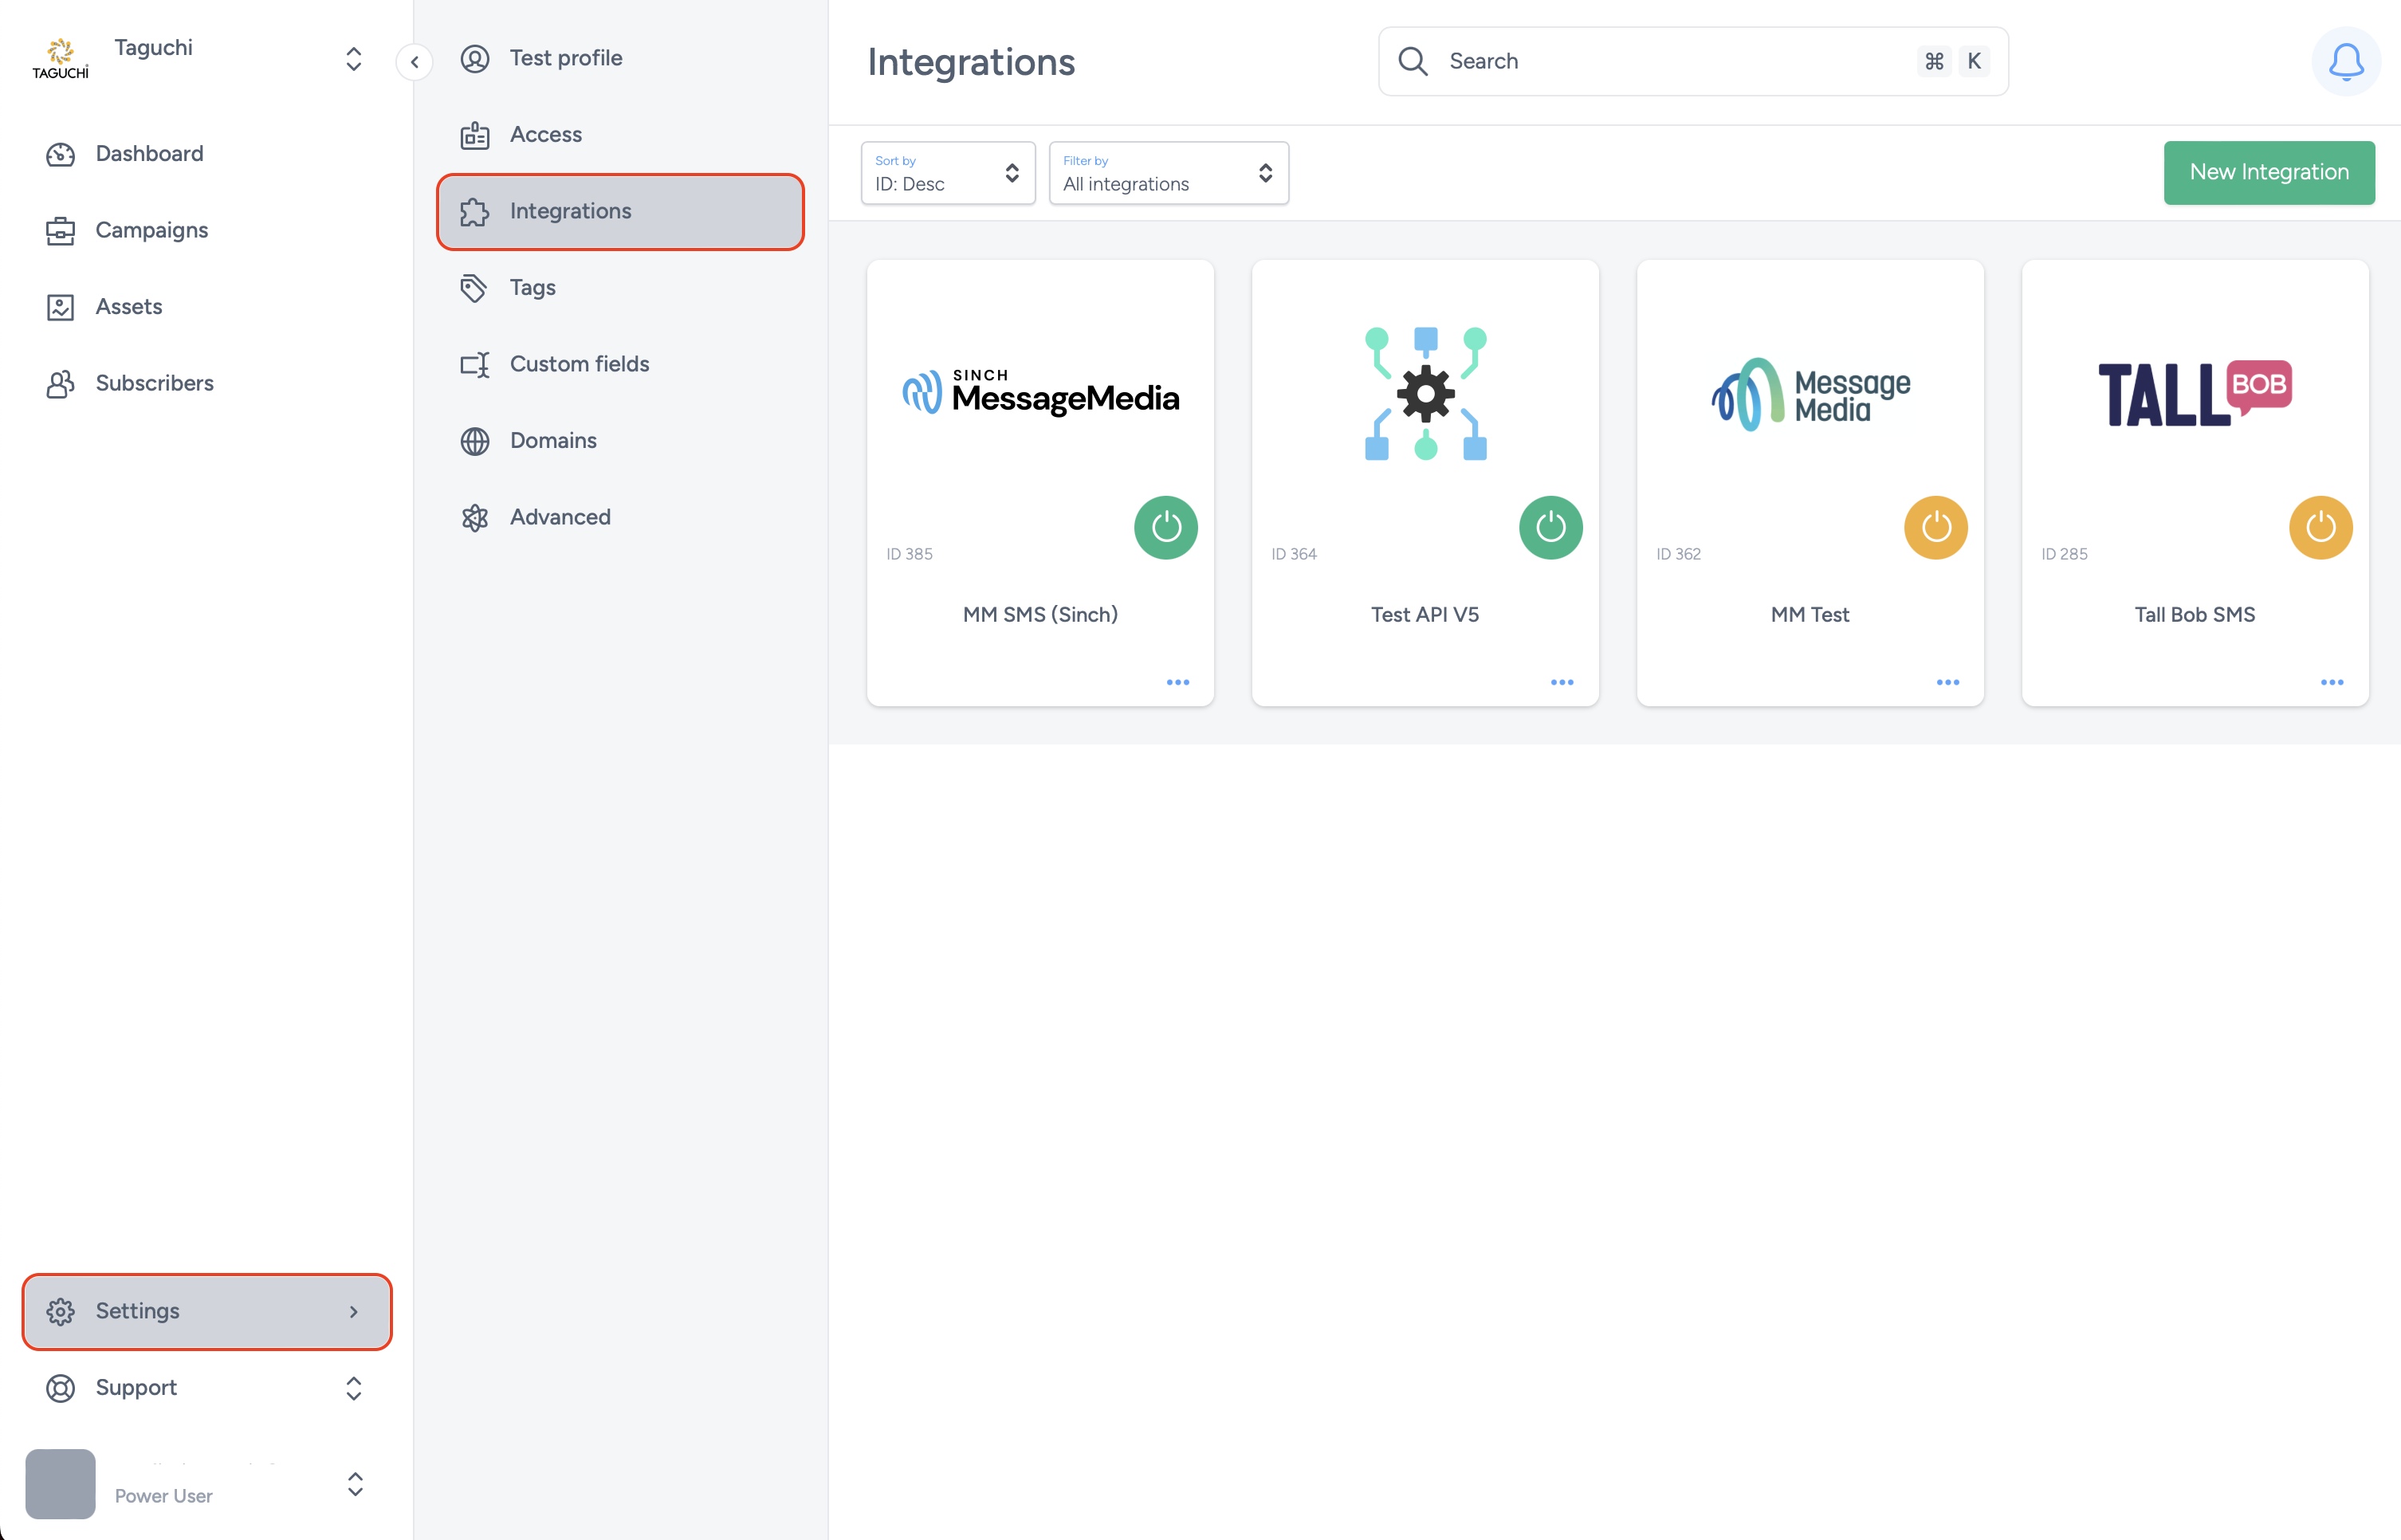
Select ‘New Integration’ and a new screen will popup.

Details
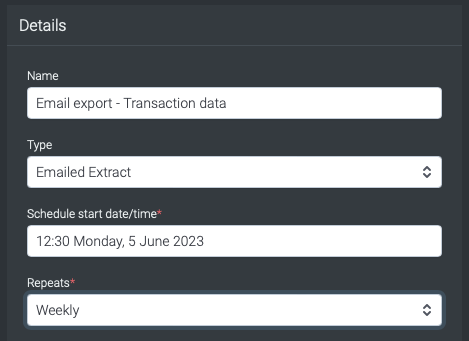
Set the name of the integration.
Under 'Type', select 'Emailed Extract'.
The Schedule start date/time allows the integration to start at the specified time/date. When used in tandem with repeat (Weekly), this allows the integration to repeat weekly at 12:30 (based on the example above).
Repeats allow you to conduct the integration multiple times without having to create a new integration. You could choose either Yearly, Monthly, Weekly, Daily and Hourly. Some platforms have processing limitation whereby it could take some time to process the data. Hence hourly repeats might be affected and daily repeat might be a preferred option instead.
Configuration
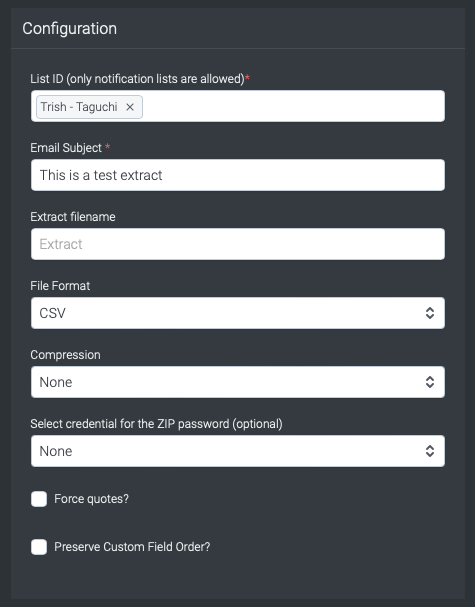
List ID: Choose a notification list available within your organisation so that you can send to recipients within that notifications list.
Email Subject: Input an email subject so that the subject line of the emailed extract is populated.
Extract filename: Name the extract filename.
File Format: Choose a file type that you would want your recipients to recieve. YOu can choose CSV or TSV as your file format.
Compression: You can choose to compress your files or leave it as uncompressed. If you do choose to compress your file, you can choose either ZIP or GZ compression.
Select credential for the ZIP password: If you choosen ZIP as your compression format, you would need choose a ZIP credential that you have set up.
Force quotes: Forced quotes are used to ensure that the entire data e.g. (name "John,Doe") is treated as a single field. Forced quotes can ensure that each field is correctly interpreted, even if it contains special characters that might otherwise be misinterpreted during the extract process.
Preserve Custom Field Order: By clicking on this checkbox, you can ensure that the custom field columns within the CSV/TSV/PSV file is preserved in its original order during the extract process.
Target Expression
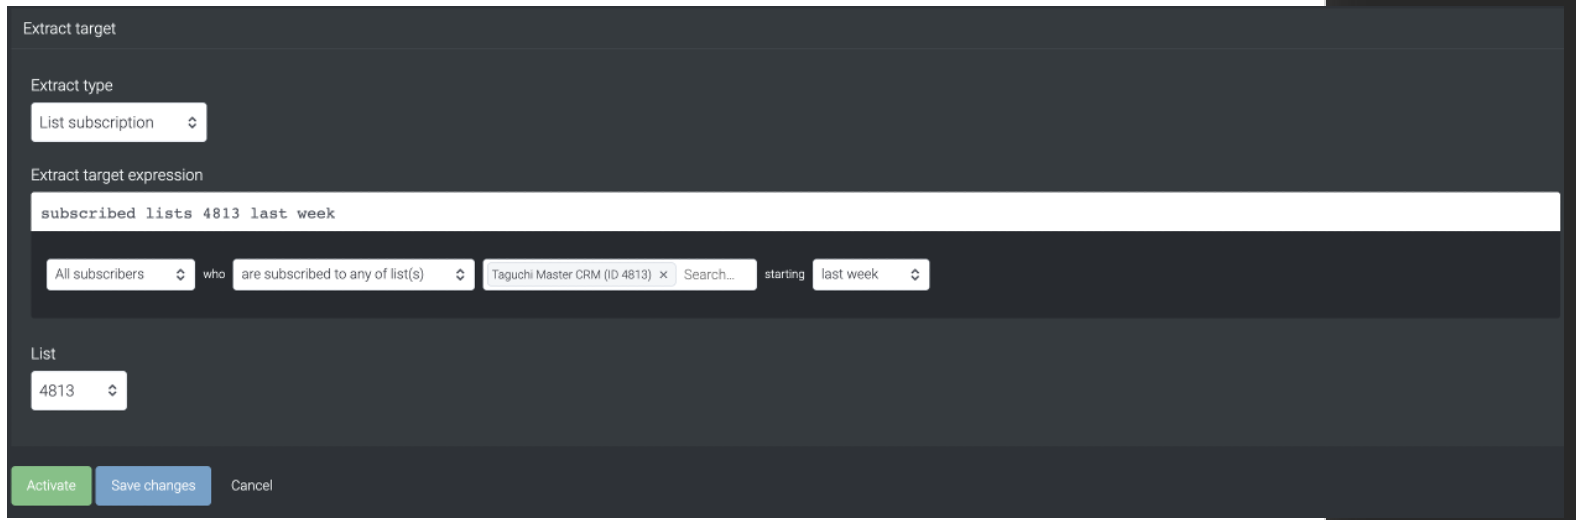
Target expressions allows us to target specific subscribers in a list or based on other variables.
For more on Target Expressions see our article ‘What are target expressions?’
Save Changes and Activate
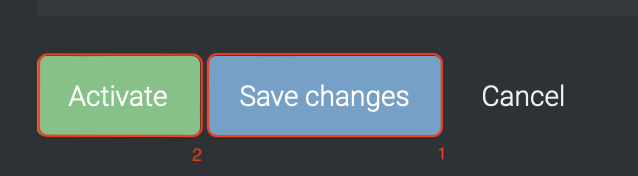
Once you have added your Details, Configuration and Target Expression, you will be able to save changes (1) and activate (2) the integration. You can only activate once you have save changes.
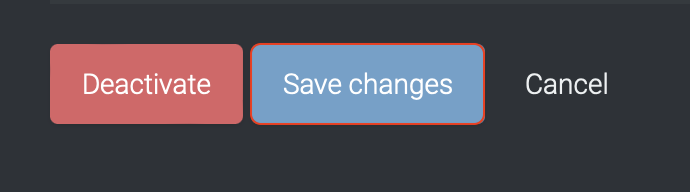
Deactivate

To stop the integration, click on Deactivate. This will stop Taguchi from exporting data via Emailed Extracts.
Active Integration
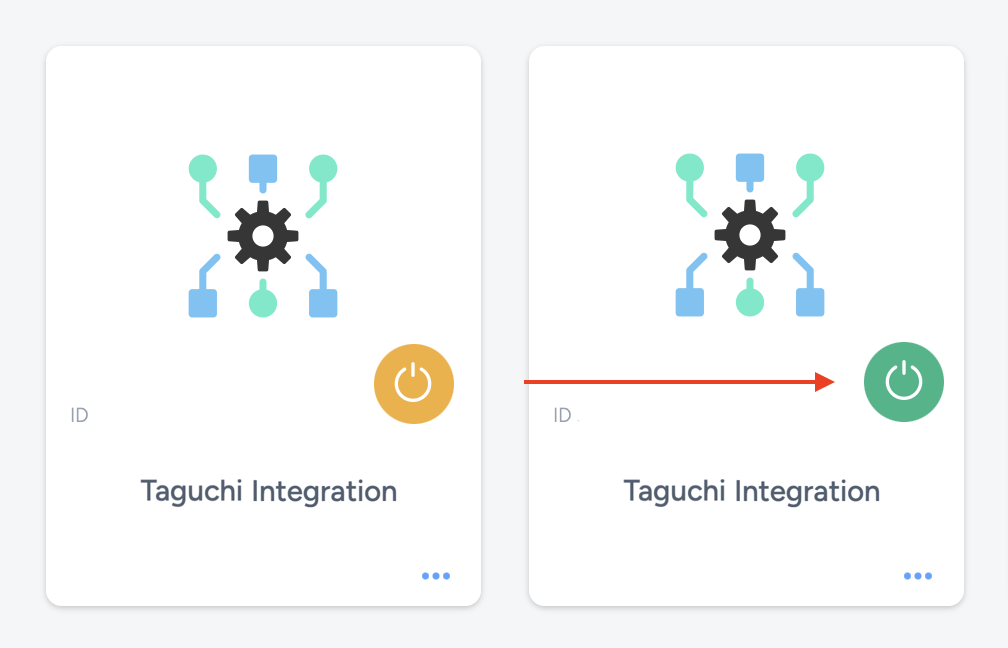
Once the integration has been saved and activated, the on/off icon of the integration card will change from yellow (Off) to green (On) which indicates that it is now activated.
Update Integration
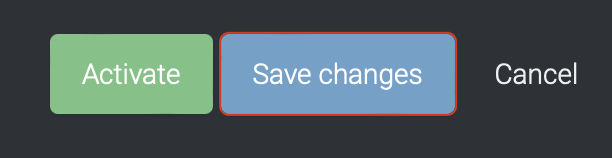
If you want to update your Integration, you will be able to make the changes while it is activated or deactivated. Once the changes have been made, you will be able to update the integration by clicking on 'Save changes'. The Integration will be updated immediately.
If you are having trouble with this integration, please contact Taguchi Support for assistance.