- Support Home
- Knowledge Base
- Integrations
- V5 API Endpoint (Authenticated) Integration
Related articles
Need some help?
If you have questions or can't find what you're looking for, we're here for you.
Taguchi Support is available Monday to Friday, 9am - 5:30pm AEDT.
Create New TicketTaguchi Certified Training
Join our free and live online training sessions. You'll benefit from a better understanding of the platform's features and functionality. Plus with Taguchi Certified Rewards, every session you attend, you're not just learning - you're earning your way to some fantastic rewards.
About Taguchi Certified RewardsAPI Version 5
Did you know Taguchi has an API that supports all of the functionality provided by the admin interface and more?
Explore API Documentation
Thanks for your feedback!
V5 API Endpoint (Authenticated) Integration
Taguchi has an API integration which creates a seamless and automated connection between your email marketing database in Taguchi, and your organisation.
This integration means you don't need to manually handle your subscriber data externally between Taguchi and your organisation to achieve the above, reducing the risk of data security issues and not to mention effort.
V5 API Endpoint (Authenticated) Integration
Our simple, self-serve integration tool offers a smart and secure way to manage your integration; without the risk and inefficiencies of manually handling customer data.
Credentials
You will need to setup up one credential before you are able to create an V5 API Endpoint (Authenticated) integration. The main credential that you would need to set up will be the API token. Here is more information on setting up the API Token credential.
Create Your V5 API Endpoint(Authenticated) Integration
New Integration
To create a new integration, ensure that you have the required User Type integration role privileges assigned to you. The 'integration' page is under Settings > Integrations.
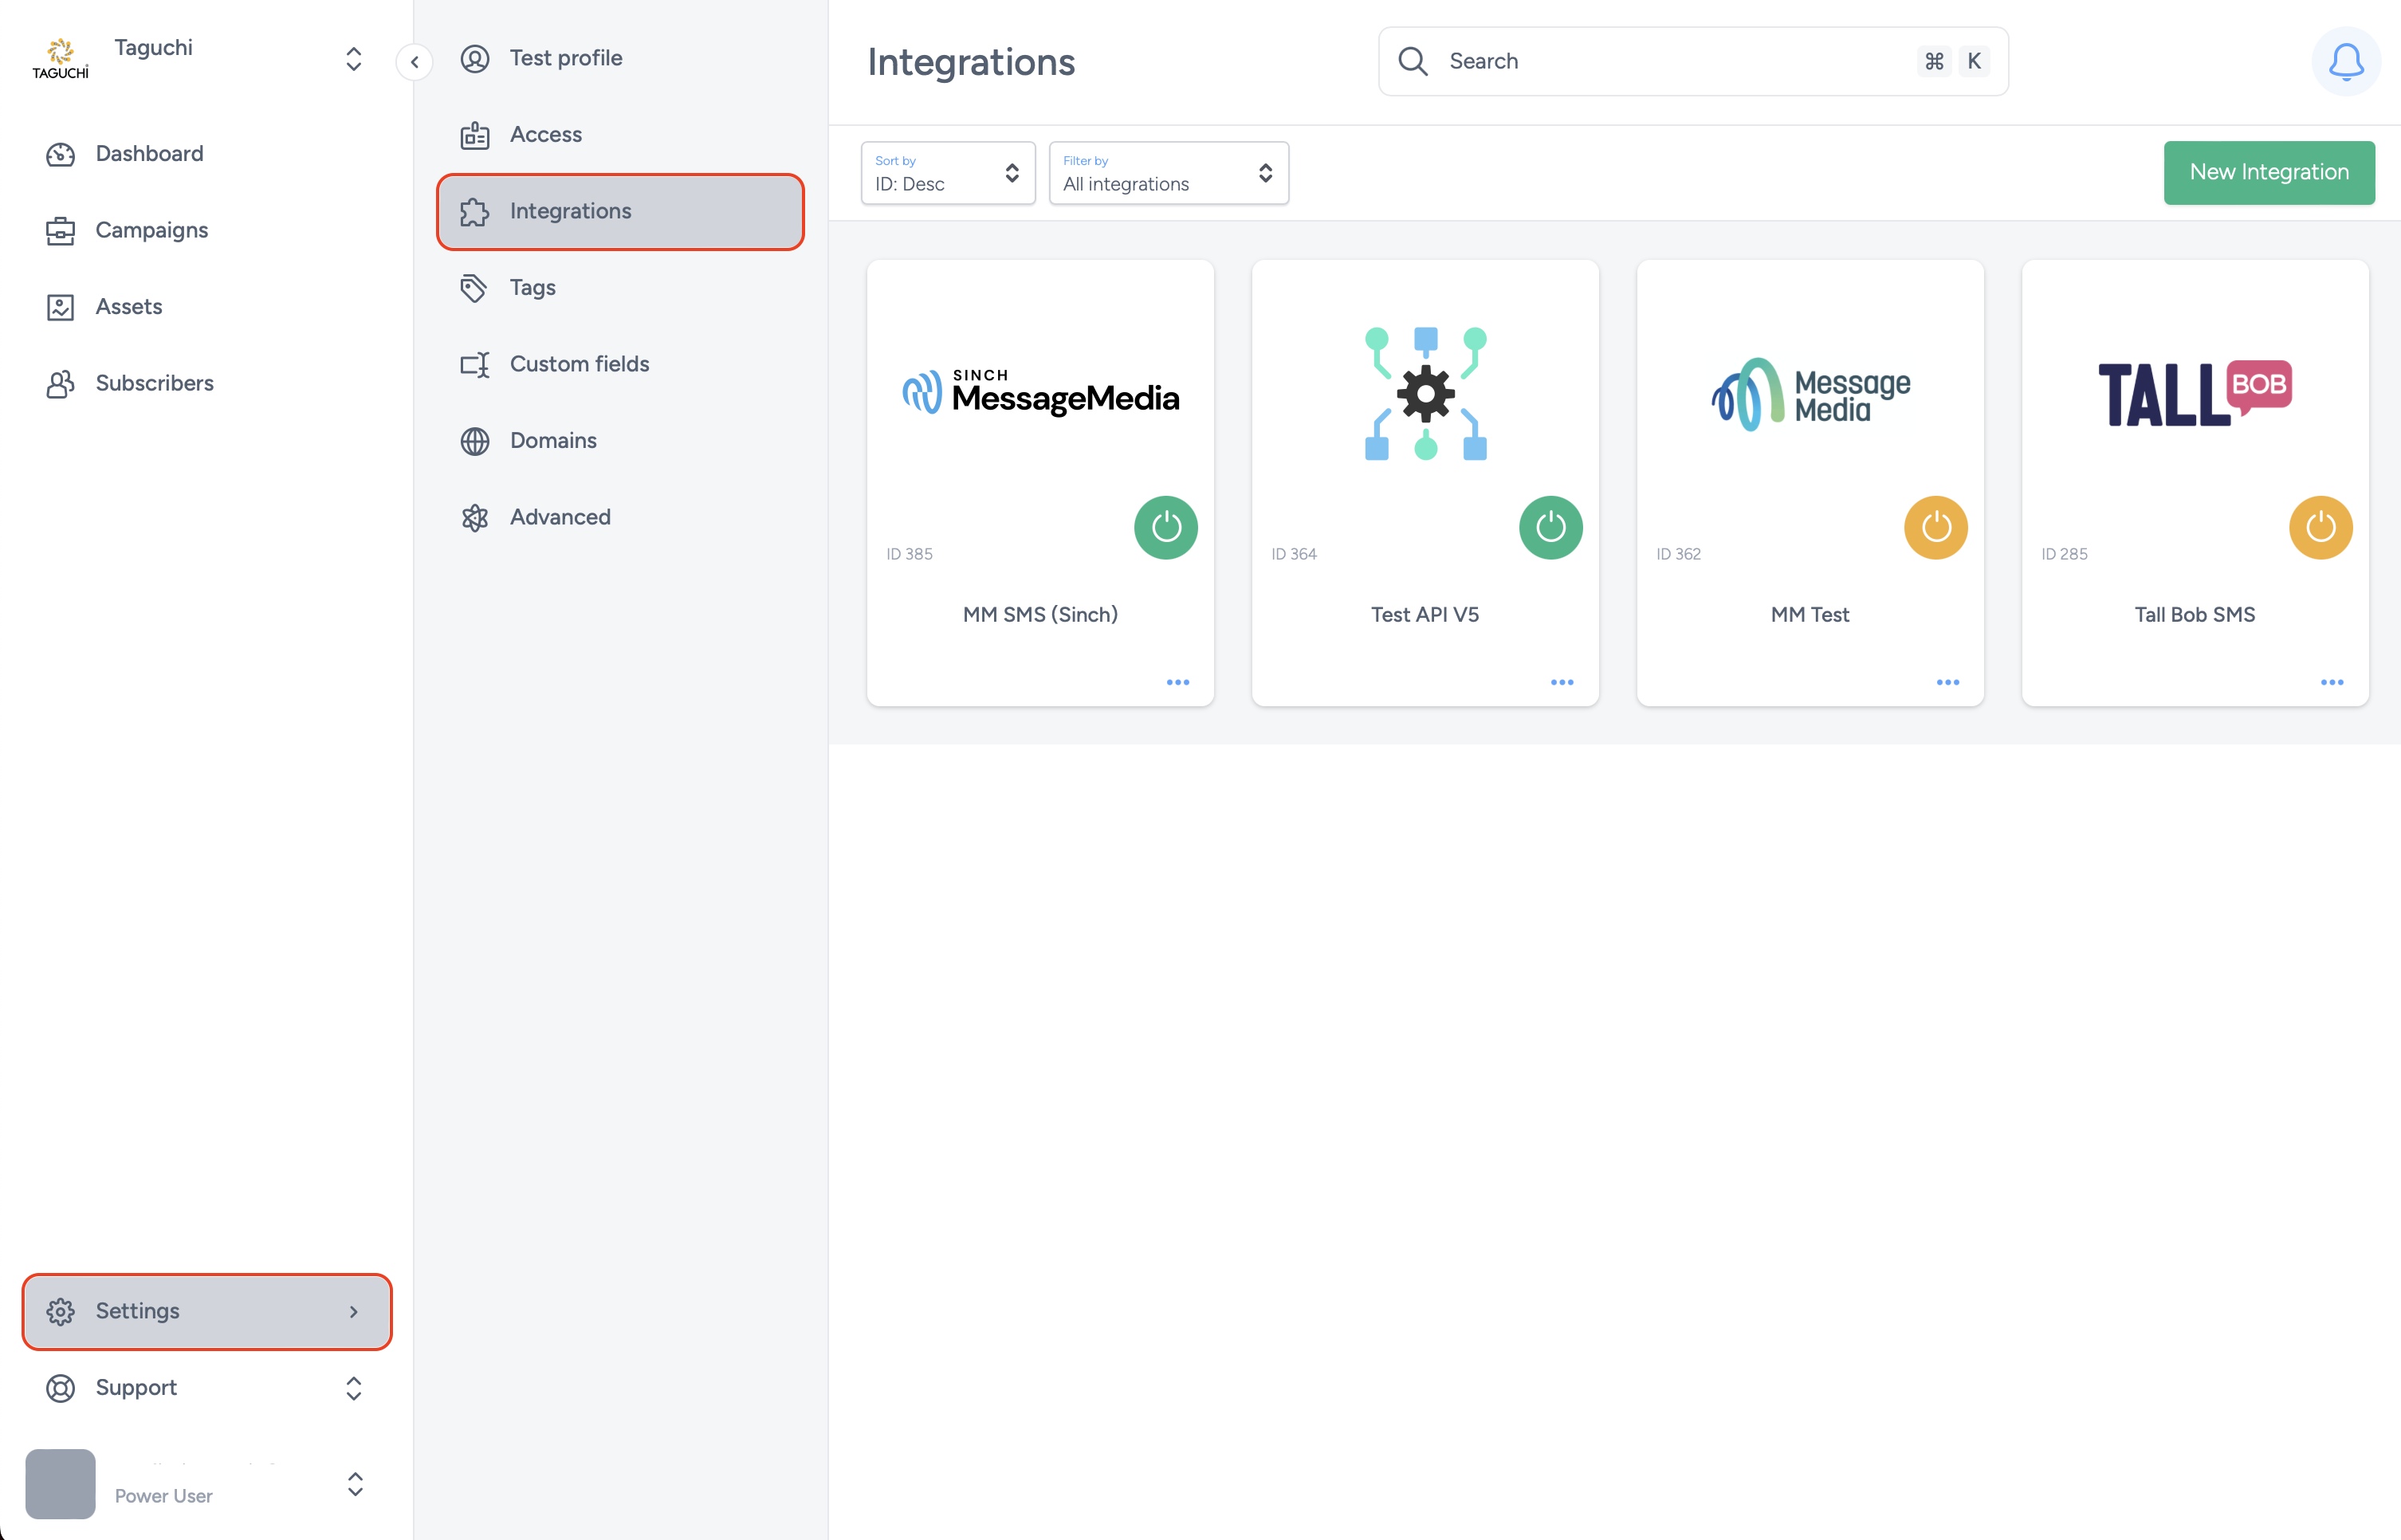
Select ‘New Integration’ and a new screen will popup.

Details
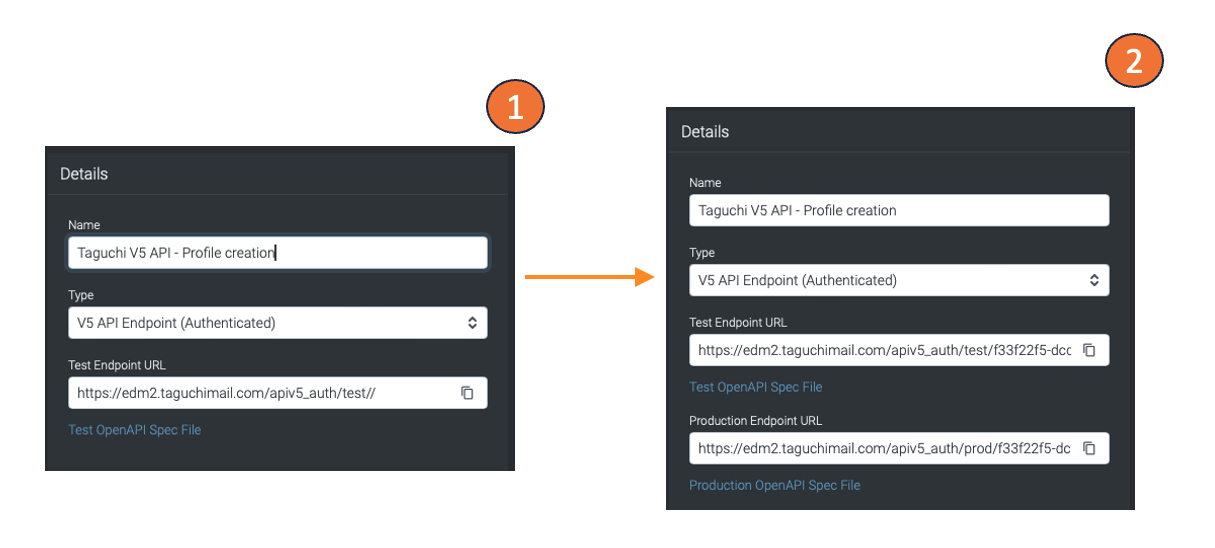
Set the name of the integration. Under 'Type', select 'V5 API Endpoint (Authenticated)'.
The API endpoint URL is accessed using HTTP requests, and each endpoint has a unique URL. When you create a new endpoint API integration, it will create a new unique endpoint URL for you. You will be able to access the "Test OpenAPI Spec File" and "Production OpenAPI Spec File" after your integration has been created.
Configuration

Credential to use: Choose the desired credential to use that you have set up in the credential page.
Identify profiles by: You can identify profiles by using External (ID), Email or by phone number.
Allow subscriber profile retrieval/creation/updates/anonymization and event logging: Click on the checkboxes if you want to allow subscriber profile retrieval, profile creation, profile updates, profile anonymization and event logging.
Allow messages to be sent: This will allow users to receive eDMs that you have specified within the "Trigger activity ID".
Field validation rules (JSON object): This refers to a set of rules defined in a JSON object format that specifies how the fields of a request payload should be validated.
Trigger activity ID (blank to allow any): The trigger activity ID will trigger an activity within the Taguchi platform based on your input. Leaving it blank will disable this feature.
Allow messages to be sent to unsubscribed users: This feature allows you to send out eDMs (order confirmation) to users that are unsubscribed. The "Trigger activity ID" will determine the eDM that users will receive.
Add subscriber profiles to main list: You can manage which main list that subscribers can be added to when they are added in through this integration.
Mode for unsubscribes: You can choose two different modes ot unsubscribe users, they are Global and Main list.
Custom field to unsubscribe subscribers (Must be part of api request): This feature allows you to choose a custom field value that will trigger an subsubcribe.
Operator to use with custom field and unsub value for unsubscribes (Must be part of api request): You have the option of choosing "Not Equal to" (=!) or "Equal To" (==) operators to use with custom field and unsub value for unsubscribes.
Unsubscribe value to compare with custom field for unsubscribes: Add an unsubscribe value into the input to compare with custom field for unsubscribes.
Import source name: This is a parameter or field in the payload of a request that indicates the source of the data being imported.
Request deduplication period (sec): This mechanism is used to prevent duplicate requests from being processed within a certain time window. The time window is determined by your input (sec).
Always return 200 even if errors occur (webhook mode): By activating this checkbox, this API endpoint integration will be configured to always return a 200 status code even if errors occur.
Add subscriber profiles to other lists: Input a list ID into this field to add subscribers to anothe list.
Identify partitions by: You can identify partitions either by External ID(ref) or Taguchi ID.
Allow parition retrieval/creation/updates: You can allow partision retrieval, creation and/or updates by clicking on their respective checkbox to activate them.
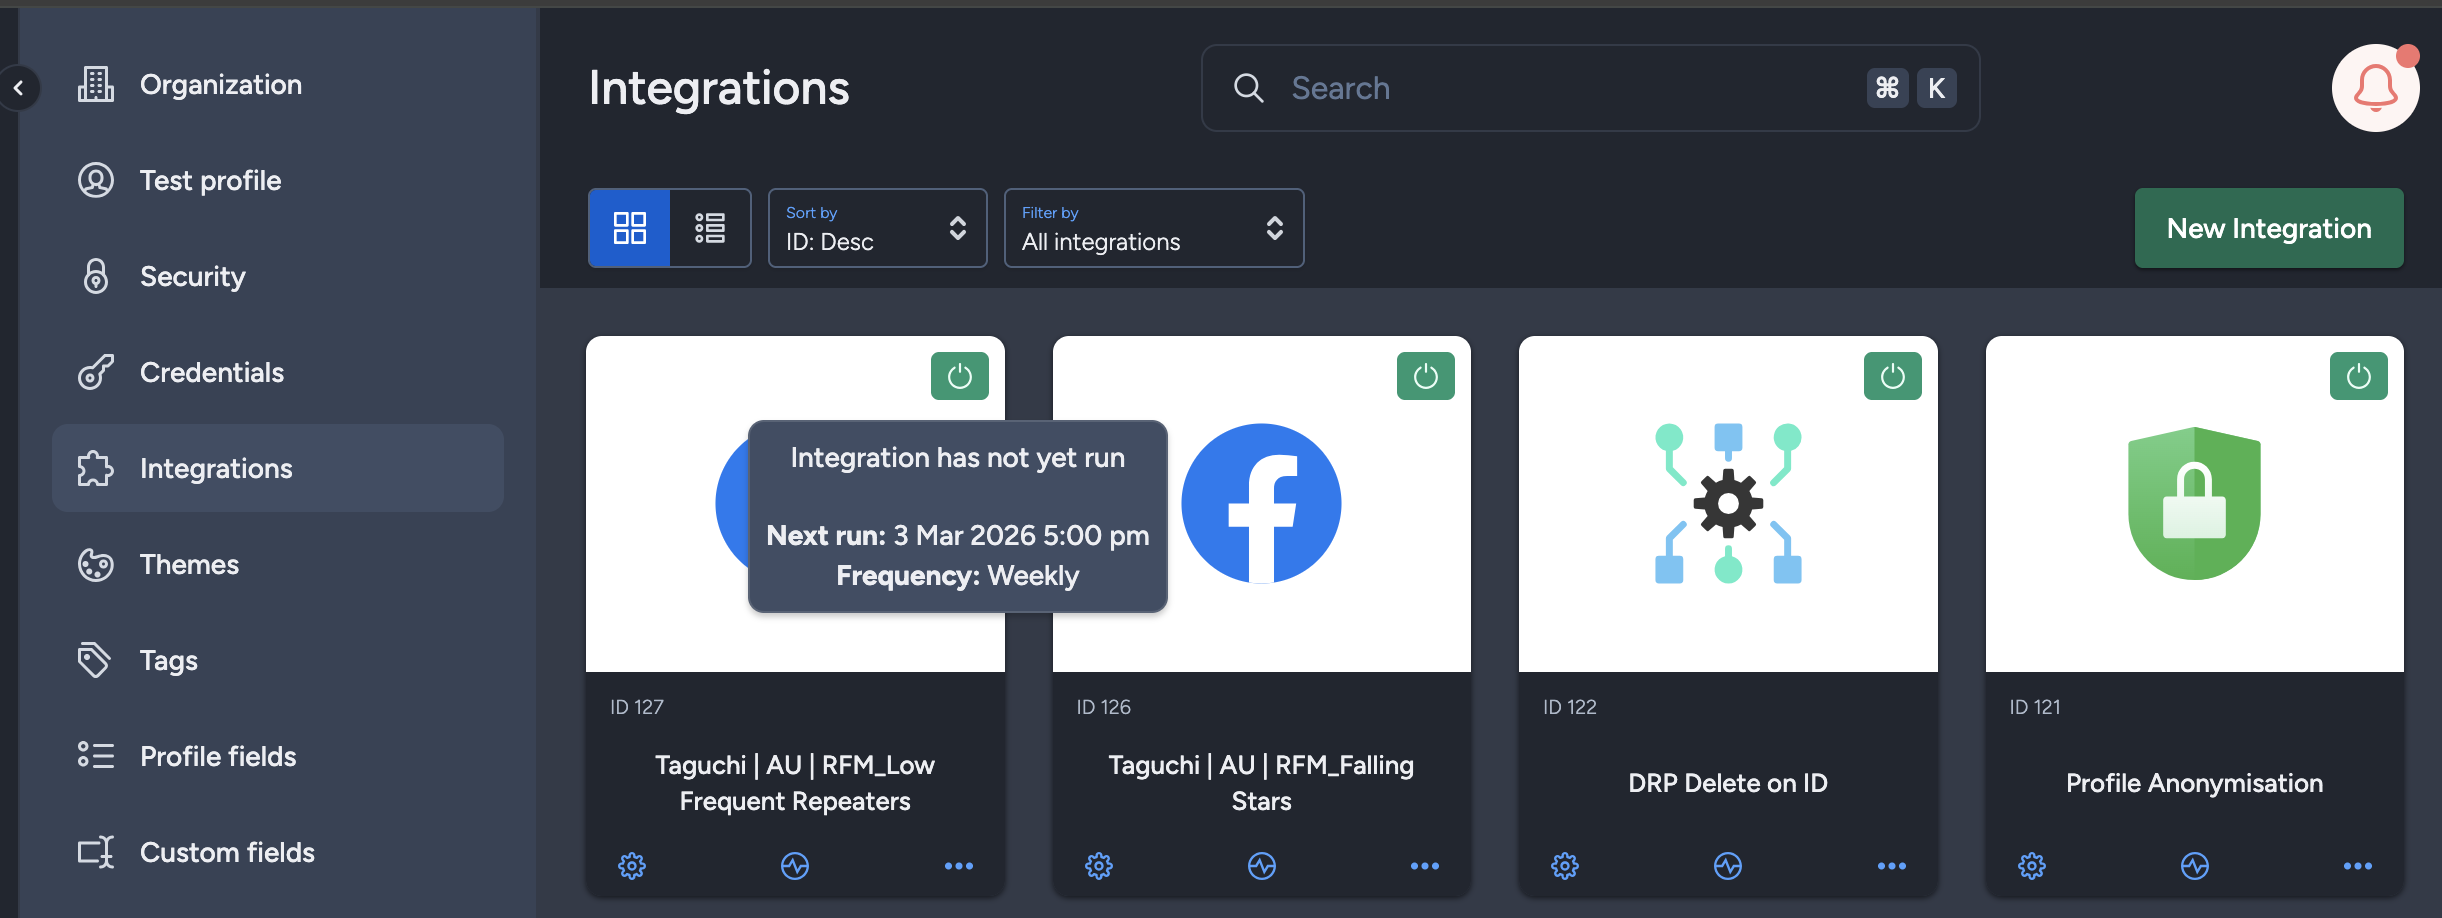
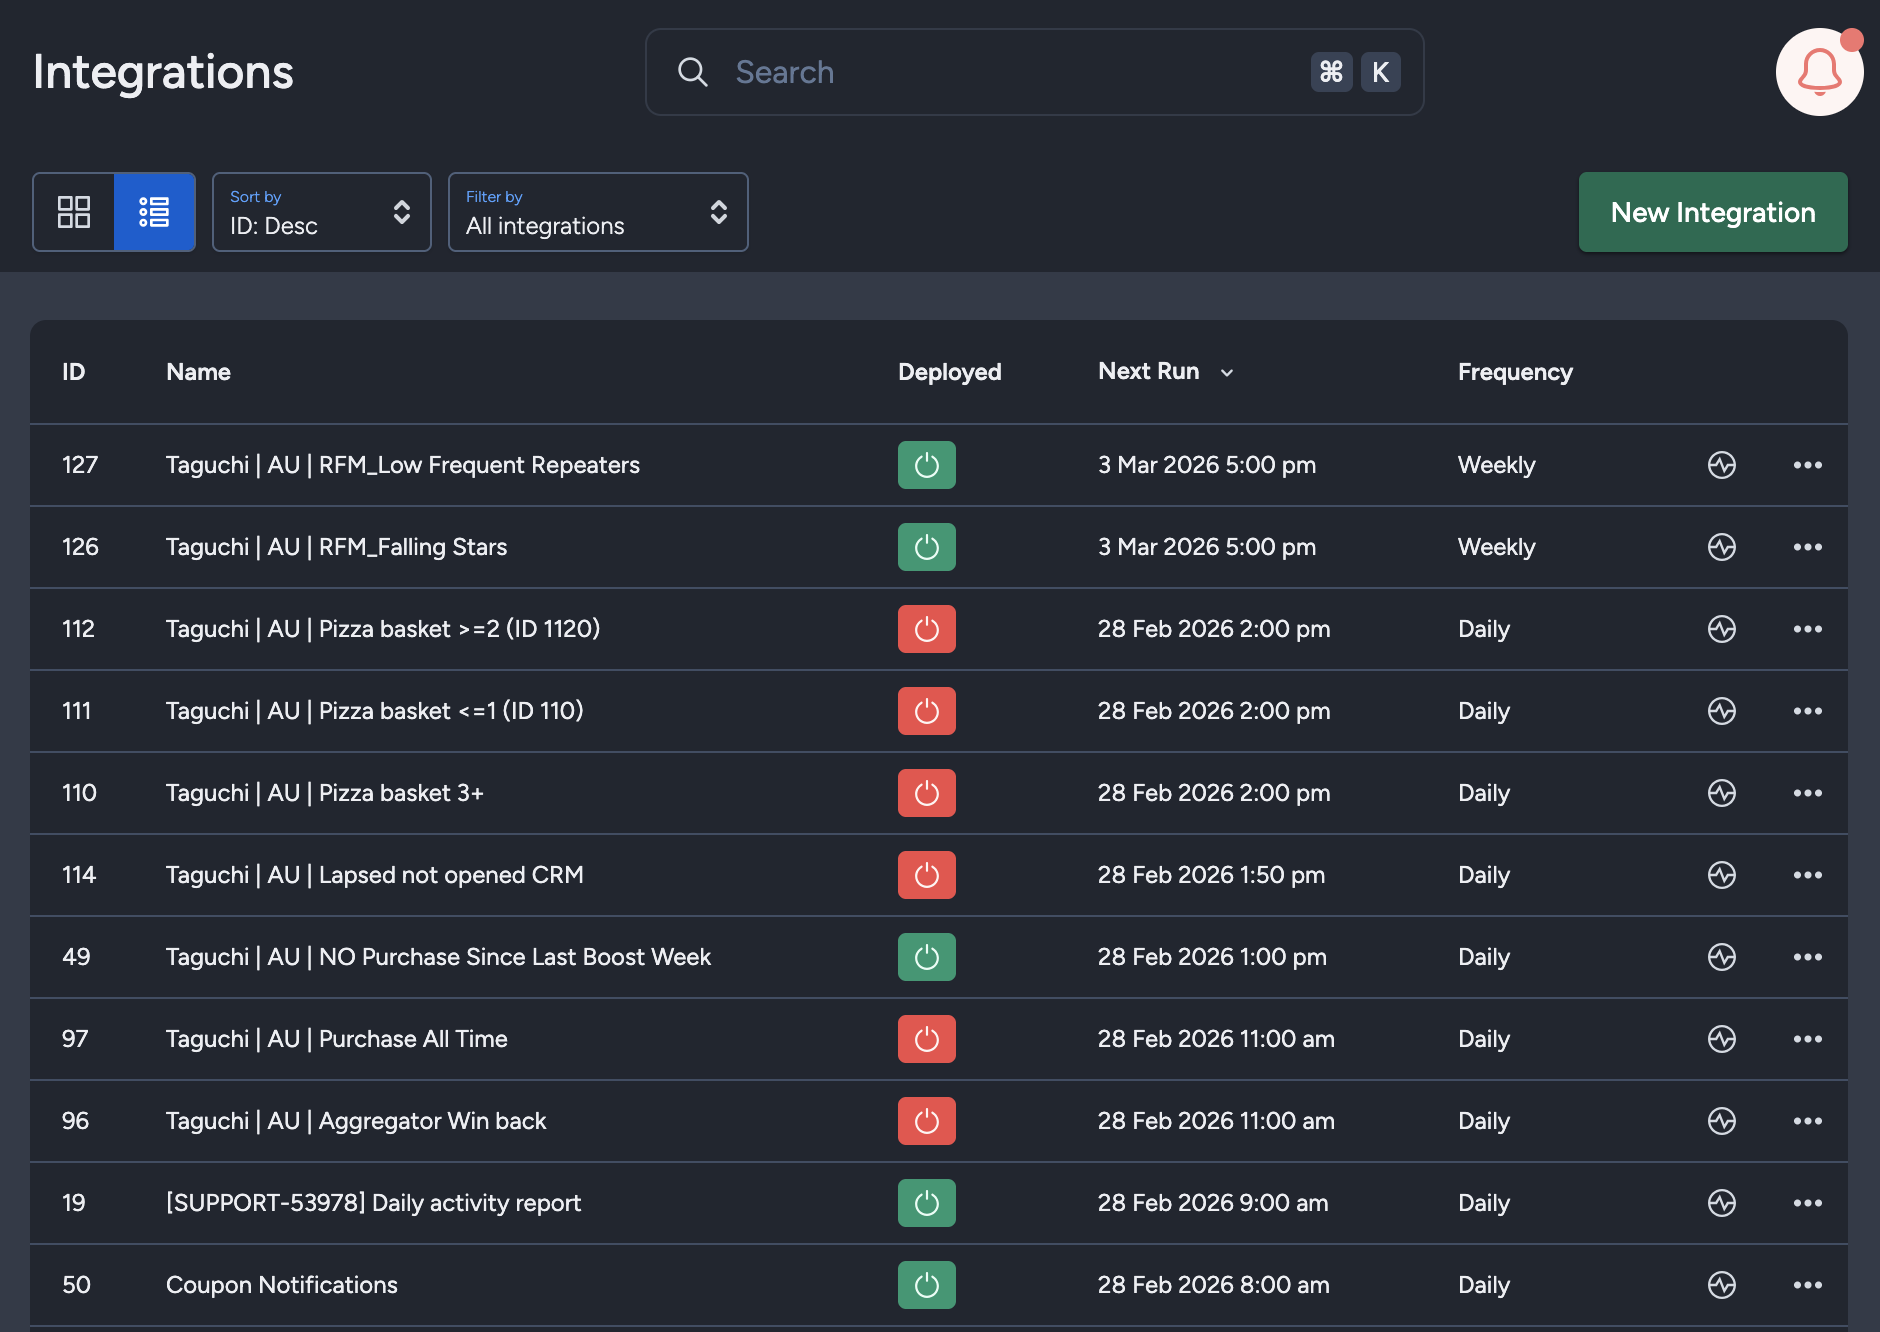
Viewing Integration Schedules and Next Run Details
The Integration UI provides visibility into integration schedules by displaying the scheduled frequency and the time of the next run when hovering over the status icon. Adding to that, the integration UI supports list view with sortable columns so you can see the next run timestamp and frequency there too.. This helps users quickly check when integrations are scheduled to execute and manage them more efficiently.
Save Changes and Activate
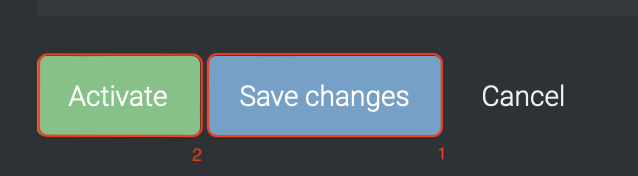
Once you have added your Details, Configuration and Target Expression, you will be able to save changes (1) and activate (2) the integration. You can only activate once you have save changes.
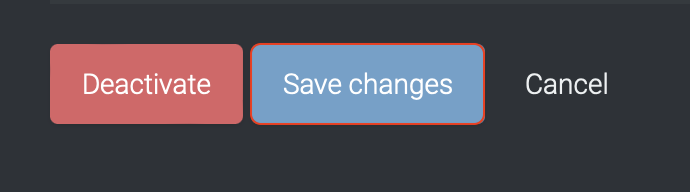
Deactivate

To stop the integration, click on Deactivate. This will stop Taguchi and TikTok from sharing data.
Active Integration
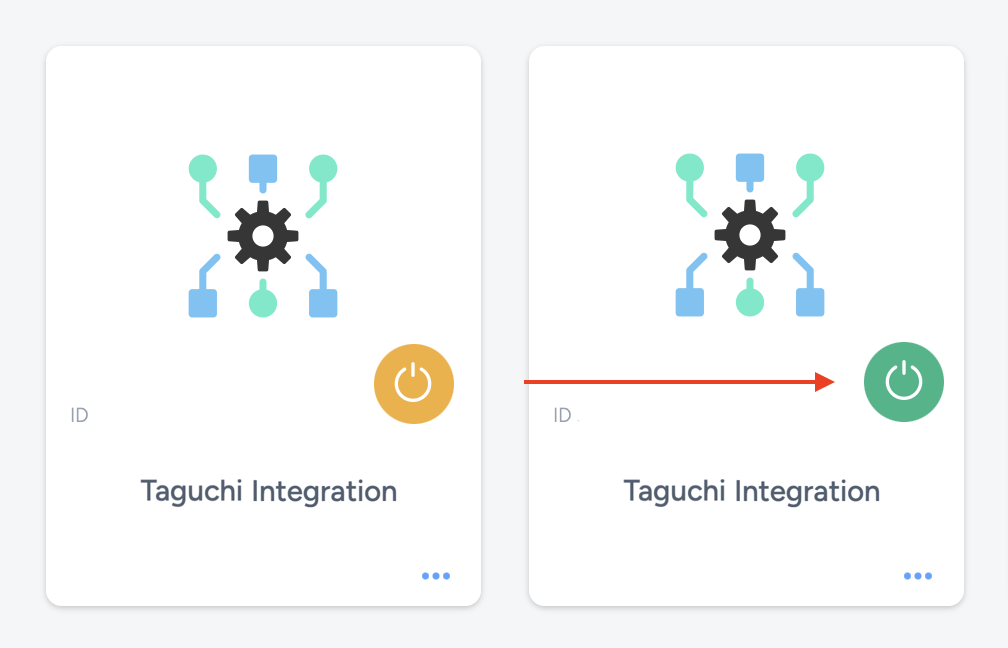
Once the integration has been saved and activated, the on/off icon of the integration card will change from yellow (Off) to green (On) which indicates that it is now activated.
Update Integration
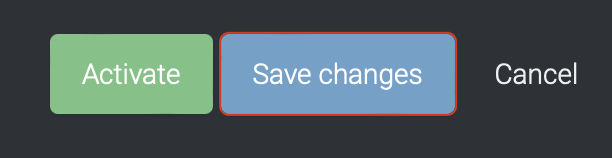
If you want to update your Integration, you will be able to make the changes while it is activated or deactivated. Once the changes have been made, you will be able to update the integration by clicking on 'Save changes'. The Integration will be updated immediately.
Viewing Logs in the UI
Users can now view detailed integration logs directly in the Taguchi UI to troubleshoot issues.
To access logs:
- Navigate to Settings > Integrations.
- Select the integration you want to review.
- Click on View Status in the top right hand corner to see recent activity, including timestamps, status updates, and error messages (if any).

If an integration fails, checking the logs can help identify issues such as incorrect credentials, invalid audience configurations, or query timeouts.
If you are having trouble with this integration, please contact Taguchi Support for assistance.