Related articles
Need some help?
If you have questions or can't find what you're looking for, we're here for you.
Taguchi Support is available Monday to Friday, 9am - 5:30pm AEDT.
Create New TicketTaguchi Certified Training
Join our free and live online training sessions. You'll benefit from a better understanding of the platform's features and functionality. Plus with Taguchi Certified Rewards, every session you attend, you're not just learning - you're earning your way to some fantastic rewards.
About Taguchi Certified RewardsAPI Version 5
Did you know Taguchi has an API that supports all of the functionality provided by the admin interface and more?
Explore API Documentation
Thanks for your feedback!
Partitions
Partitions are sub-divisions within an organisation that help improve data management, personalisation and targeting.
A scenario where partitions may be useful, would be where a company has multiple physical store locations across different regions. They would like to send marketing emails to their customers, but want to personalise and make them more relevant to the recipient, by including the store-specific details in the footer. To achieve this, they can use partitions, creating a partiton for each physical store they have.
To manage partitions you must have administrator access, whilst two-factor authentication remains optional.
To manage partitions you must have administrator access, whilst two-factor authentication remains optional.
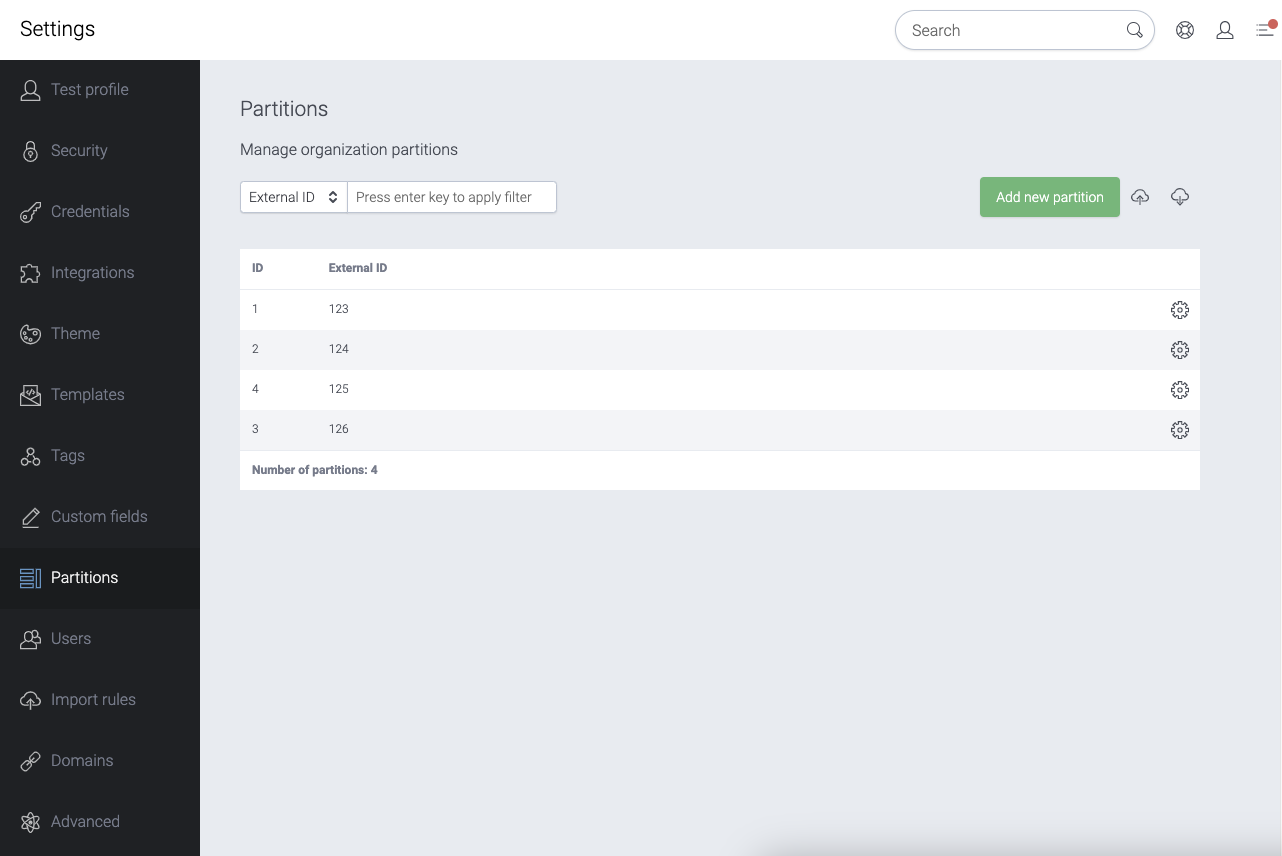
In the partitions module shown above, individual partitions can be searched for, edited, added, archived and deleted. Each partition has an:
- ID - Taguchi's reference number,
- External ID - external reference number.
Each partition will have an external ID, the unique ID linked to each store, and will then have a set of custom fields associated, such as the store name, location and any other relevant store information. Each customer in the database can then be assigned a partition in their profile. Once this has been setup, the store partitions can then be used to pass through store details into the marketing email/s by placing personalisation tags in the footer.
Why Use Partitions? Strategic Use Cases
Partitions empower you to move beyond generic, "one-size-fits-all" marketing. Here are three primary ways our customers leverage them:
1. Personalise Email Content and Branding
Use a subscriber's assigned partition to dynamically insert localised content into your emails. This goes beyond just a name.
- Example: Multi-Site Retail/Franchise - A national retail chain can use partitions for each store. When a customer receives an email, it can automatically include their local store's address, phone number, manager's name, and even a promotional banner for that specific location's in-store event.
- Example: Healthcare Clinics - A medical centre group can personalise appointment reminders with the correct clinic address and specific practitioner details based on the patient's assigned partition.
2. Provide Localised Support and "Footers"
Ensure every communication contains accurate and relevant local details, creating a seamless customer experience.
- Example: Dynamic Email Footers - Instead of a generic company footer, use partition-specific custom fields (like
store_name,store_phone,store_address) to generate a unique footer for each subscriber, based on their local store.
3. Enable a "Head Office & Local Store" Model
This is the strategic model described in our Local Area Marketing guide. Partitions are the core component, enabling central control with local execution.
- Example: Franchise Network - Head office can create compliant, brand-approved email templates. Each franchisee (assigned to their specific partition) can then use those templates to send emails only to their local customers, safe in the knowledge that branding and compliance are maintained, while they add a personal, local touch.
Partitions and the Local Marketing Model (Head Office, Groups & Partitions View)
To maximise the benefit of partitions, especially for distributed businesses, it's helpful to understand how they relate to different user roles. This structure allows for a scalable and manageable marketing operation:
- Head Office: Users at this level have a "super-admin" view, giving them access to all partitions, all subscriber lists, and all campaigns across the entire organisation. They are responsible for creating brand templates, managing global settings, and overseeing performance.
- Groups: Users can be granted access to a group of partitions (e.g., all stores in a specific state or region). This is ideal for regional marketing managers who need to oversee and coordinate activities within their area.
- Partitions (Local Stores): A "Store User" is typically assigned to one or more specific partitions. Their view is restricted to only the subscribers, lists, and campaigns associated with their store, allowing them to run hyper-local marketing without seeing or impacting other stores' data.
How to create partitions
Partitions can be uploaded individually or can be bulk uploaded via a csv file. The entire set of partition data can be downloaded via the download button.
To create an individual partition:
- Navigate to the partitions module under the settings tab.
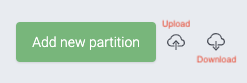
- Select the green "Add new partition" button (see below).
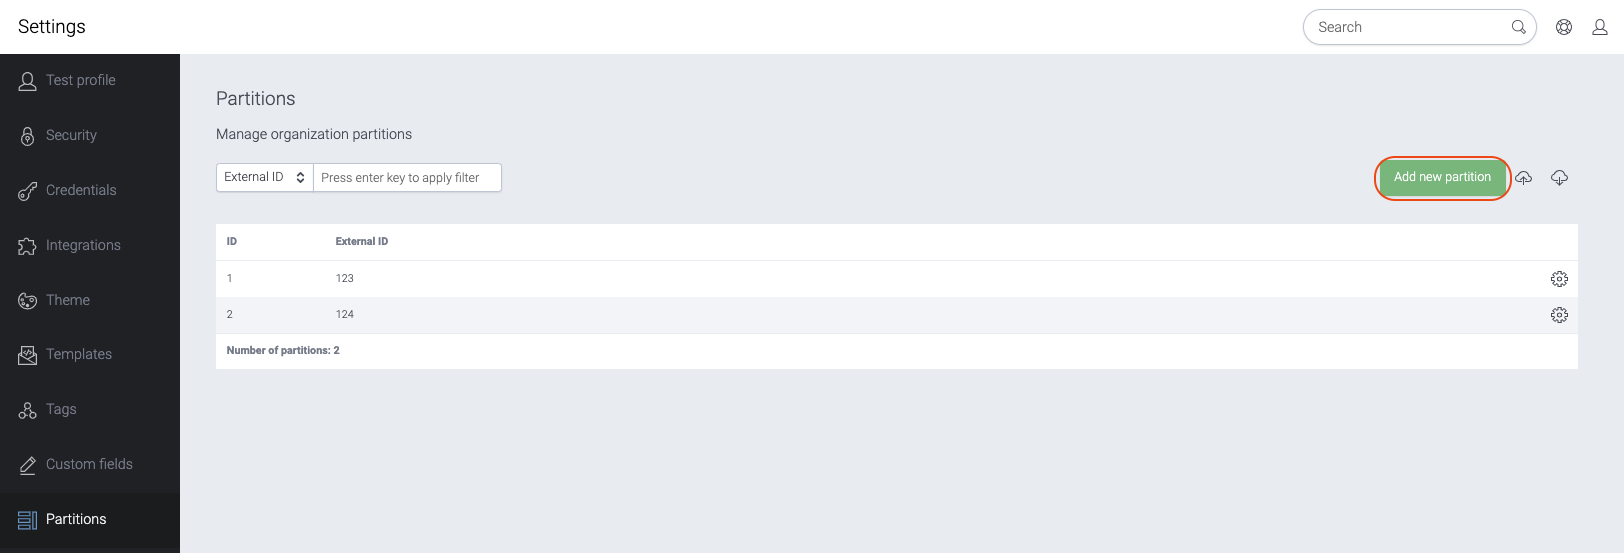
- Enter the External ID of the partition. Please note this can not be modified once created.
- Link one or multiple custom fields to the partition by selecting the green "Add new field" button and entering the custom field name on the left-hand side and value in the right-hand side. This will associate the custom fields to this particular partition. Please note new custom fields will need to be created via the 'Custom field' module before they can be assigned to a partition.
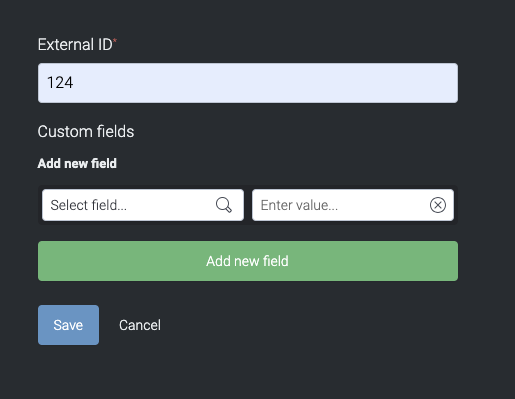
- Save the partition.
To bulk upload new partitions:
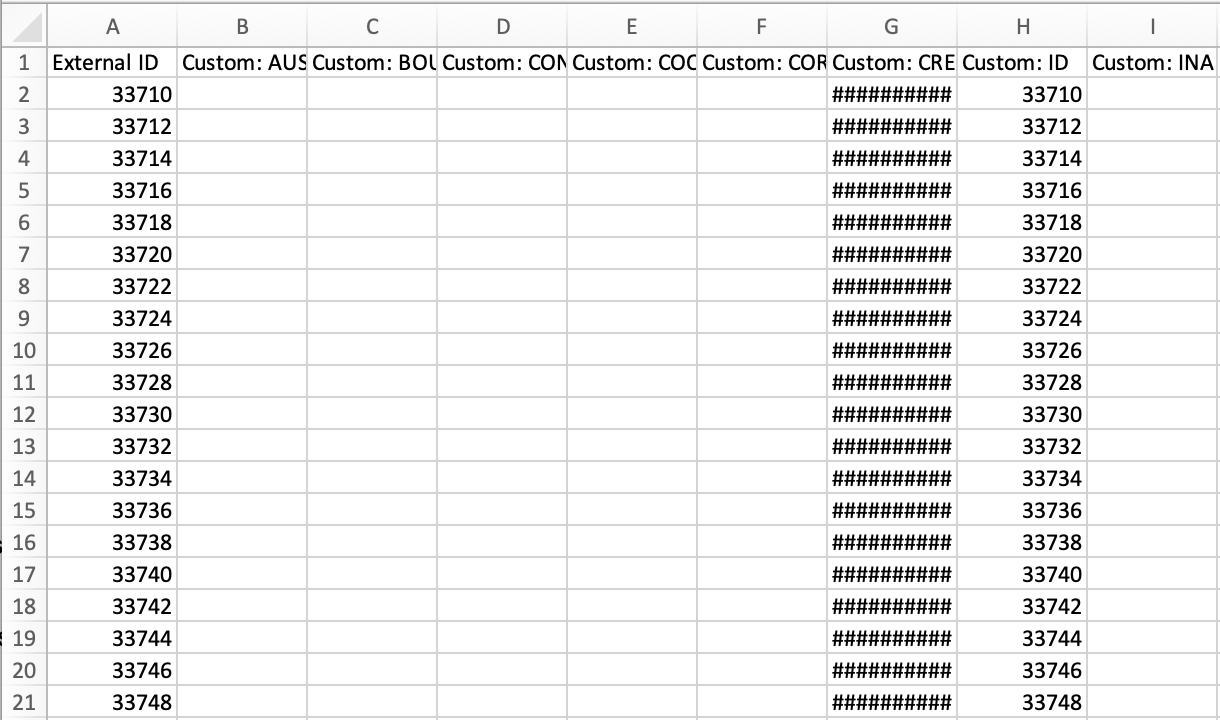
- First you must create a CSV file with each row representing an individual partition. The file must always include a column referencing the External ID of the partition. Each preceeding column can include custom field data, using the following format for the column header "Custom: customfieldnamehere". Any number of custom fields can be included per import, however, the fields must have already been created via the custom fields module beforehand.
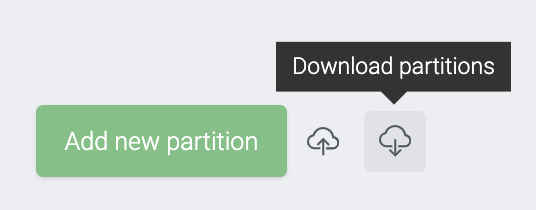
- To upload the file, navigate to the partitions module and select the cloud icon with an up arrow and choose your CSV file.
- Review the columns and data to ensure they are correct and select the blue import button to initiate the upload.
To bulk update existing partitions:
- This is a similar process to uploading new partitions, however, the CSV file you create must include the partition ID of the partition/s you are updating.
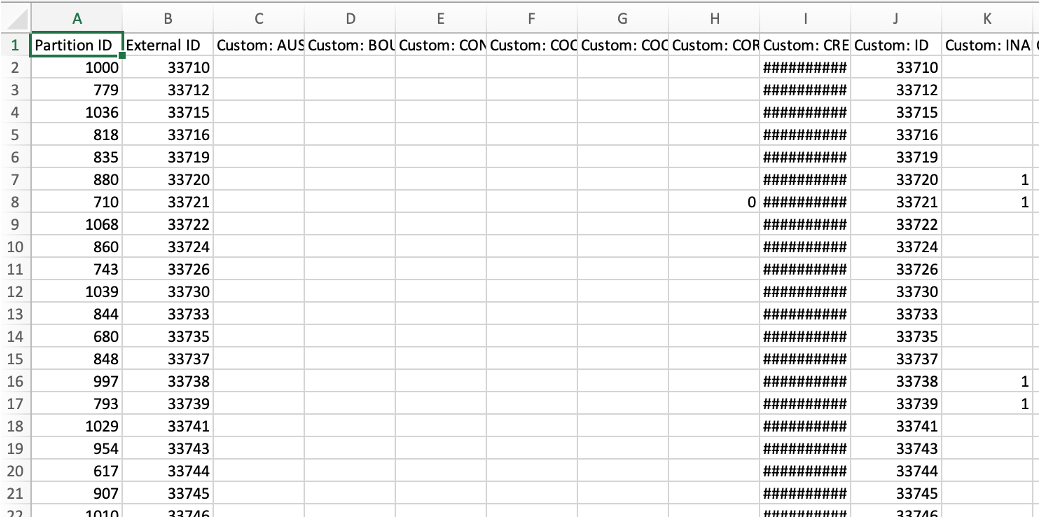
- To get a full list of all partitions and their respective partition ID's you can use the download function. See screenshot below.
- Once you have created your CSV file, you can proceed from step 2 of bulk uploading new partitons to complete the upload process.
Assigning partitions to subscribers via bulk import
You can set or update a subscriber's partition membership as part of a subscriber list import. When mapping columns in the import screen, select the partition_ref (Partition external ID) field for the column containing your partition external IDs. Multiple partition external IDs can be included in a single cell (separated by newlines) to assign a subscriber to more than one partition.
For example, a customer who frequently shops online and in-store could be assigned to both a general "Online" partition and their local "Sydney Store" partition, allowing you to send them both global promotions and local event invitations.
For full details, see Mapping partition external ID during subscriber import.
Archiving Partitions
You can hide partitions using the Archive feature. This is useful for situations where you want to keep your partition lists clean to only show partitions currently in-use and / or keeping unused partitions to later use.
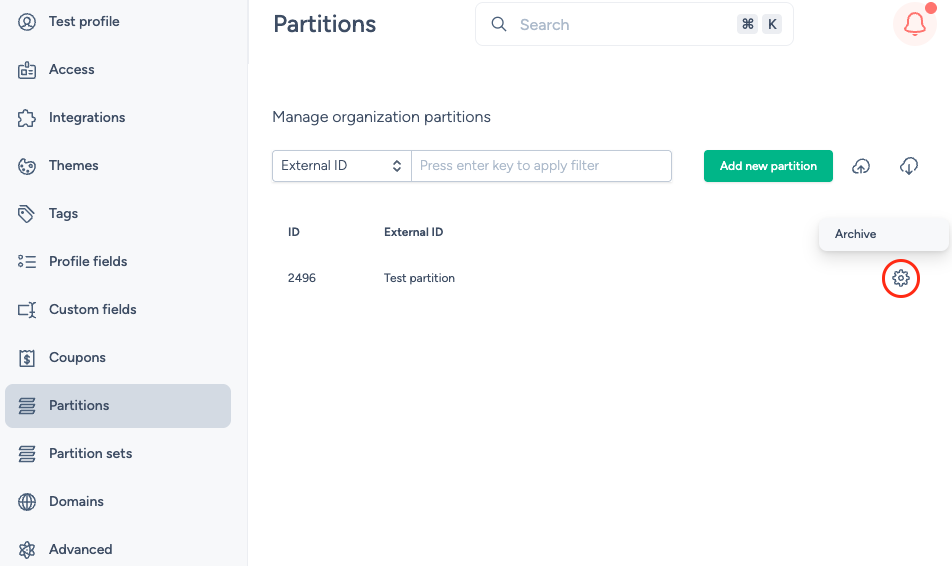
To archive a partition, click the gear icon and select Archive. This feature only hides the partition from the partition list and doesn't delete nor deactivates it. This means that the archive partition is still active for activities where it's used.
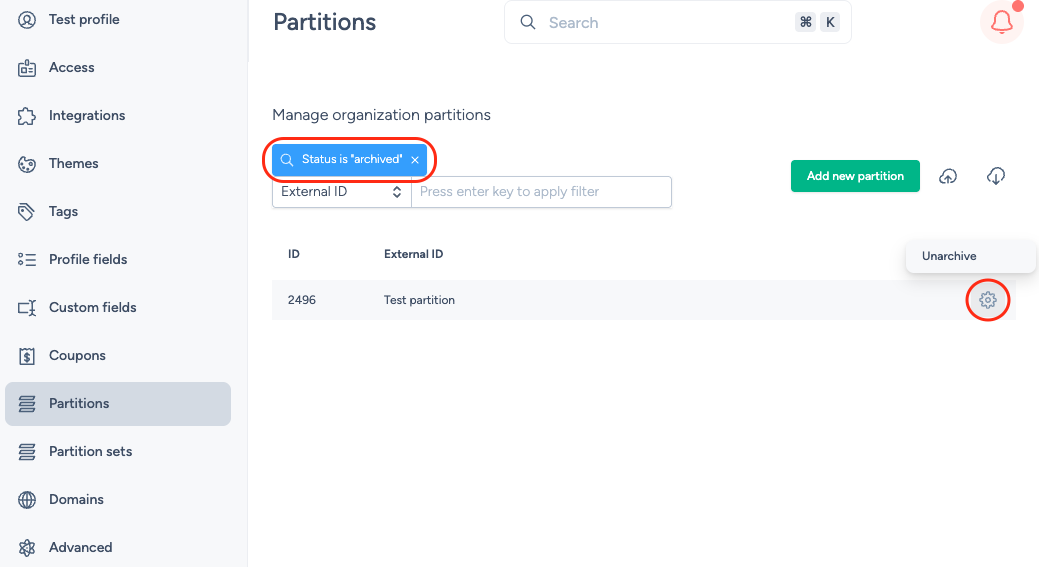
To unarchive a partition, filter the partition list by Status then by archived. Click the gear icon of the partition and select Unarchive
If you have additional questions or require further assistance on Partitions, do not hesitate to reach out to Taguchi Support