iOS installation (React Native)
App capabilities
Open your project in Xcode and select your main app target under the Signing & Capabilities tab.
Push Notifications
Click + Capability and add Push Notifications.
Background Modes
Click + Capability and add Background Modes.
Remote Notifications
In the Background Modes section, tick the Remote notifications checkbox.
iOS App Provisioning Profile
Ensure your app uses an iOS provisioning profile for the correct bundle identifier (for example: com.company.appname).
Install dependent packages
In your project root, install CocoaPods dependencies:
cd ios && pod install && cd ..
Ensure your Podfile targets iOS 15.0 or later:
platform :ios, '15.0'
Add Push Notification Service Extension
A Notification Service Extension is required to handle notification content modification (e.g. displaying rich media) and delivery receipts.
- In Xcode, go to File > New > Target.
- Select Notification Service Extension and click Next.
- Name it (e.g.
TaguchiNotificationServiceExtension) and ensure the language is Swift (or Objective-C if preferred).
- Click Finish and activate the scheme when prompted.
- Set the extension's deployment target to match your main app (iOS 15.0 or later).
App Group
The main app and the Notification Service Extension must share data via an App Group.
Add App Group to main app target and Notification Service Extension
- Select the main app target in Xcode > Signing & Capabilities > + Capability > App Groups.
- Add the group you created earlier (e.g.
group.com.yourcompany.yourapp).
- Repeat steps 1–2 for the Notification Service Extension target, using the same group identifier.
- Return to your Twilio Notify Service in the Twilio Console.
- Under APN Credential, click Create new credential (or select an existing one).
- Paste the certificate from
taguchi-push-twilio-cert.pem (including -----BEGIN CERTIFICATE----- and -----END CERTIFICATE-----).
- Paste the key from
taguchi-push-twilio-rsa-key.pem.
- Select Sandbox if sending to a sandbox APNs environment.
- Save the credential and capture the APN Credential SID.
- Set that APN Credential SID on your Twilio Notify Service.
AppDelegate code configuration (React Native — additional vs. iOS-only)
Add the following code to AppDelegate.swift. React Native requires one additional function compared to a pure iOS app: application(_:open:options:) to handle deep links via RCTLinkingManager.
Note: Your app will need to request notification permission and tracking permission (App Tracking Transparency) at the correct stage of its lifecycle. When to prompt is up to the developer / company — for example (not limited to): at app launch, or after the user logs in. The SDK provides requestNotificationPermission() and requestTrackingPermission() for this (see API).
1. Conform to UNUserNotificationCenterDelegate
Update the AppDelegate class declaration to inherit UNUserNotificationCenterDelegate. This allows AppDelegate to receive notification-related callbacks from the system.
2. didRegisterForRemoteNotificationsWithDeviceToken
Called by the system after APNs successfully registers the device for push notifications. Converts the binary device token to a hex string and stores it in UserDefaults under the key DeviceToken so the SDK can read it later.
func application(_ application: UIApplication,
                didRegisterForRemoteNotificationsWithDeviceToken deviceToken: Data) {
    let tokenParts = deviceToken.map { String(format: "%02x", $0) }
    let token = tokenParts.joined()

    UserDefaults.standard.set(token, forKey: "DeviceToken")
    UserDefaults.standard.synchronize()

    // Optionally request tracking permission here
}
3. didFailToRegisterForRemoteNotificationsWithError
Called by the system when the system fails to register a device token.
Handy for debugging.
func application(
_ application: UIApplication,
didFailToRegisterForRemoteNotificationsWithError error: Error
) {
/// Some error occured while registering for device token
/// Add logging as necessary
}
4. application(_:open:options:) (React Native only)
Called when the app is opened via a URL (for example, from a deep link in a notification). Delegates URL handling to React Native's RCTLinkingManager so the JS navigation layer can respond. This function is not required in a pure iOS (non-React Native) app.
func application(_ app: UIApplication, open url: URL, options: [UIApplication.OpenURLOptionsKey: Any] = [:]) -> Bool {
return RCTLinkingManager.application(app, open: url, options: options)
}
5. application(_:didReceiveRemoteNotification:fetchCompletionHandler:)
Called when a background or foreground remote notification is received. Passes the notification payload to TaguchimailPush so it can process delivery receipts and queue any in-app message data. Replace "group.com.company.appname" with your App Group identifier.
func application(
    _ application: UIApplication,
    didReceiveRemoteNotification userInfo: [AnyHashable : Any],
    fetchCompletionHandler completionHandler: @escaping (UIBackgroundFetchResult) -> Void
) {
    TaguchimailPush.handleDidReceiveRemoteNotification(userInfo: userInfo, applicationGroupIdentifier: "group.com.company.appname") {
        (data) in
        completionHandler(data)
    }
}
6. userNotificationCenter(_:didReceive:withCompletionHandler:)
Called when the user taps a notification or selects a custom action. Forwards the interaction to TaguchimailPush.performNotificationAction for Taguchi tracking, then calls completionHandler() to signal processing is complete.
func userNotificationCenter(
    _ center: UNUserNotificationCenter, didReceive response: UNNotificationResponse,
    withCompletionHandler completionHandler: @escaping () -> Void
) {
    TaguchimailPush.performNotificationAction(
        categoryIdentifier: response.notification.request.content.categoryIdentifier,
        actionIdentifier: response.actionIdentifier,
        userInfo: response.notification.request.content.userInfo
    )
    completionHandler()
}
7. userNotificationCenter(_:willPresent:withCompletionHandler:)
Called when the app is in foreground and the notification arrives.
func userNotificationCenter(
    _ center: UNUserNotificationCenter, willPresent notification: UNNotification,
    withCompletionHandler completionHandler:
        @escaping (UNNotificationPresentationOptions) -> Void
) {
    completionHandler([.badge, .sound, .banner])
}
Add target using Notification Service Extension template
The code should look like the following:
import TaguchimailPush
import UserNotifications

class NotificationService: UNNotificationServiceExtension {

    var contentHandler: ((UNNotificationContent) -> Void)?
    var bestAttemptContent: UNMutableNotificationContent?

    override func didReceive(
        _ request: UNNotificationRequest,
        withContentHandler contentHandler: @escaping (UNNotificationContent) -> Void
    ) {
        self.contentHandler = contentHandler
        TaguchimailPush.handlePushNotificationServiceExtensionDidReceive(
            request, applicationGroupIdentifier: "group.com.company.appname") {
                (content) in
            self.bestAttemptContent = content
            contentHandler(self.bestAttemptContent!)
        }
    }

    override func serviceExtensionTimeWillExpire() {
        if let contentHandler = contentHandler, let bestAttemptContent = bestAttemptContent {
            contentHandler(bestAttemptContent)
        }
    }

}
Other app configuration
- Add the
taguchimailpush package dependency to your Xcode project from either our repository or from a local copy.
Add taguchimailpush to both the App target and the Notification Service Extension target under App > General > Frameworks, Libraries, and Embedded Content.
Add a PrivacyInfo.xcprivacy file and complete the privacy nutrition label fields for any data your app collects.
Under App > Signing & Capabilities, add the User Notifications usage description to explain why the app requests notification permission.
Under App > Info > URL Types, add a URL scheme entry to enable deep link handling from notifications.
 iOS
iOS Android
 React Native
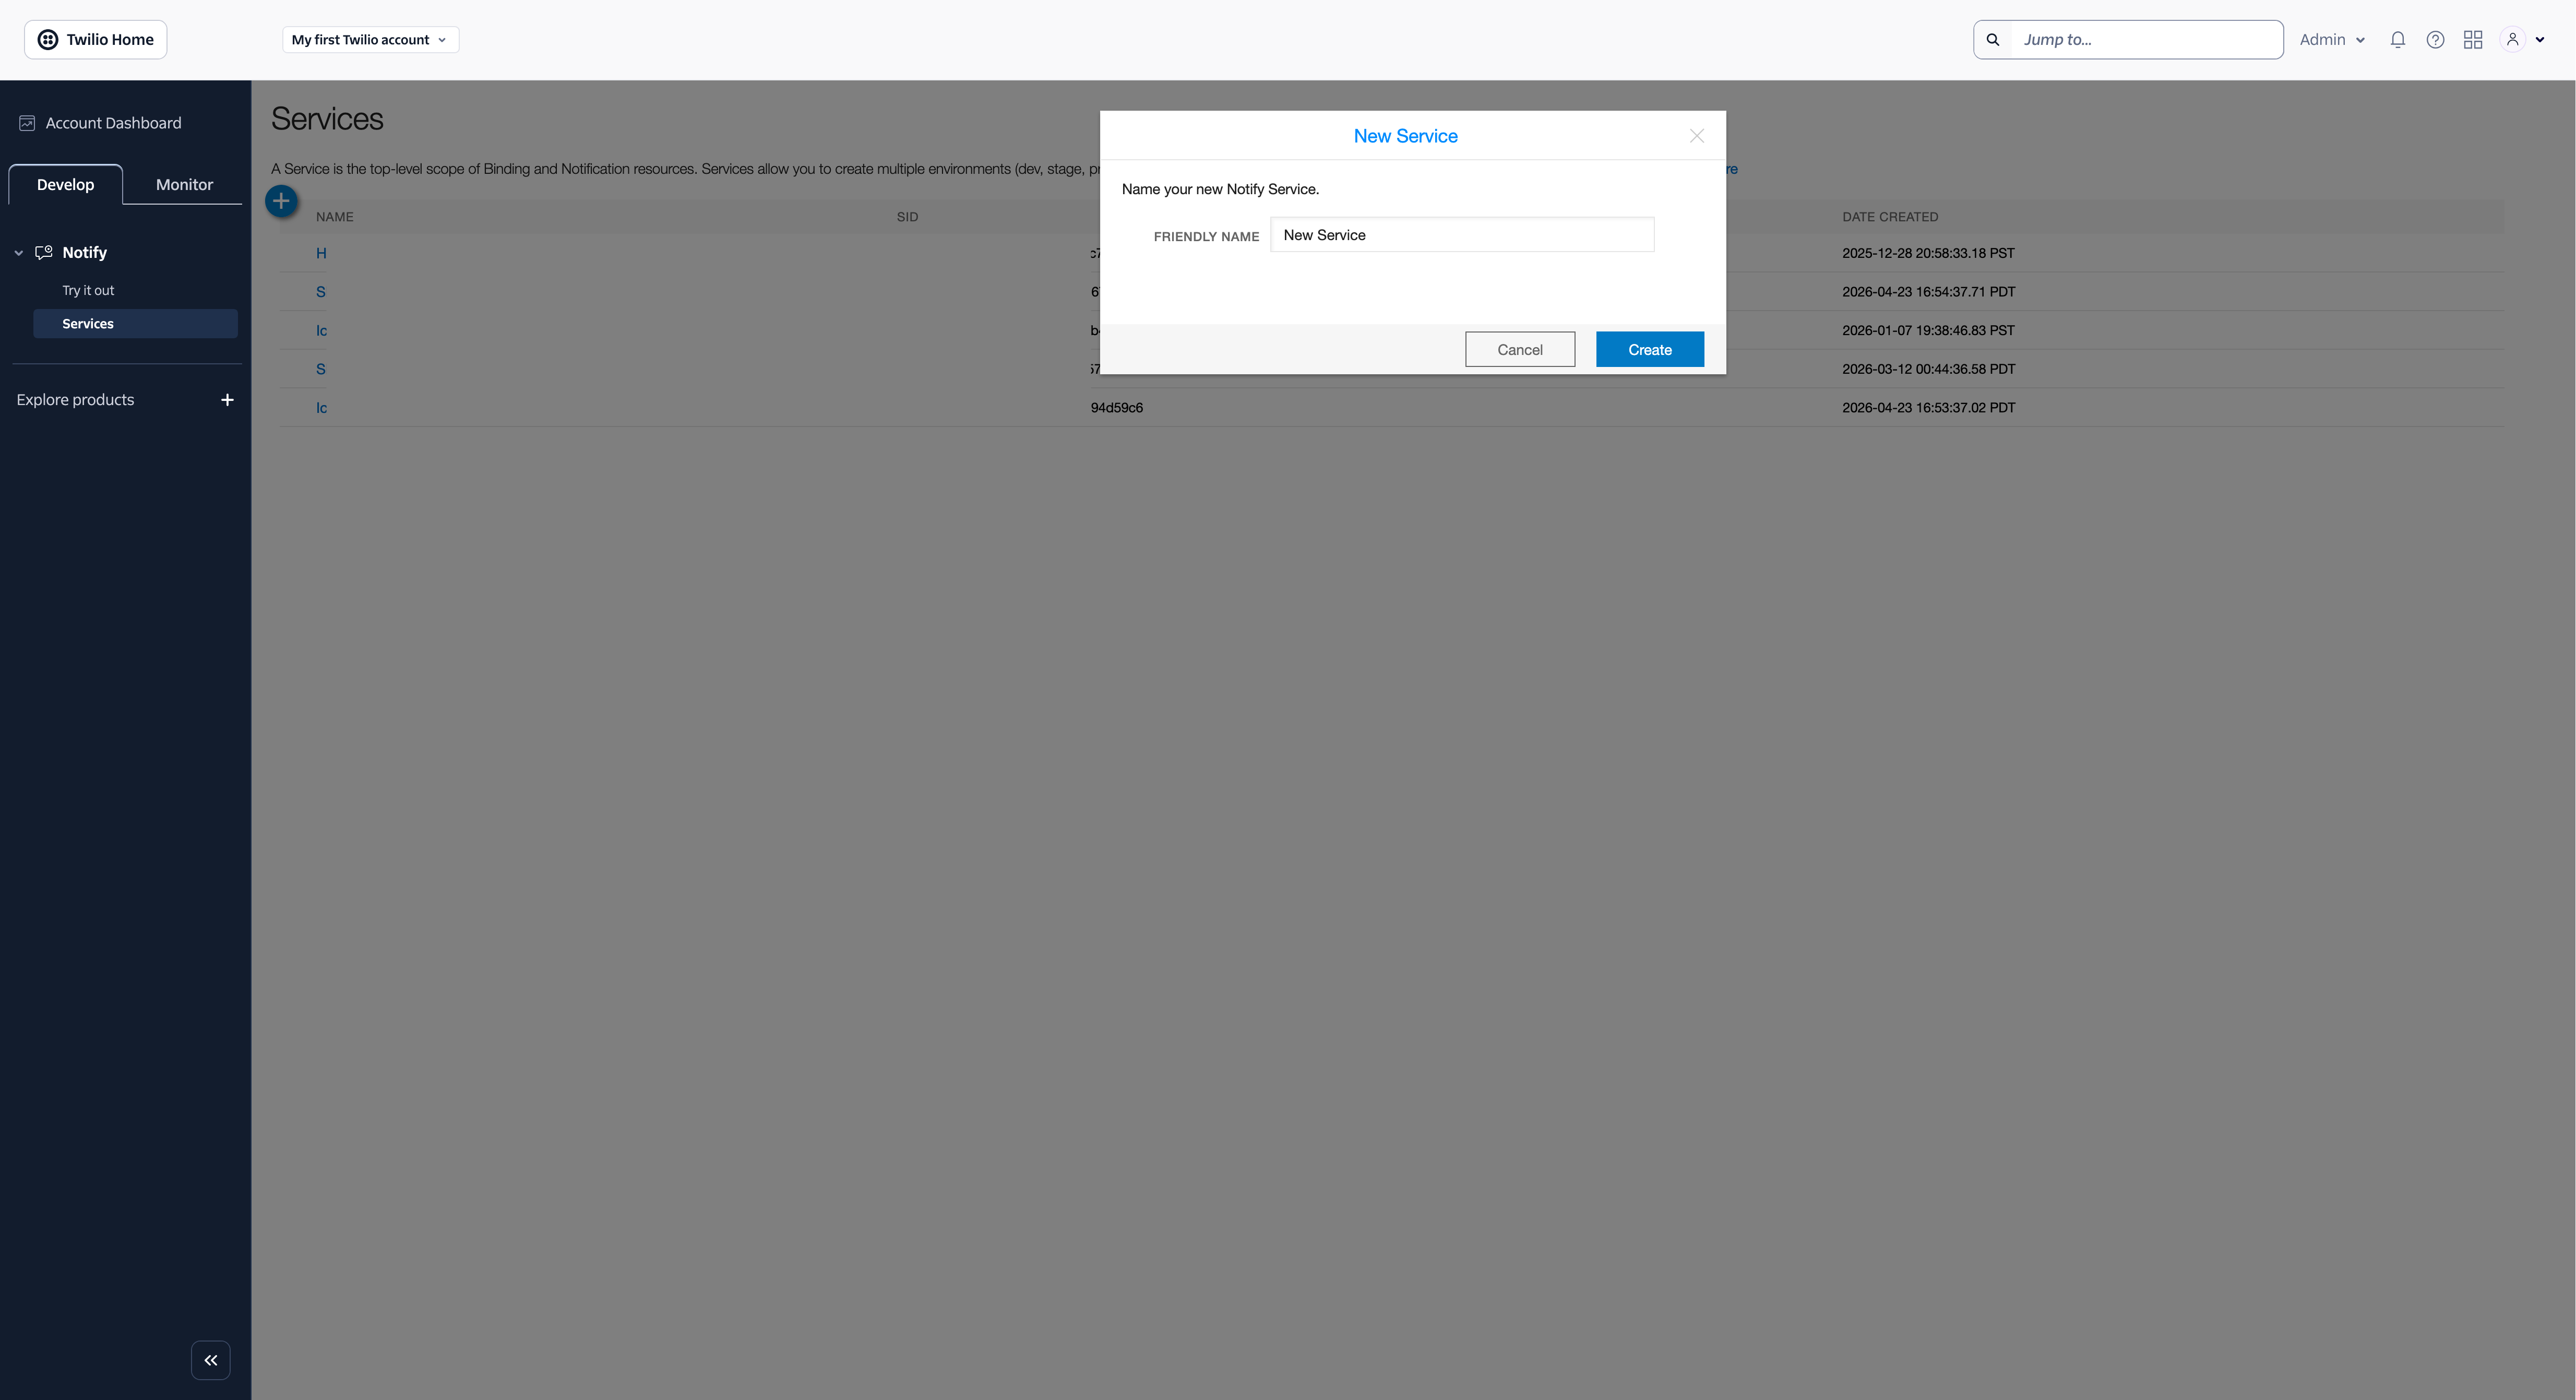 Creating a new Service in Twilio Notify
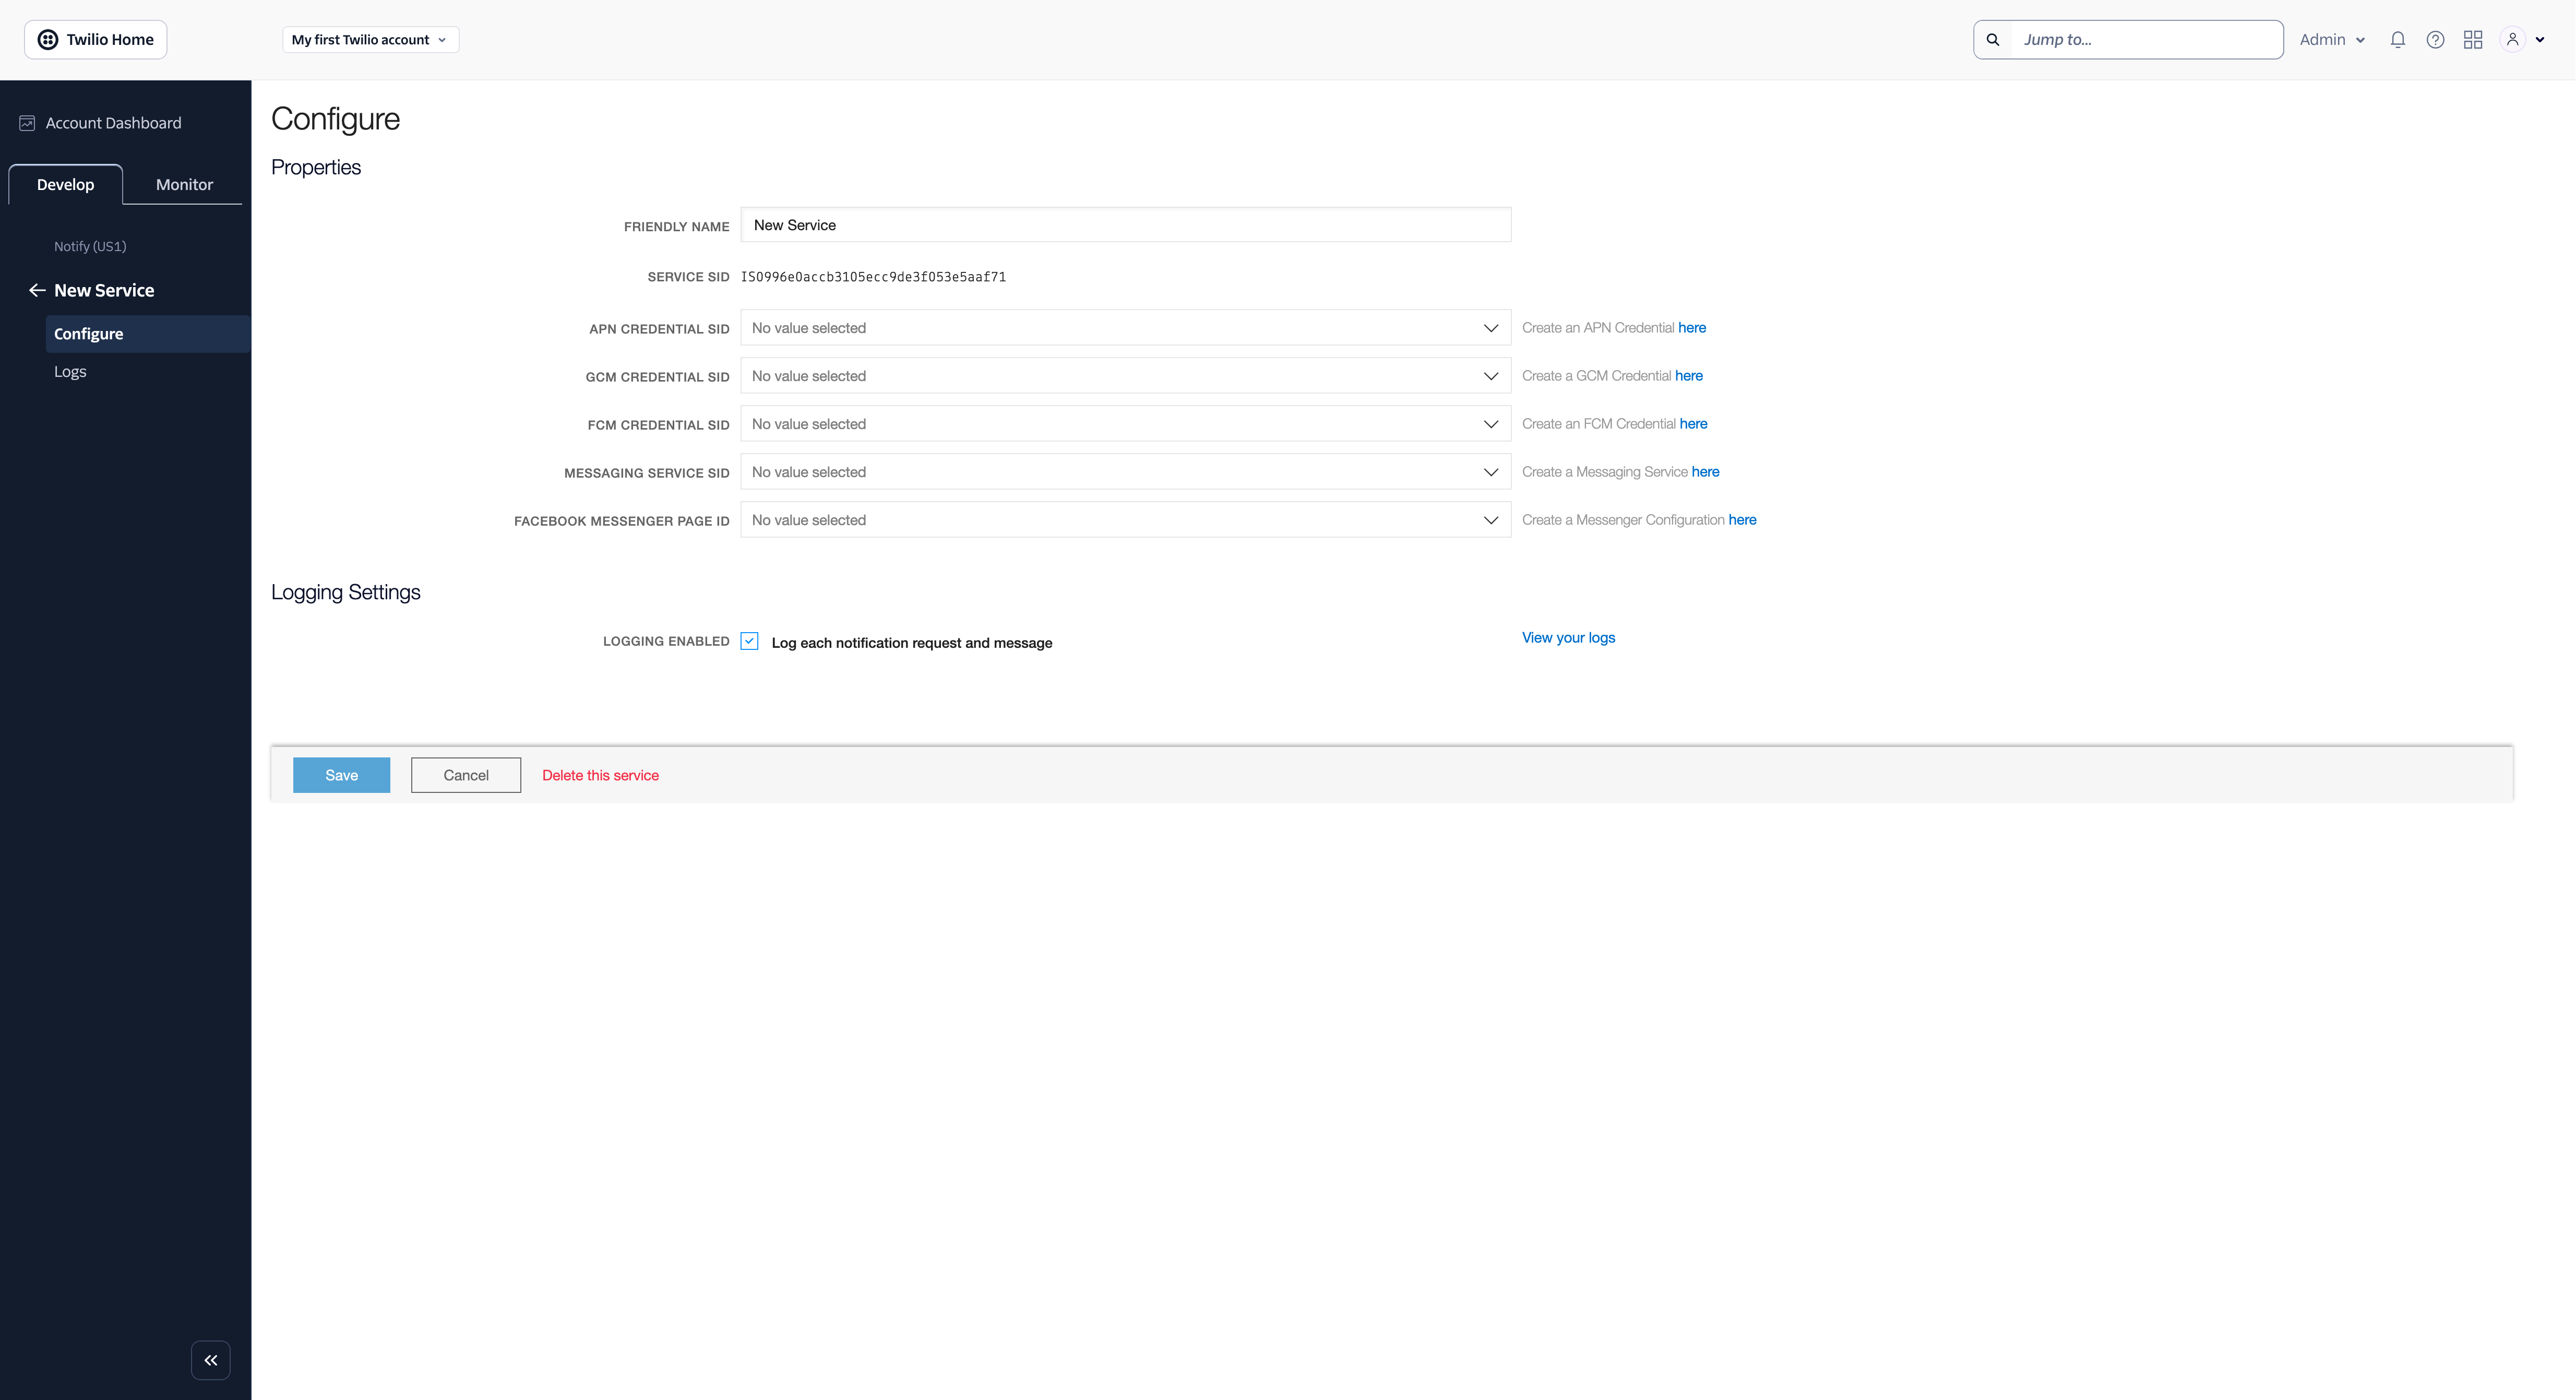 Configuring Service in Twilio Notify
 Apple Developer Account login
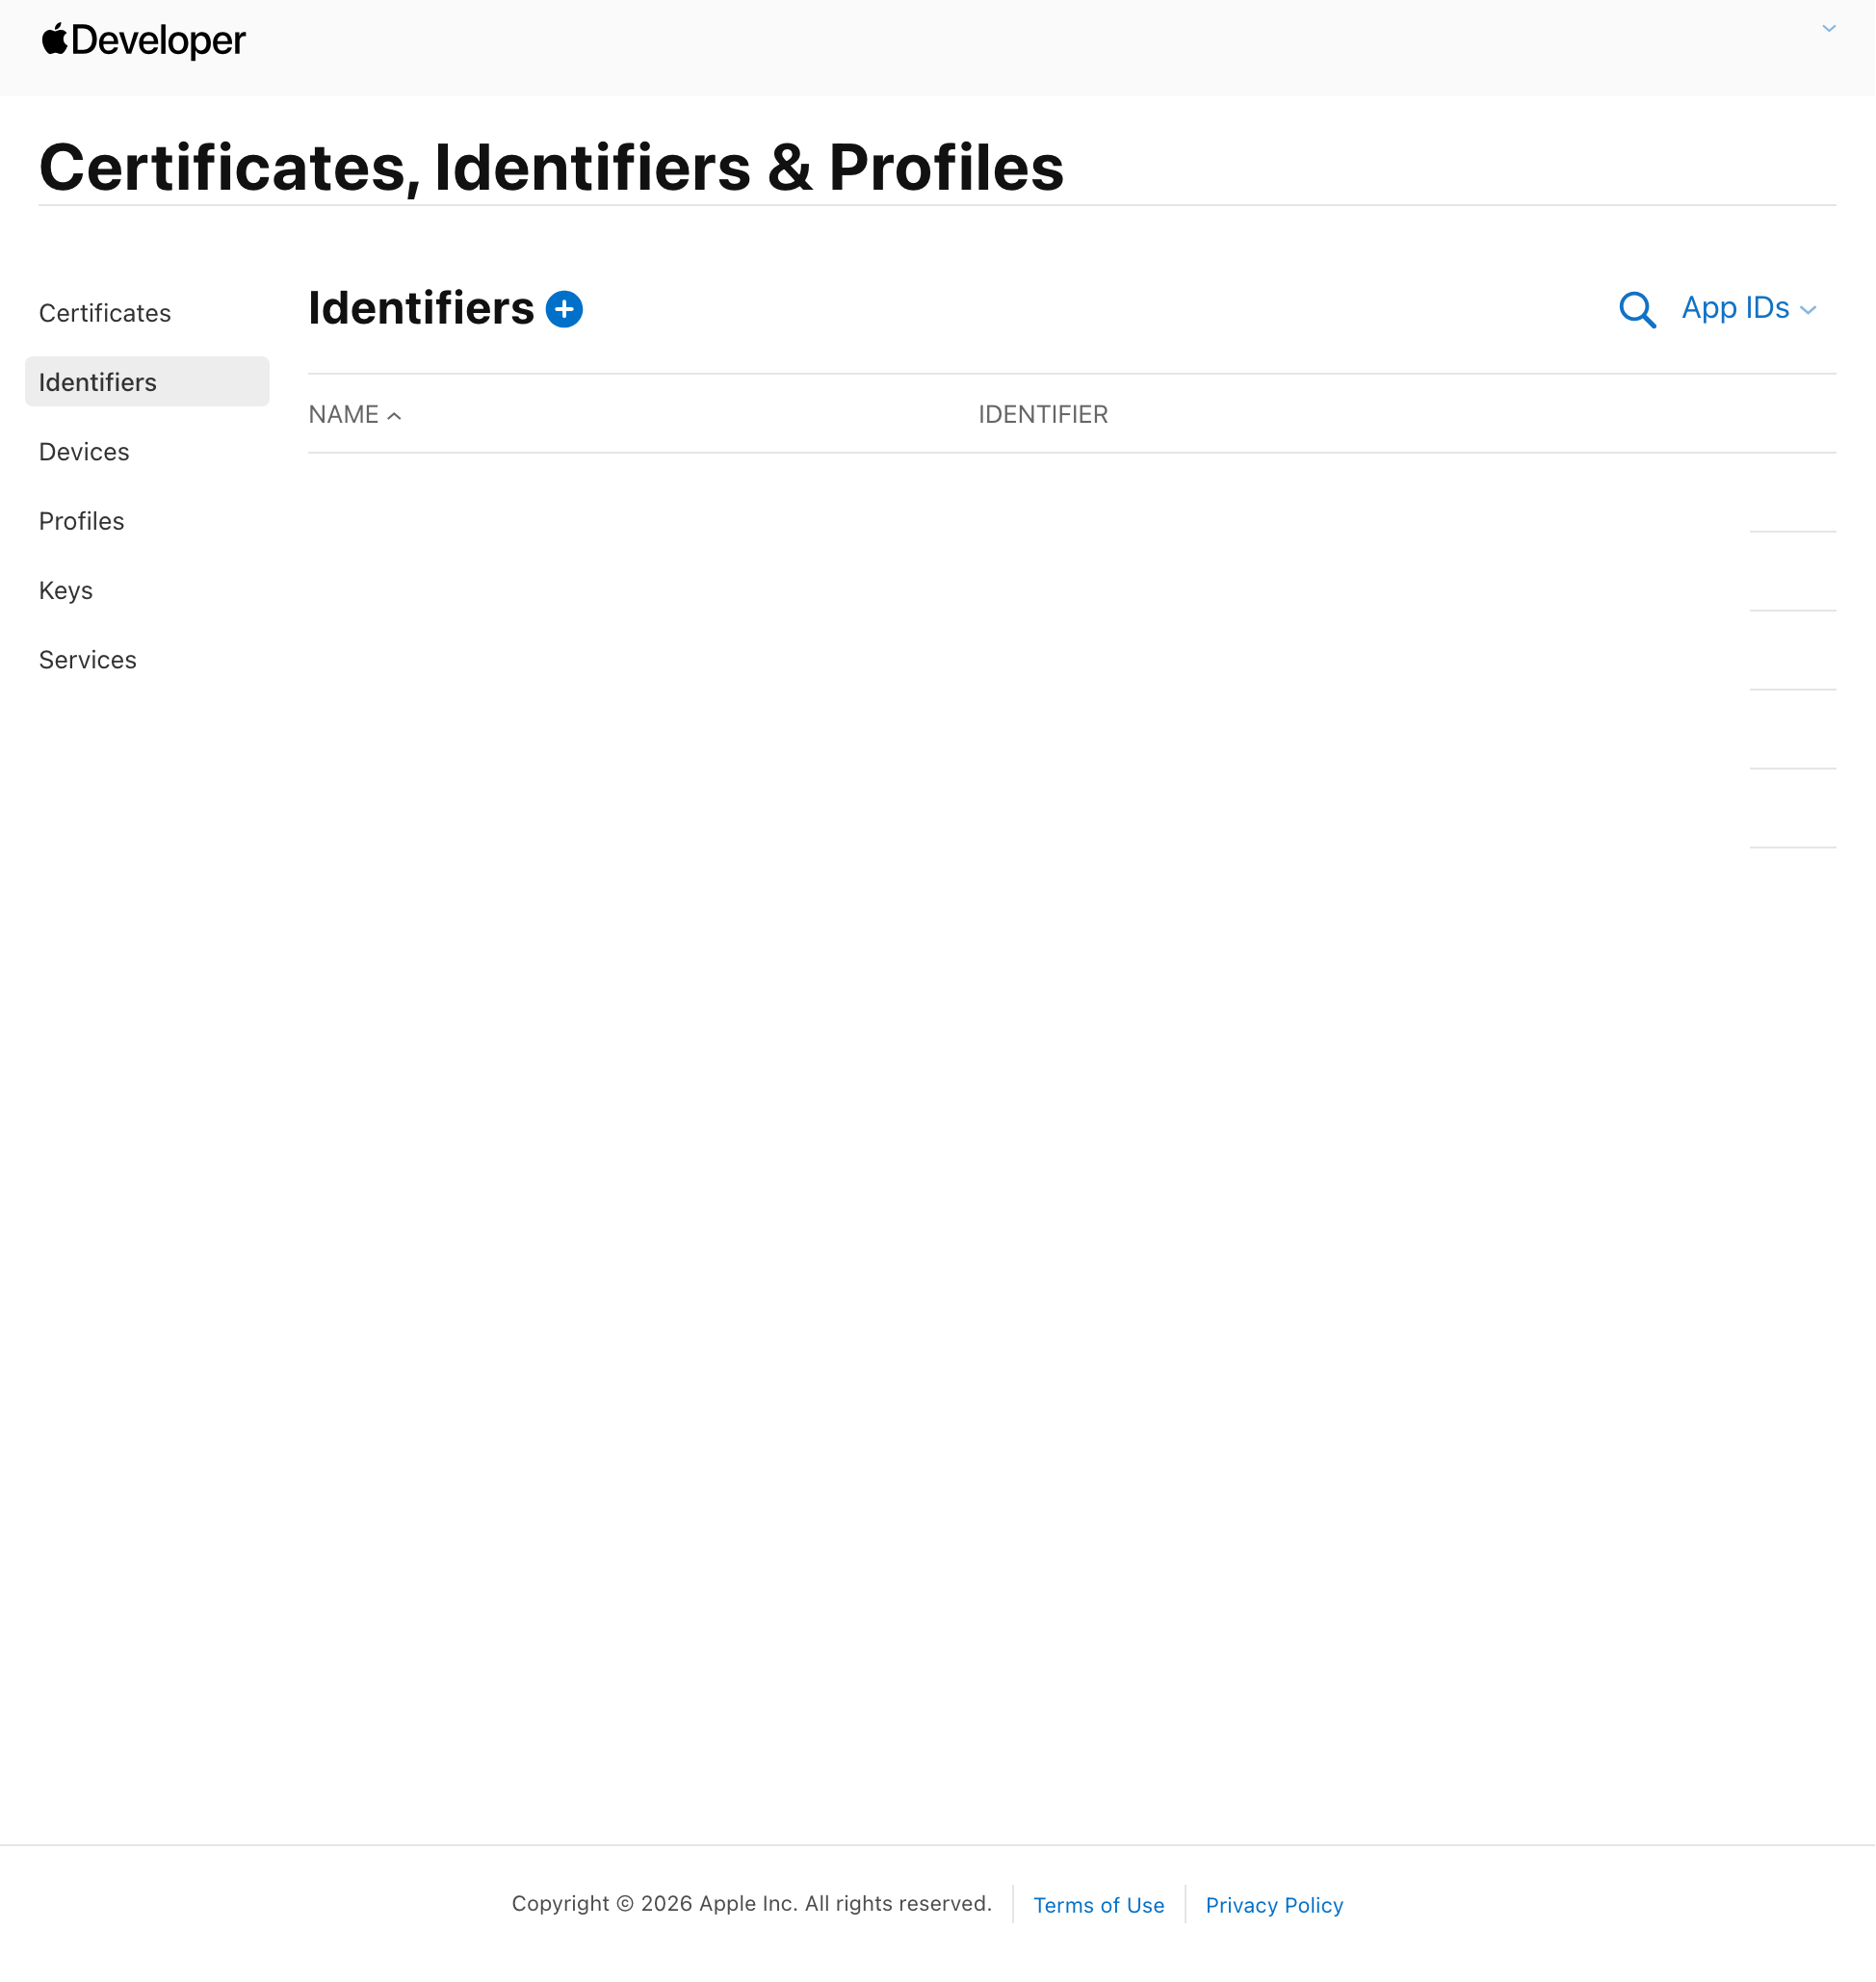 Apple Developer Account Identifiers
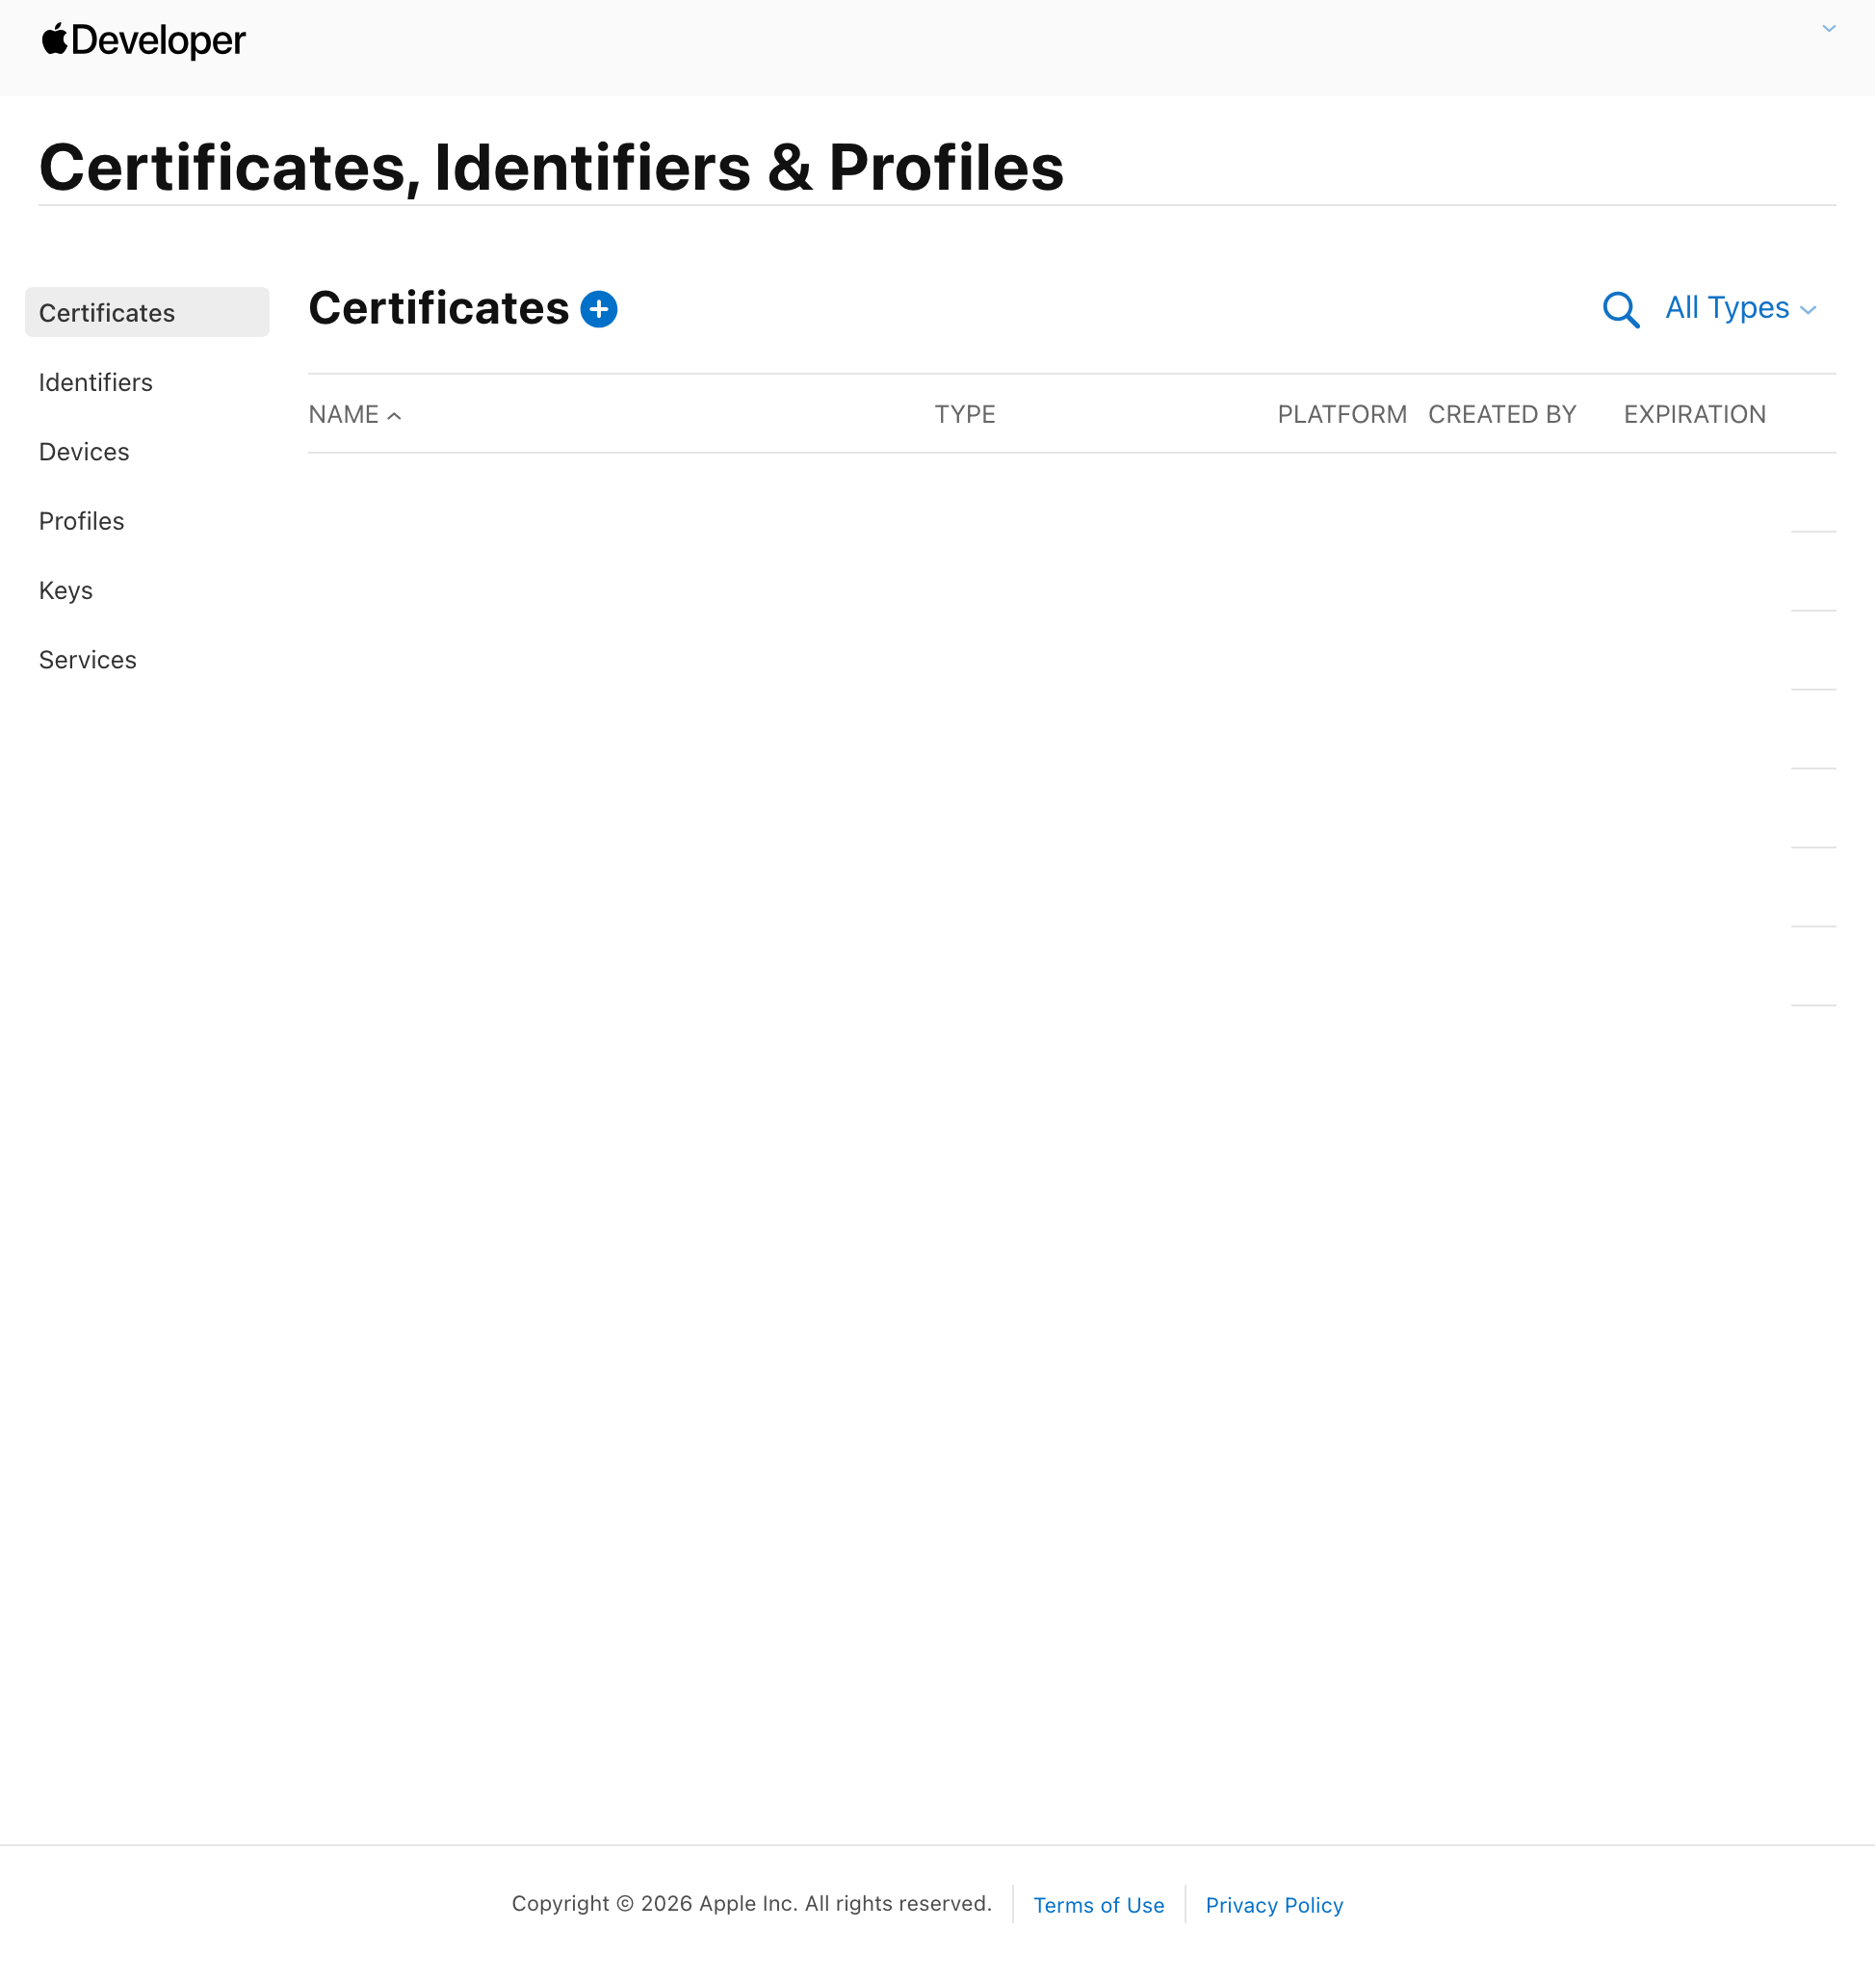 Apple Developer Account Certificates
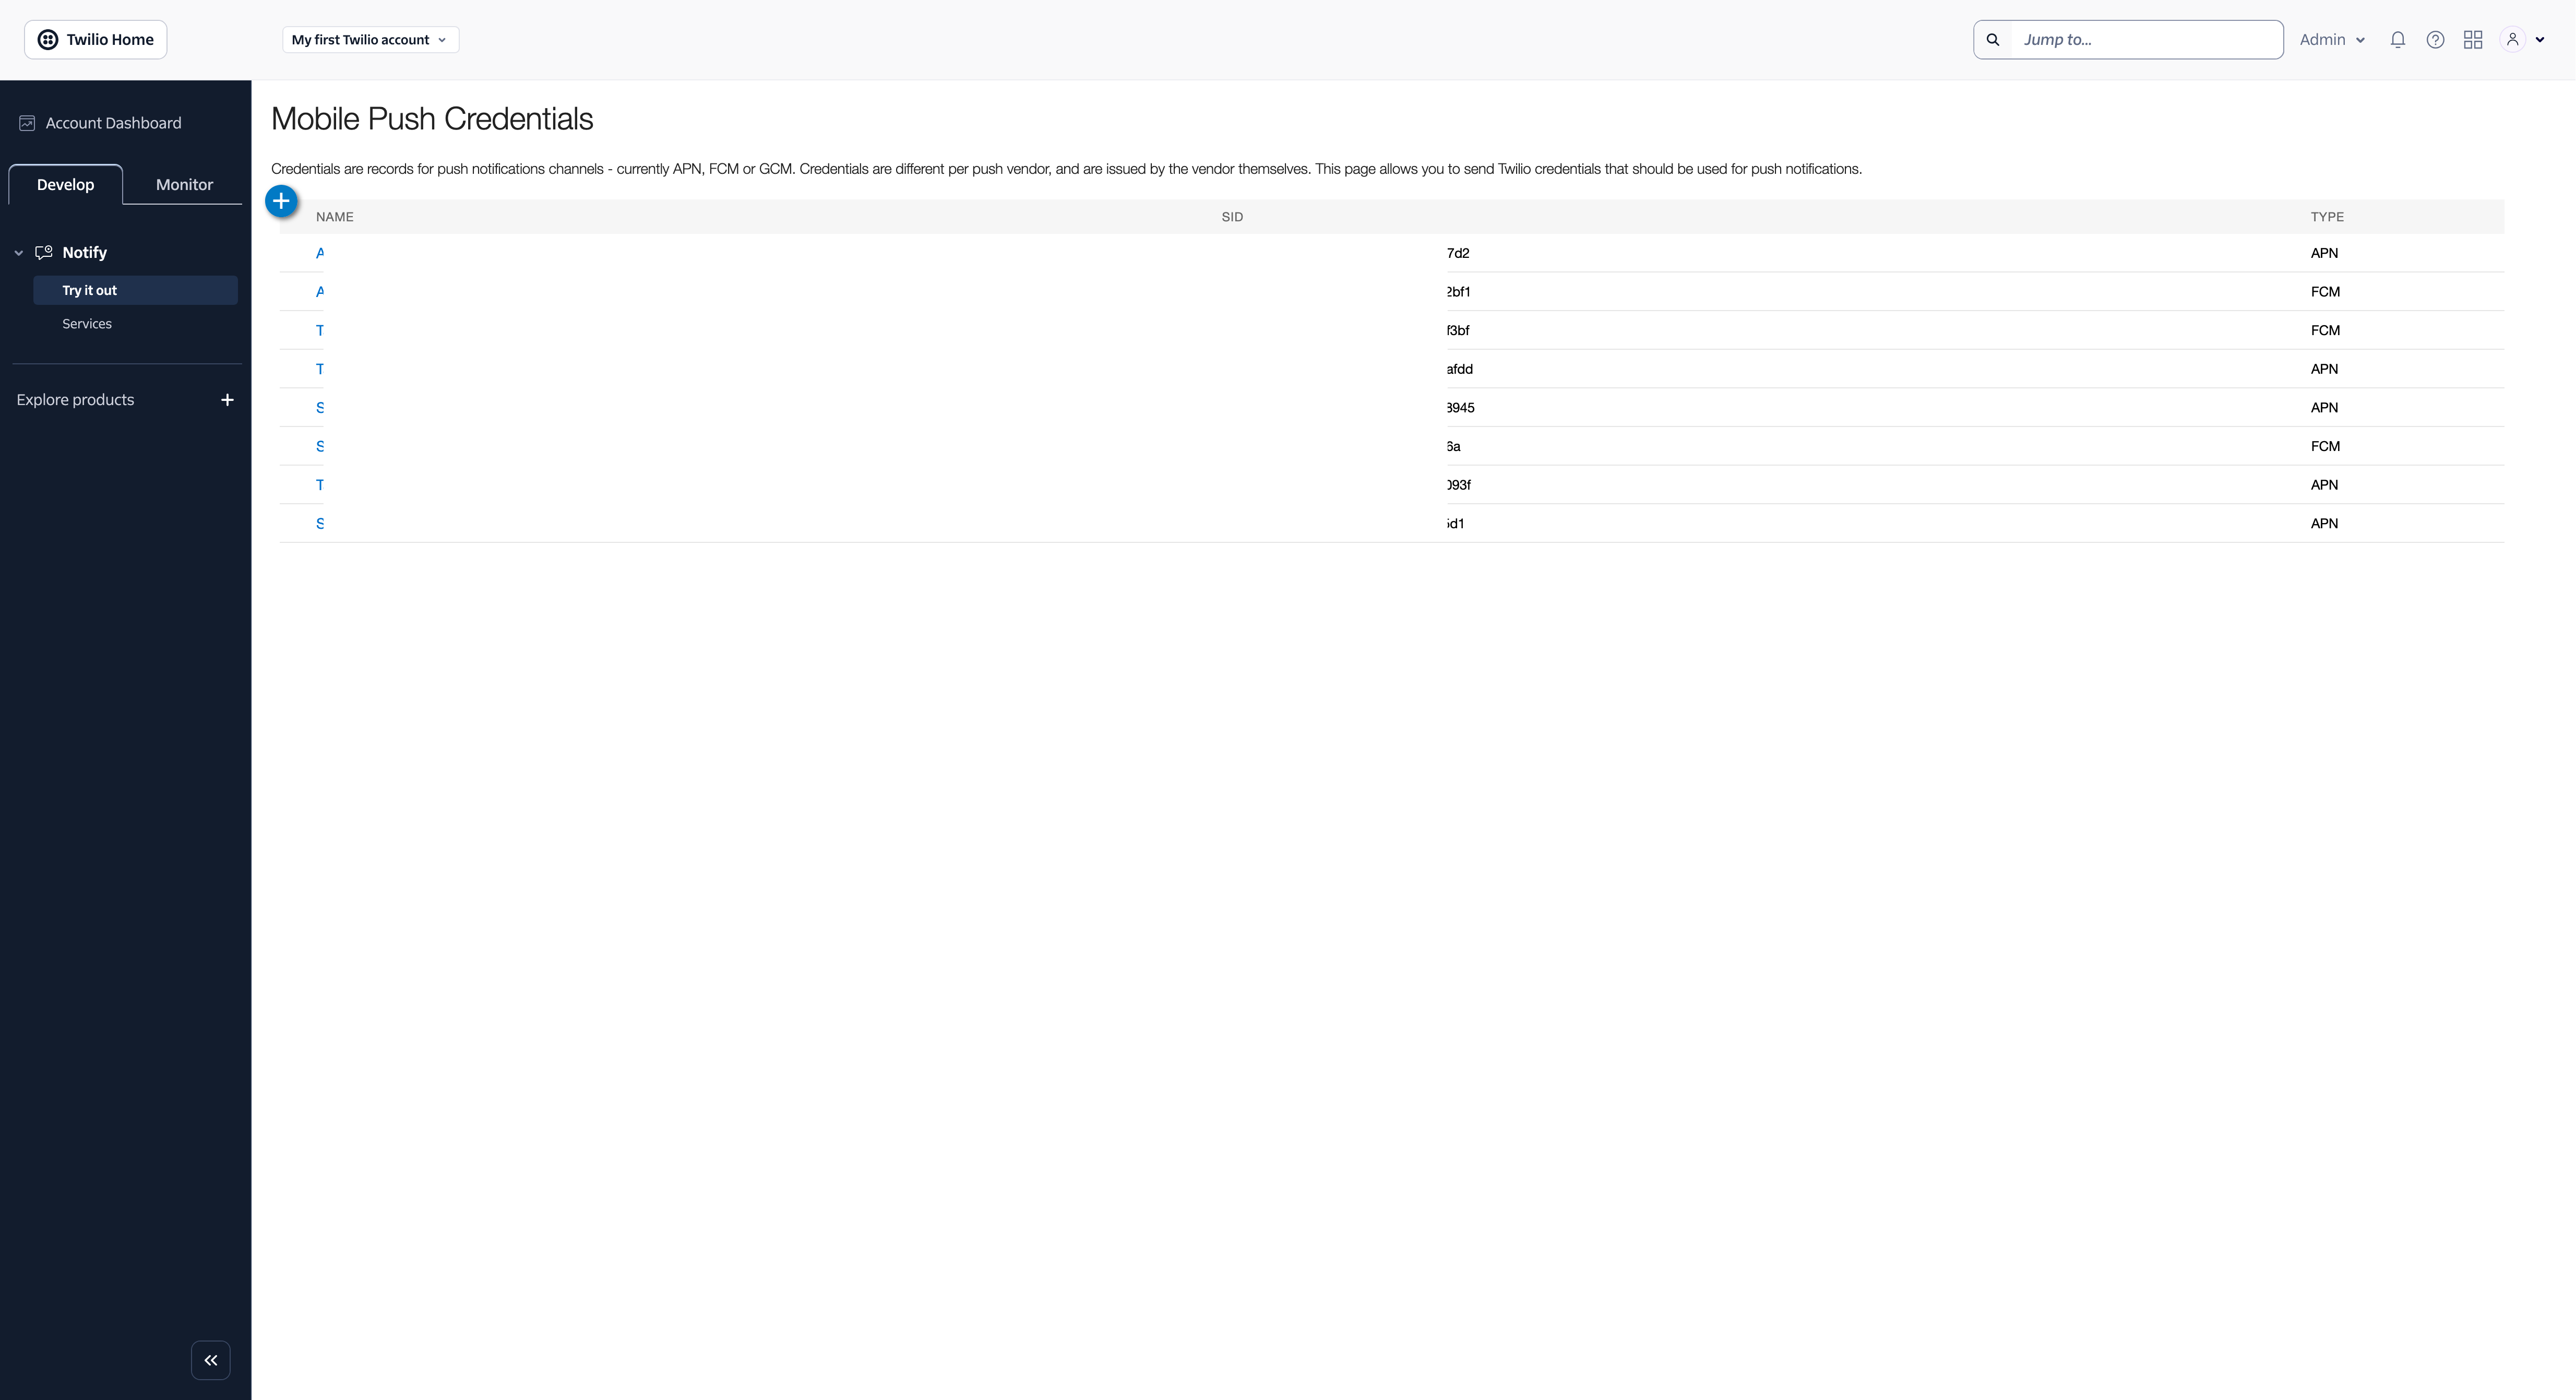 Mobile Push Credentials in Twilio Notify
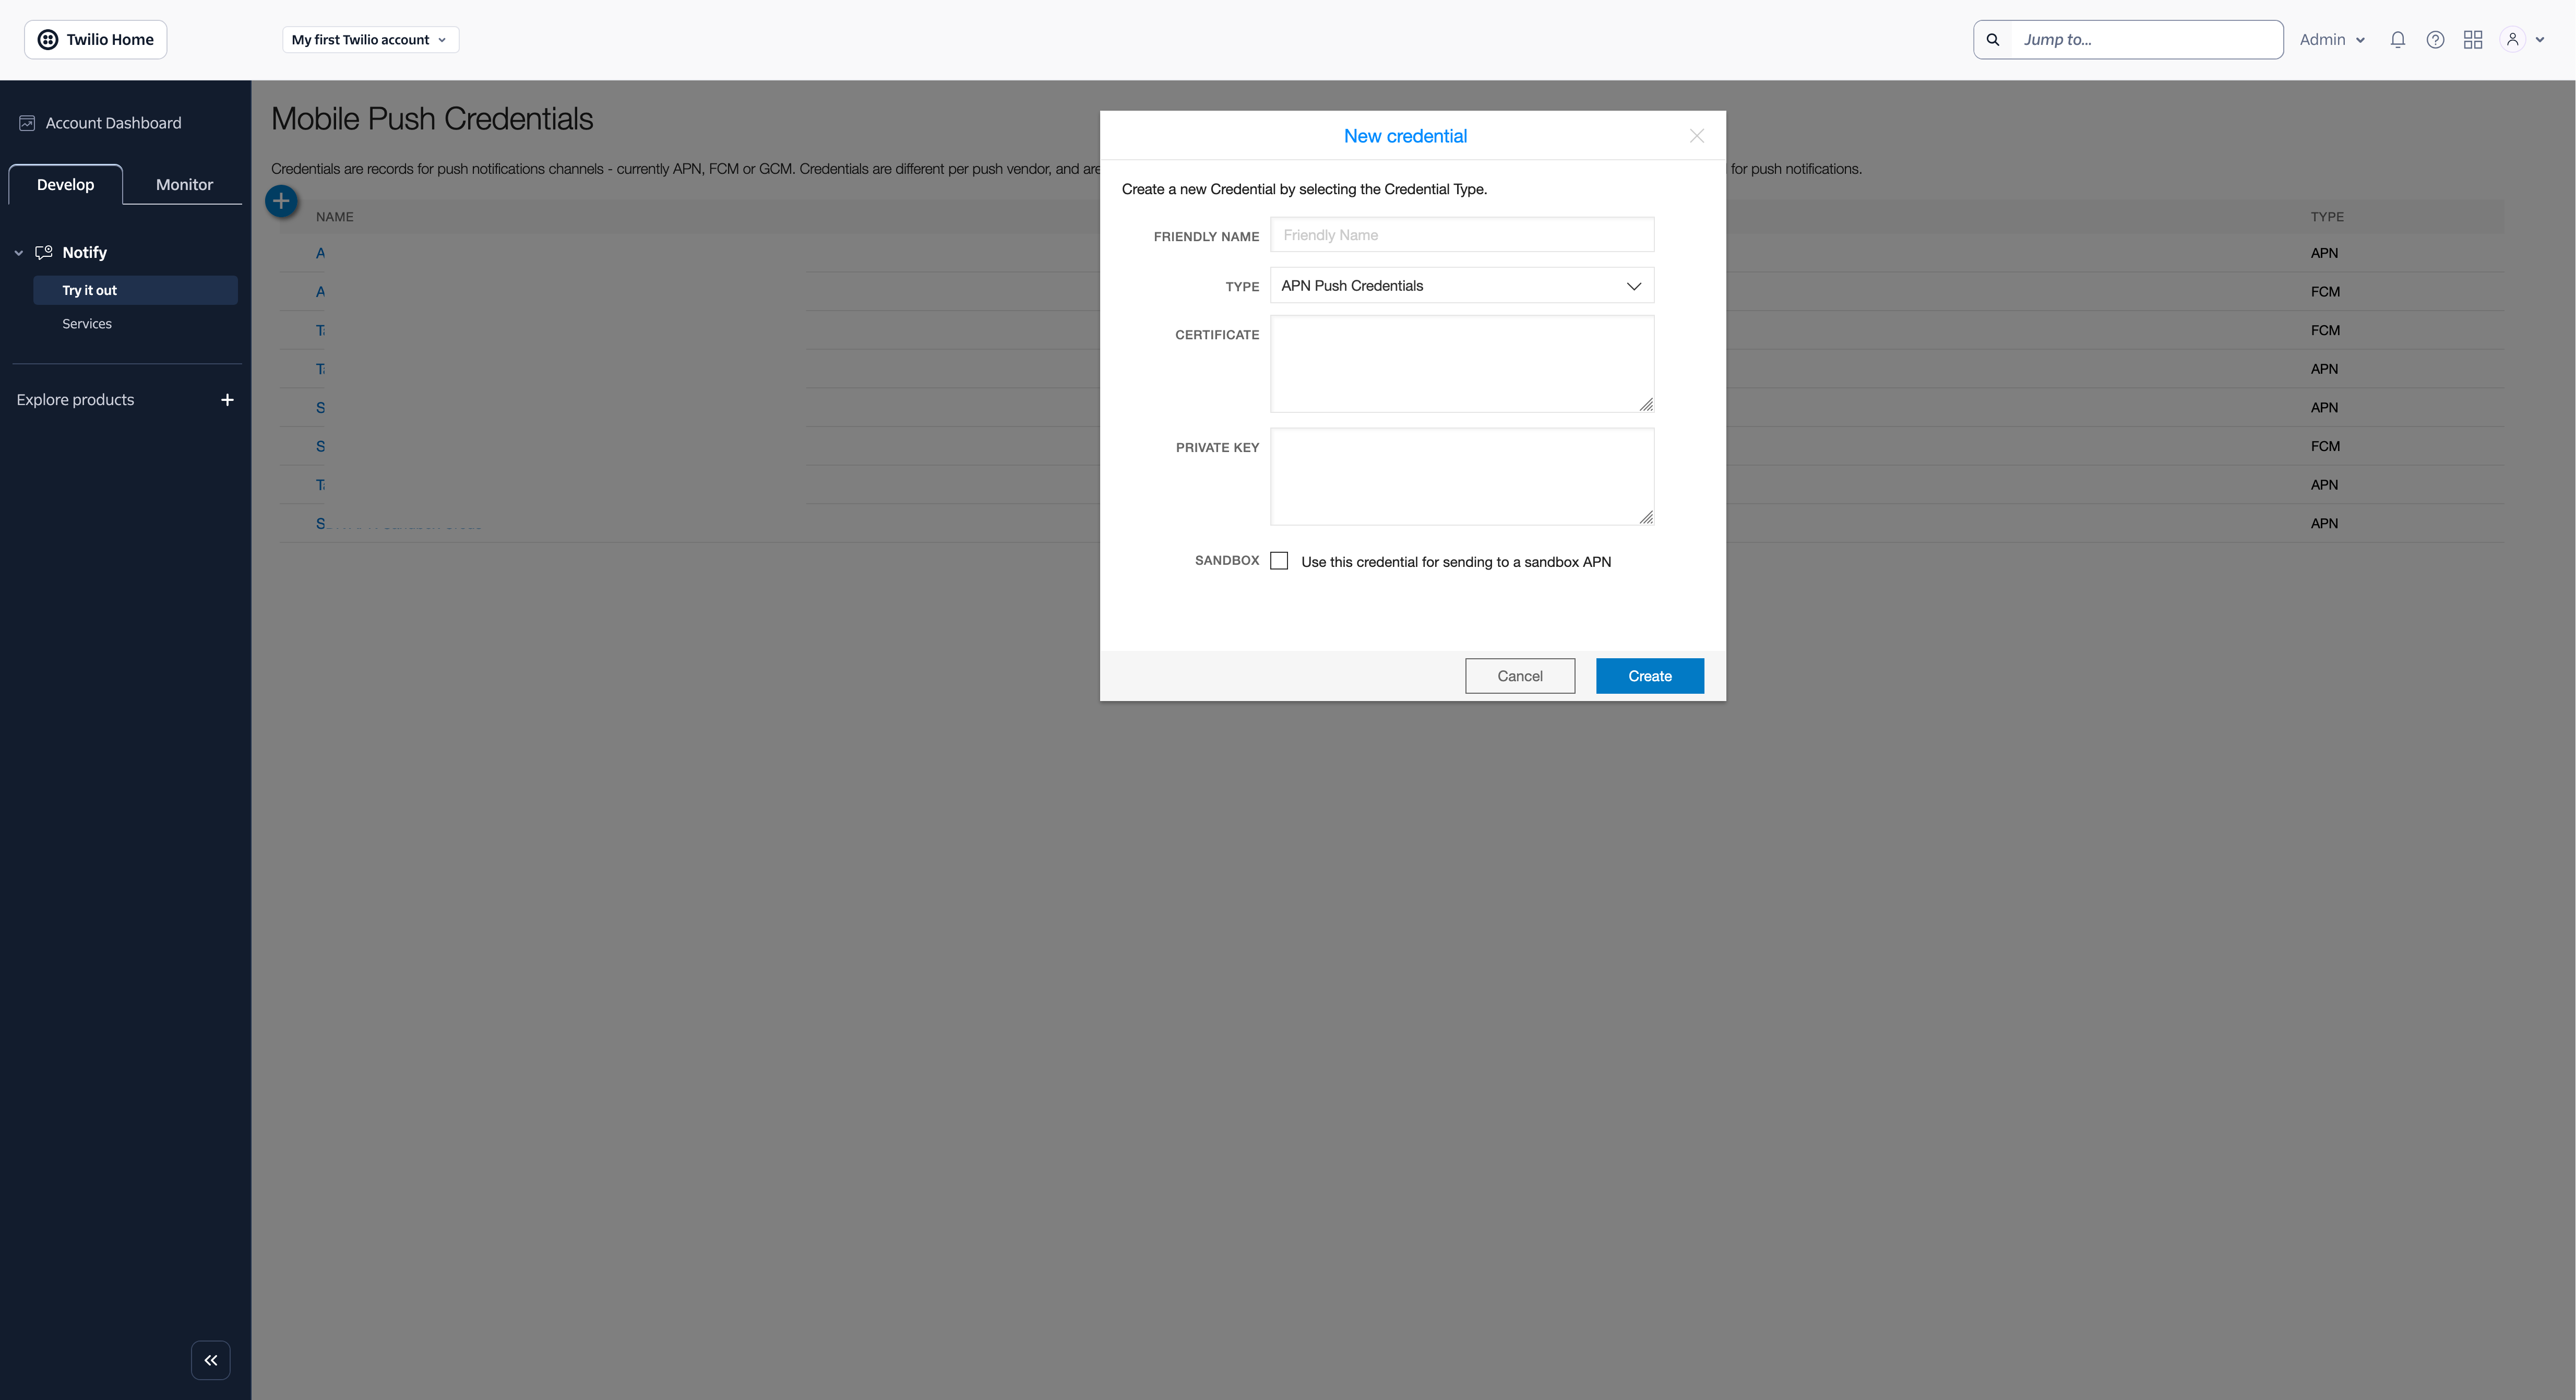 Creating a new APN Credential in Twilio Notify
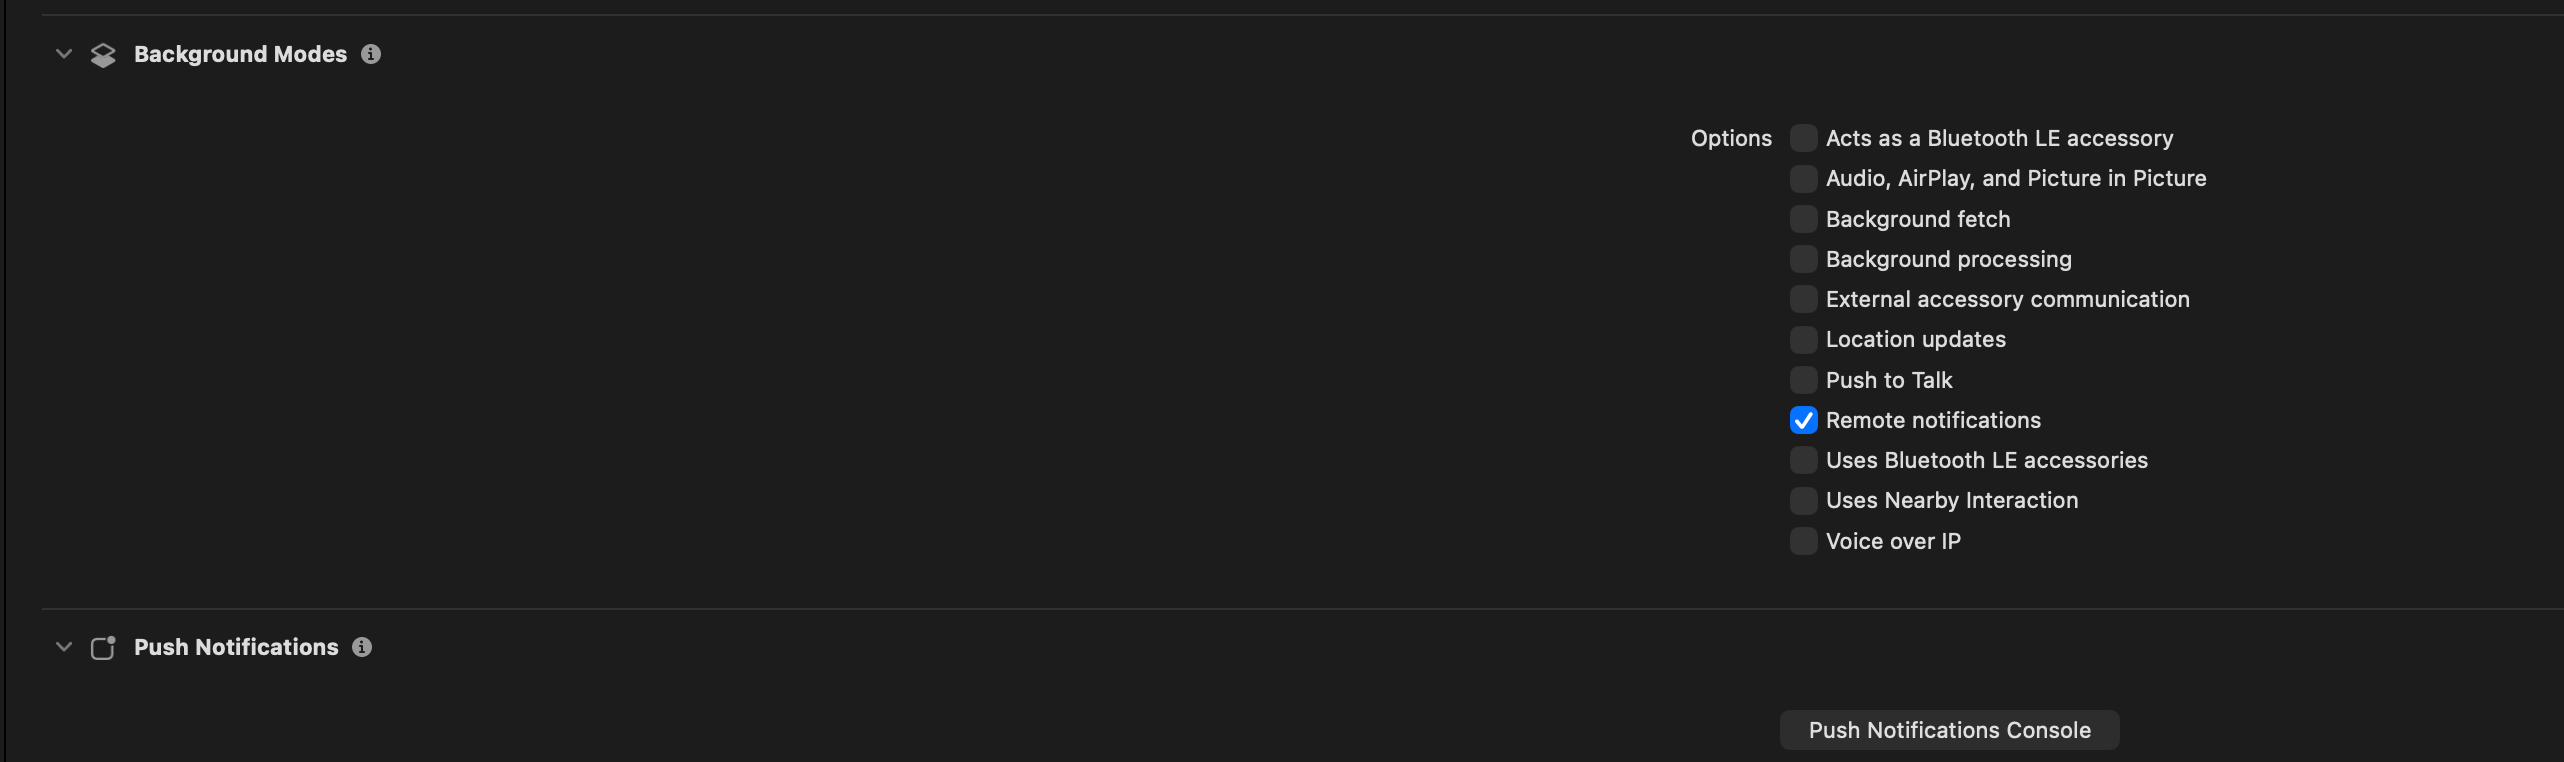 Push notification capabilities configured in XCode
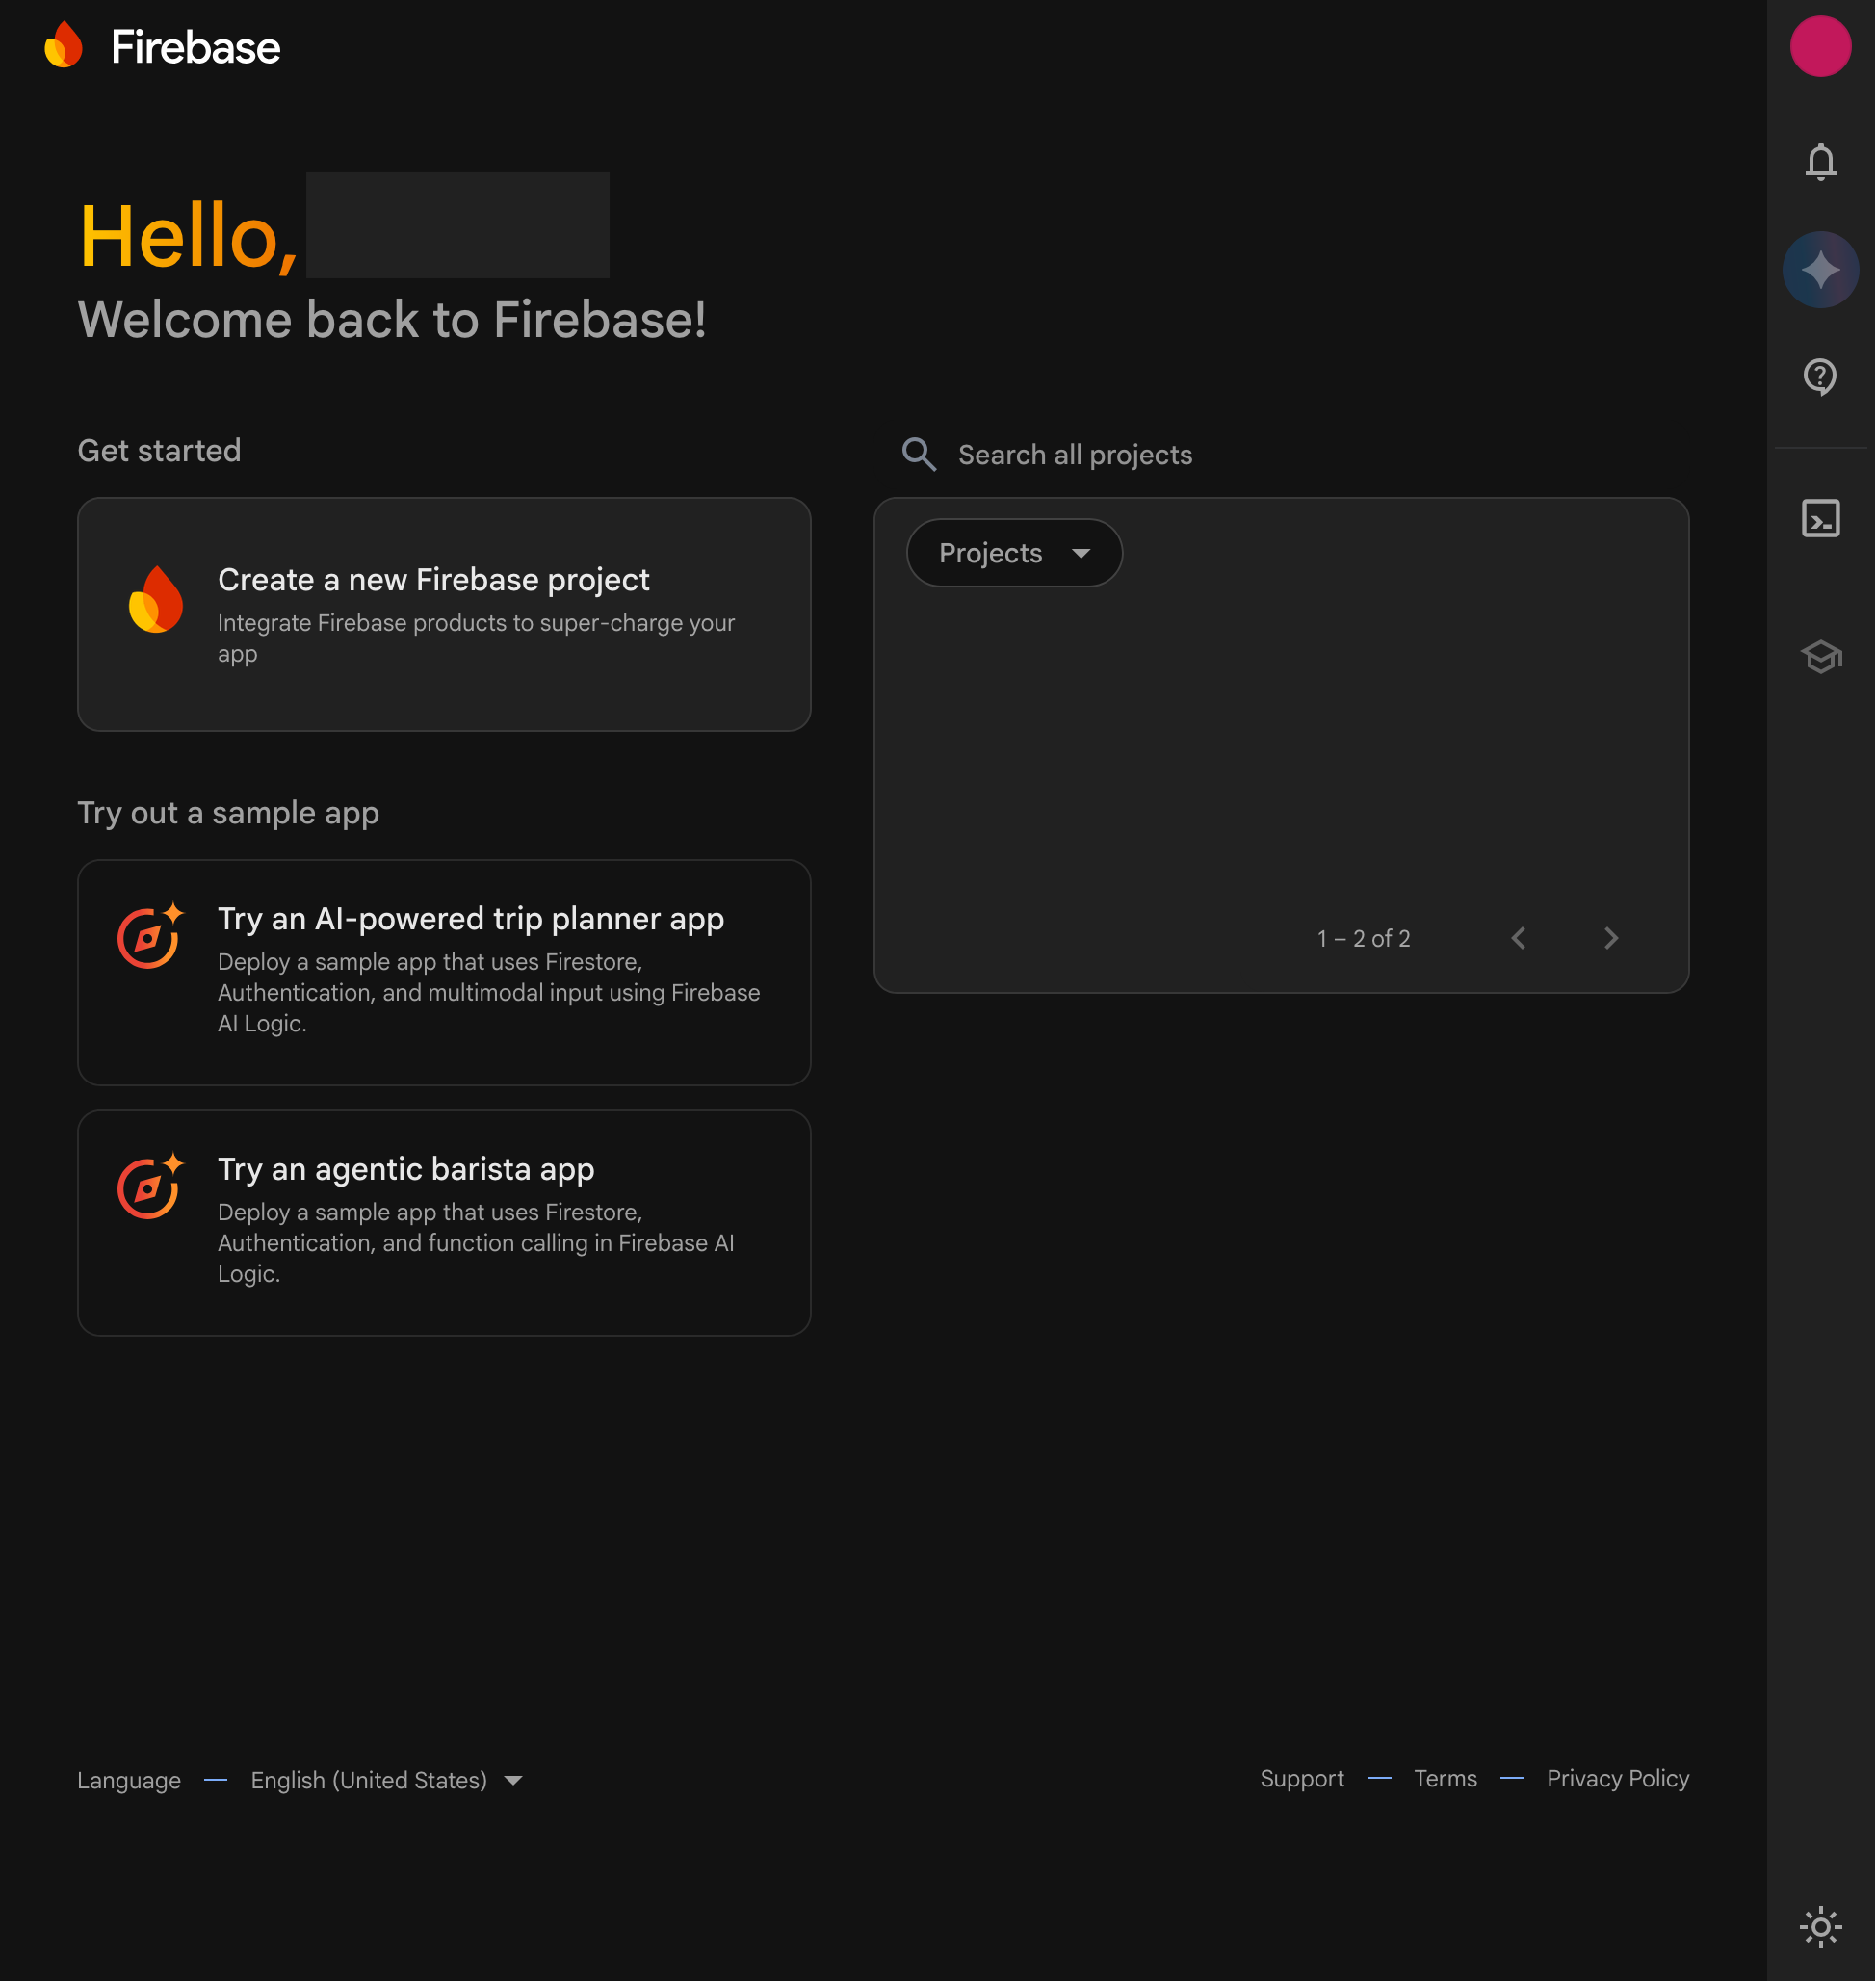 Firebase Dashboard
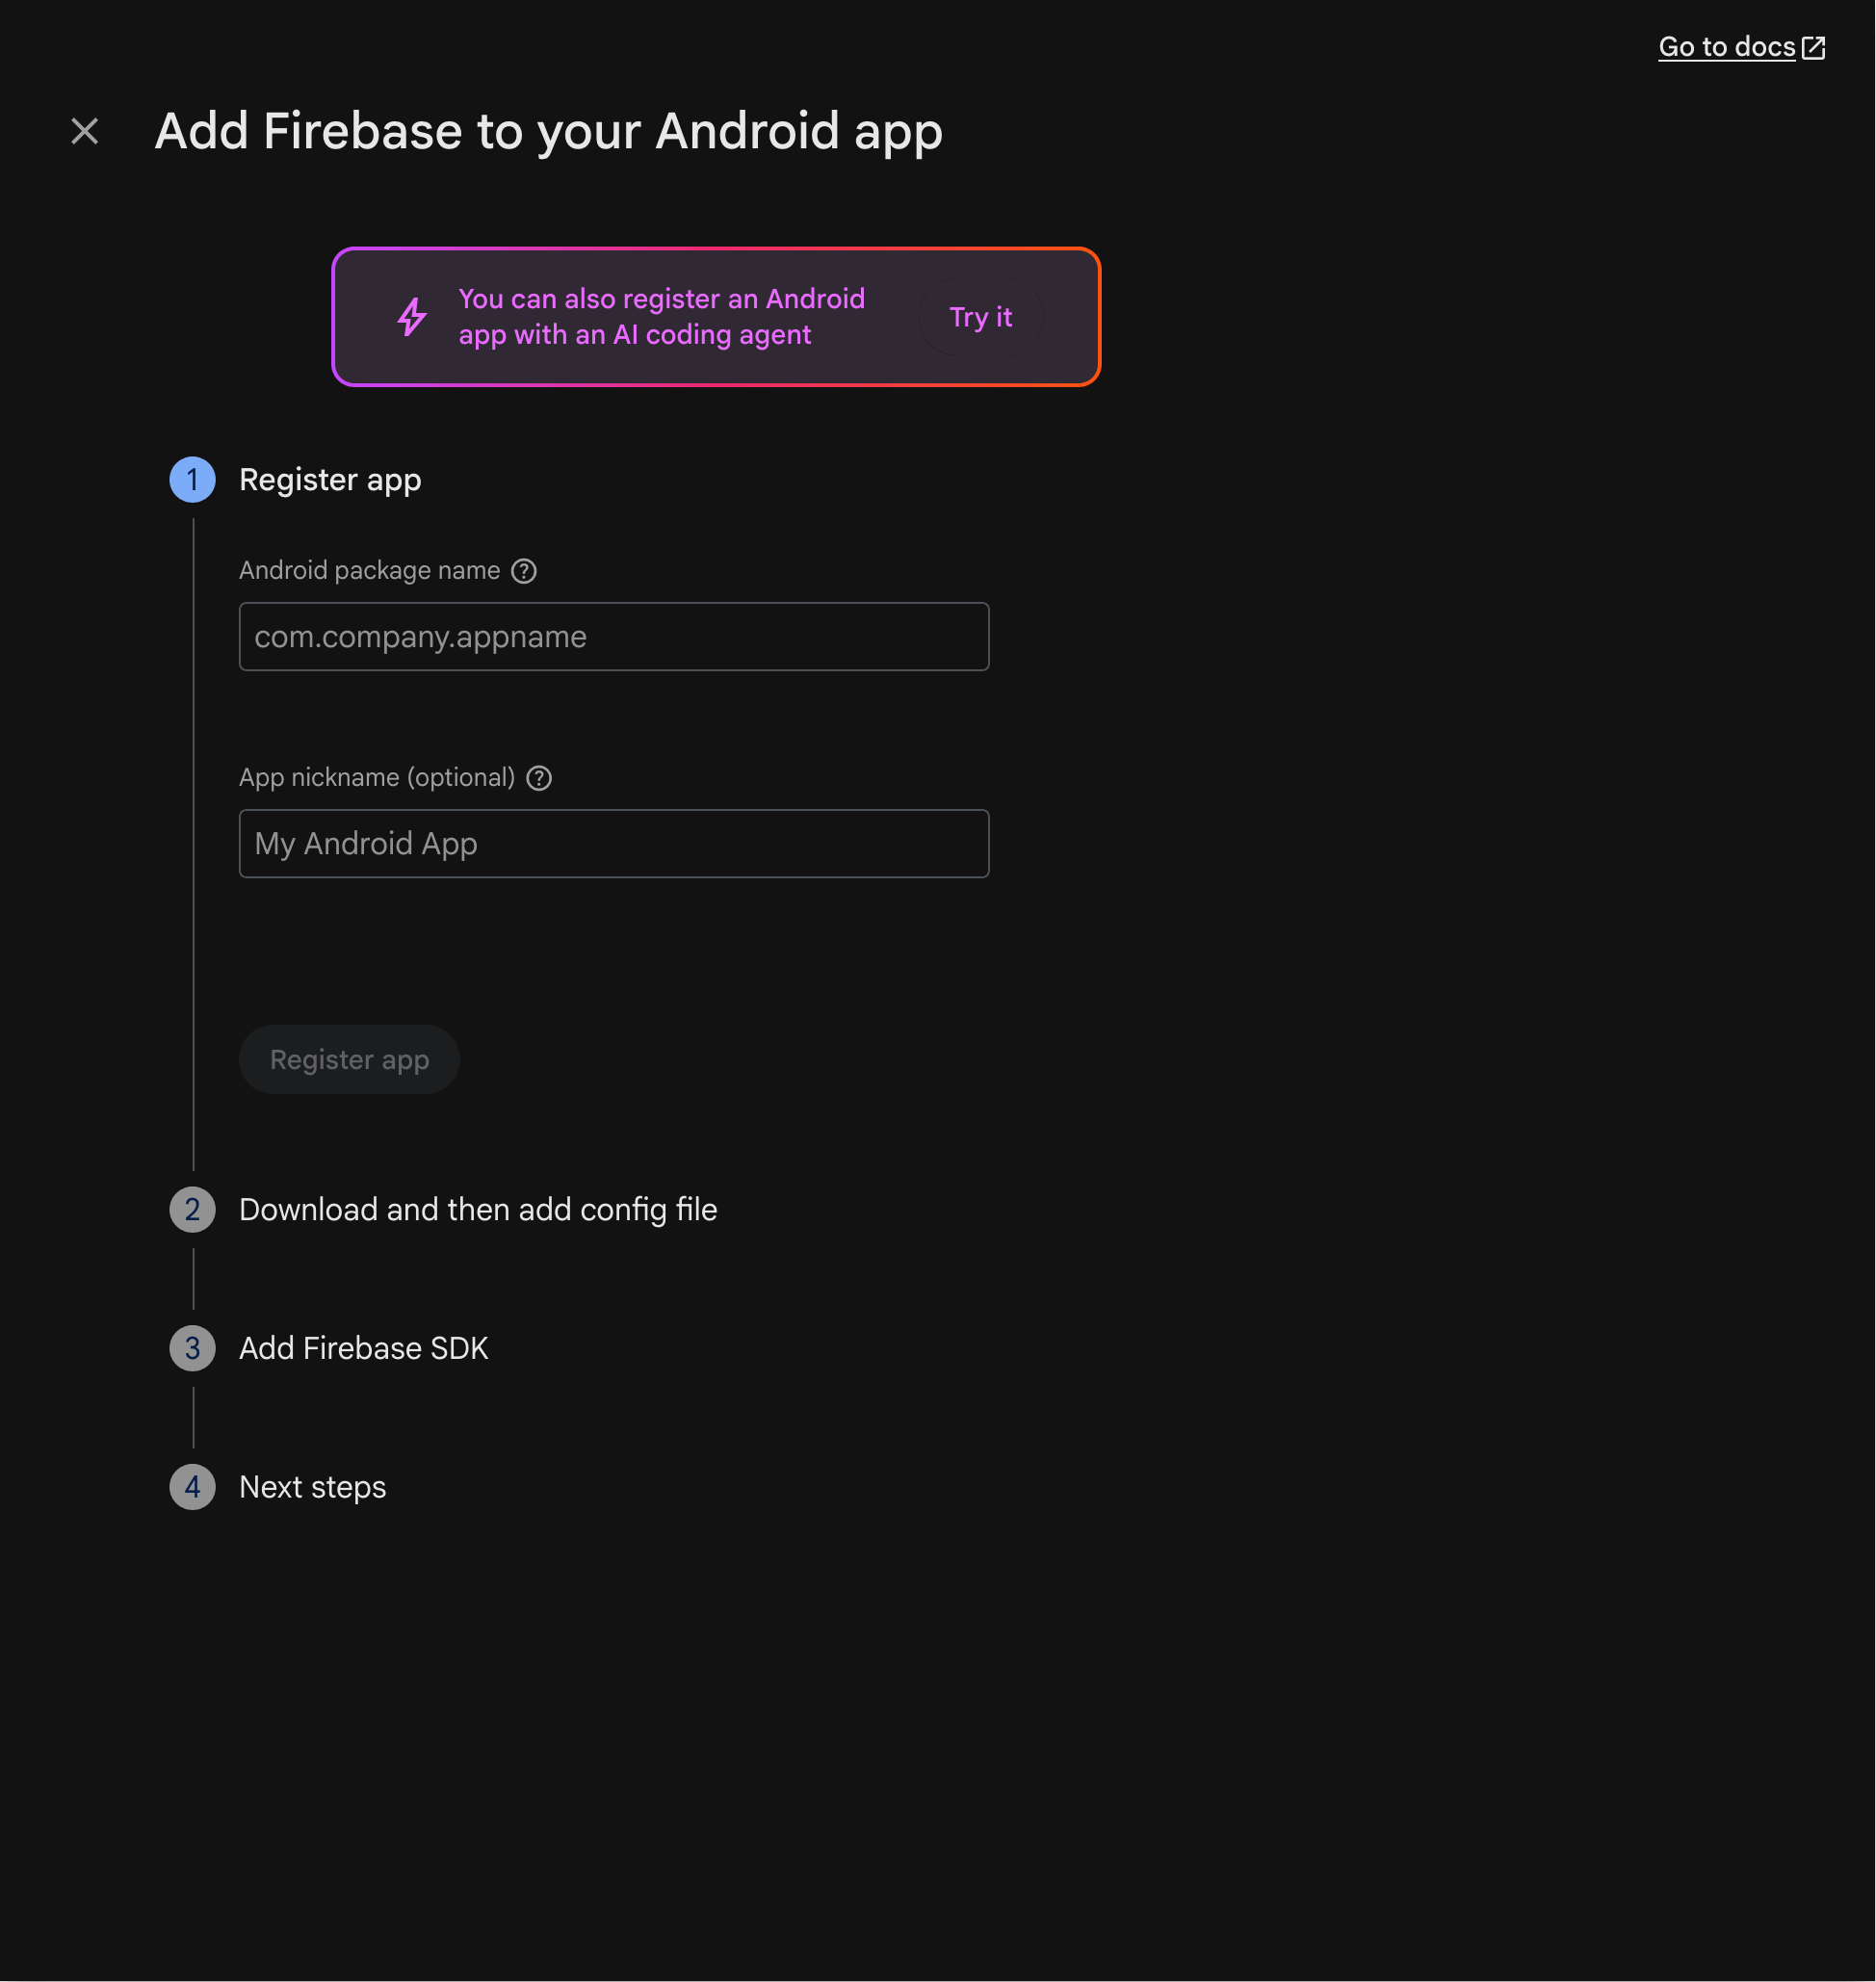 Firebase - Add Android App
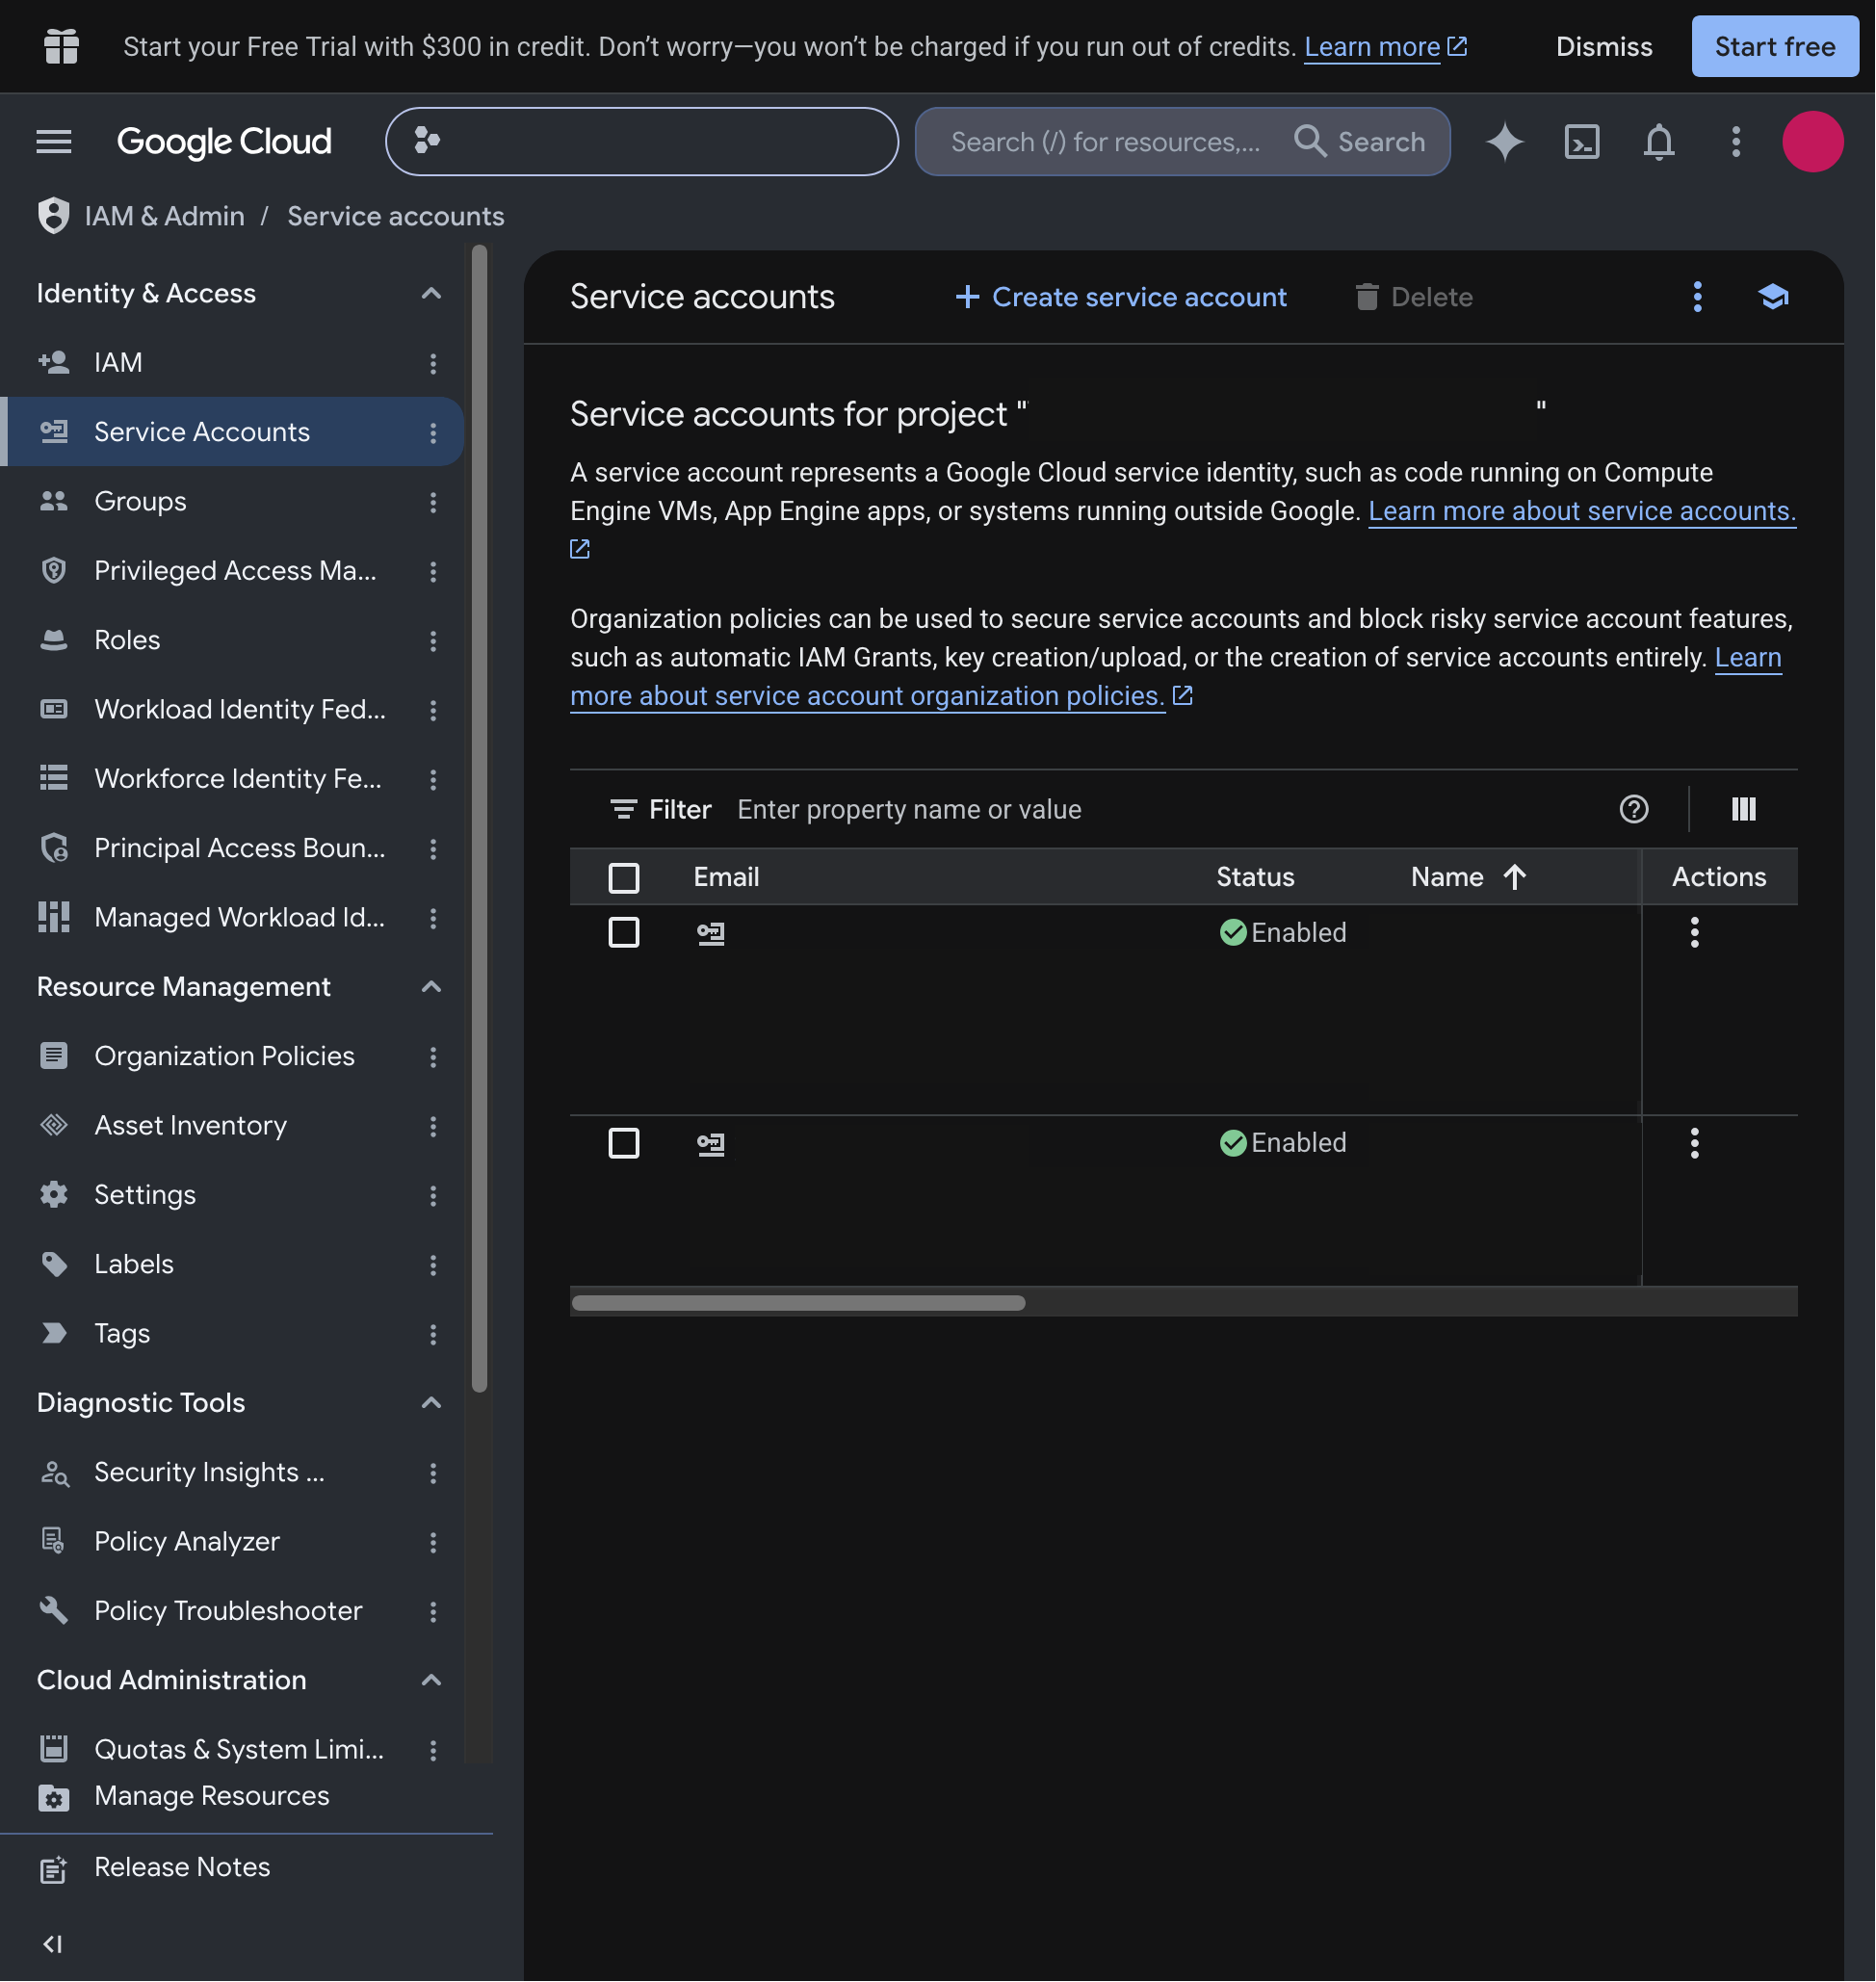 Google Cloud - Manage Service Accounts
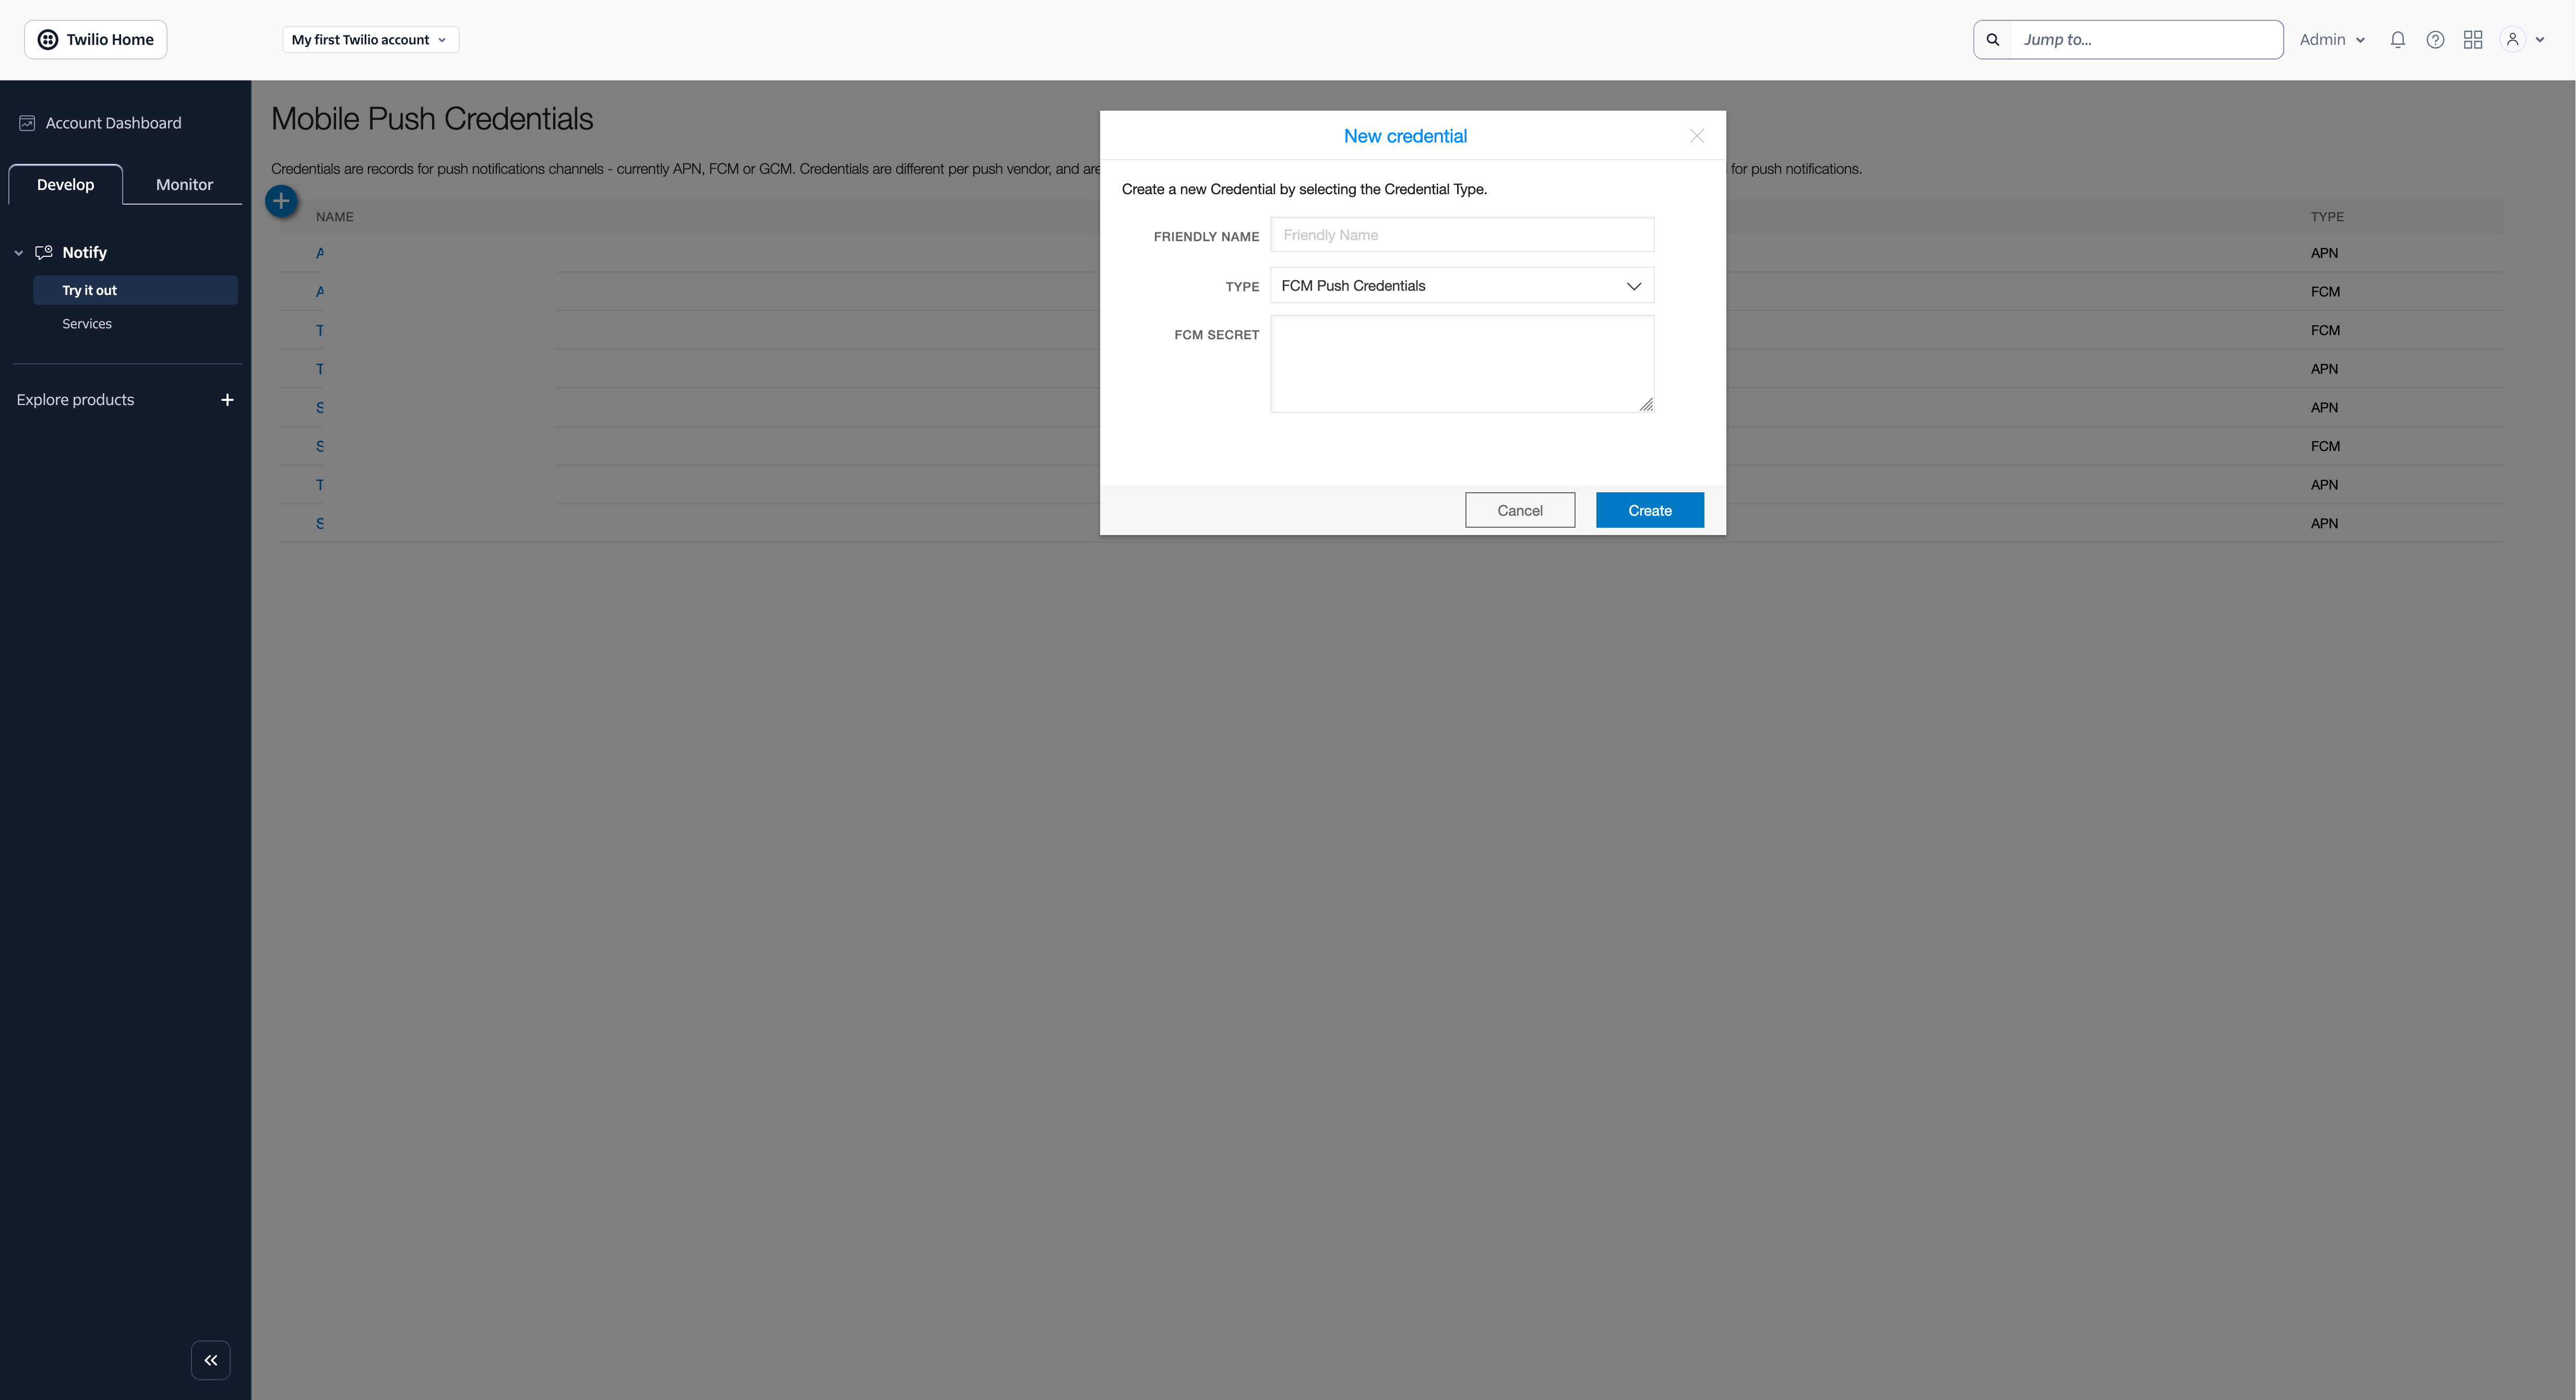 Creating a new FCM Credential in Twilio Notify
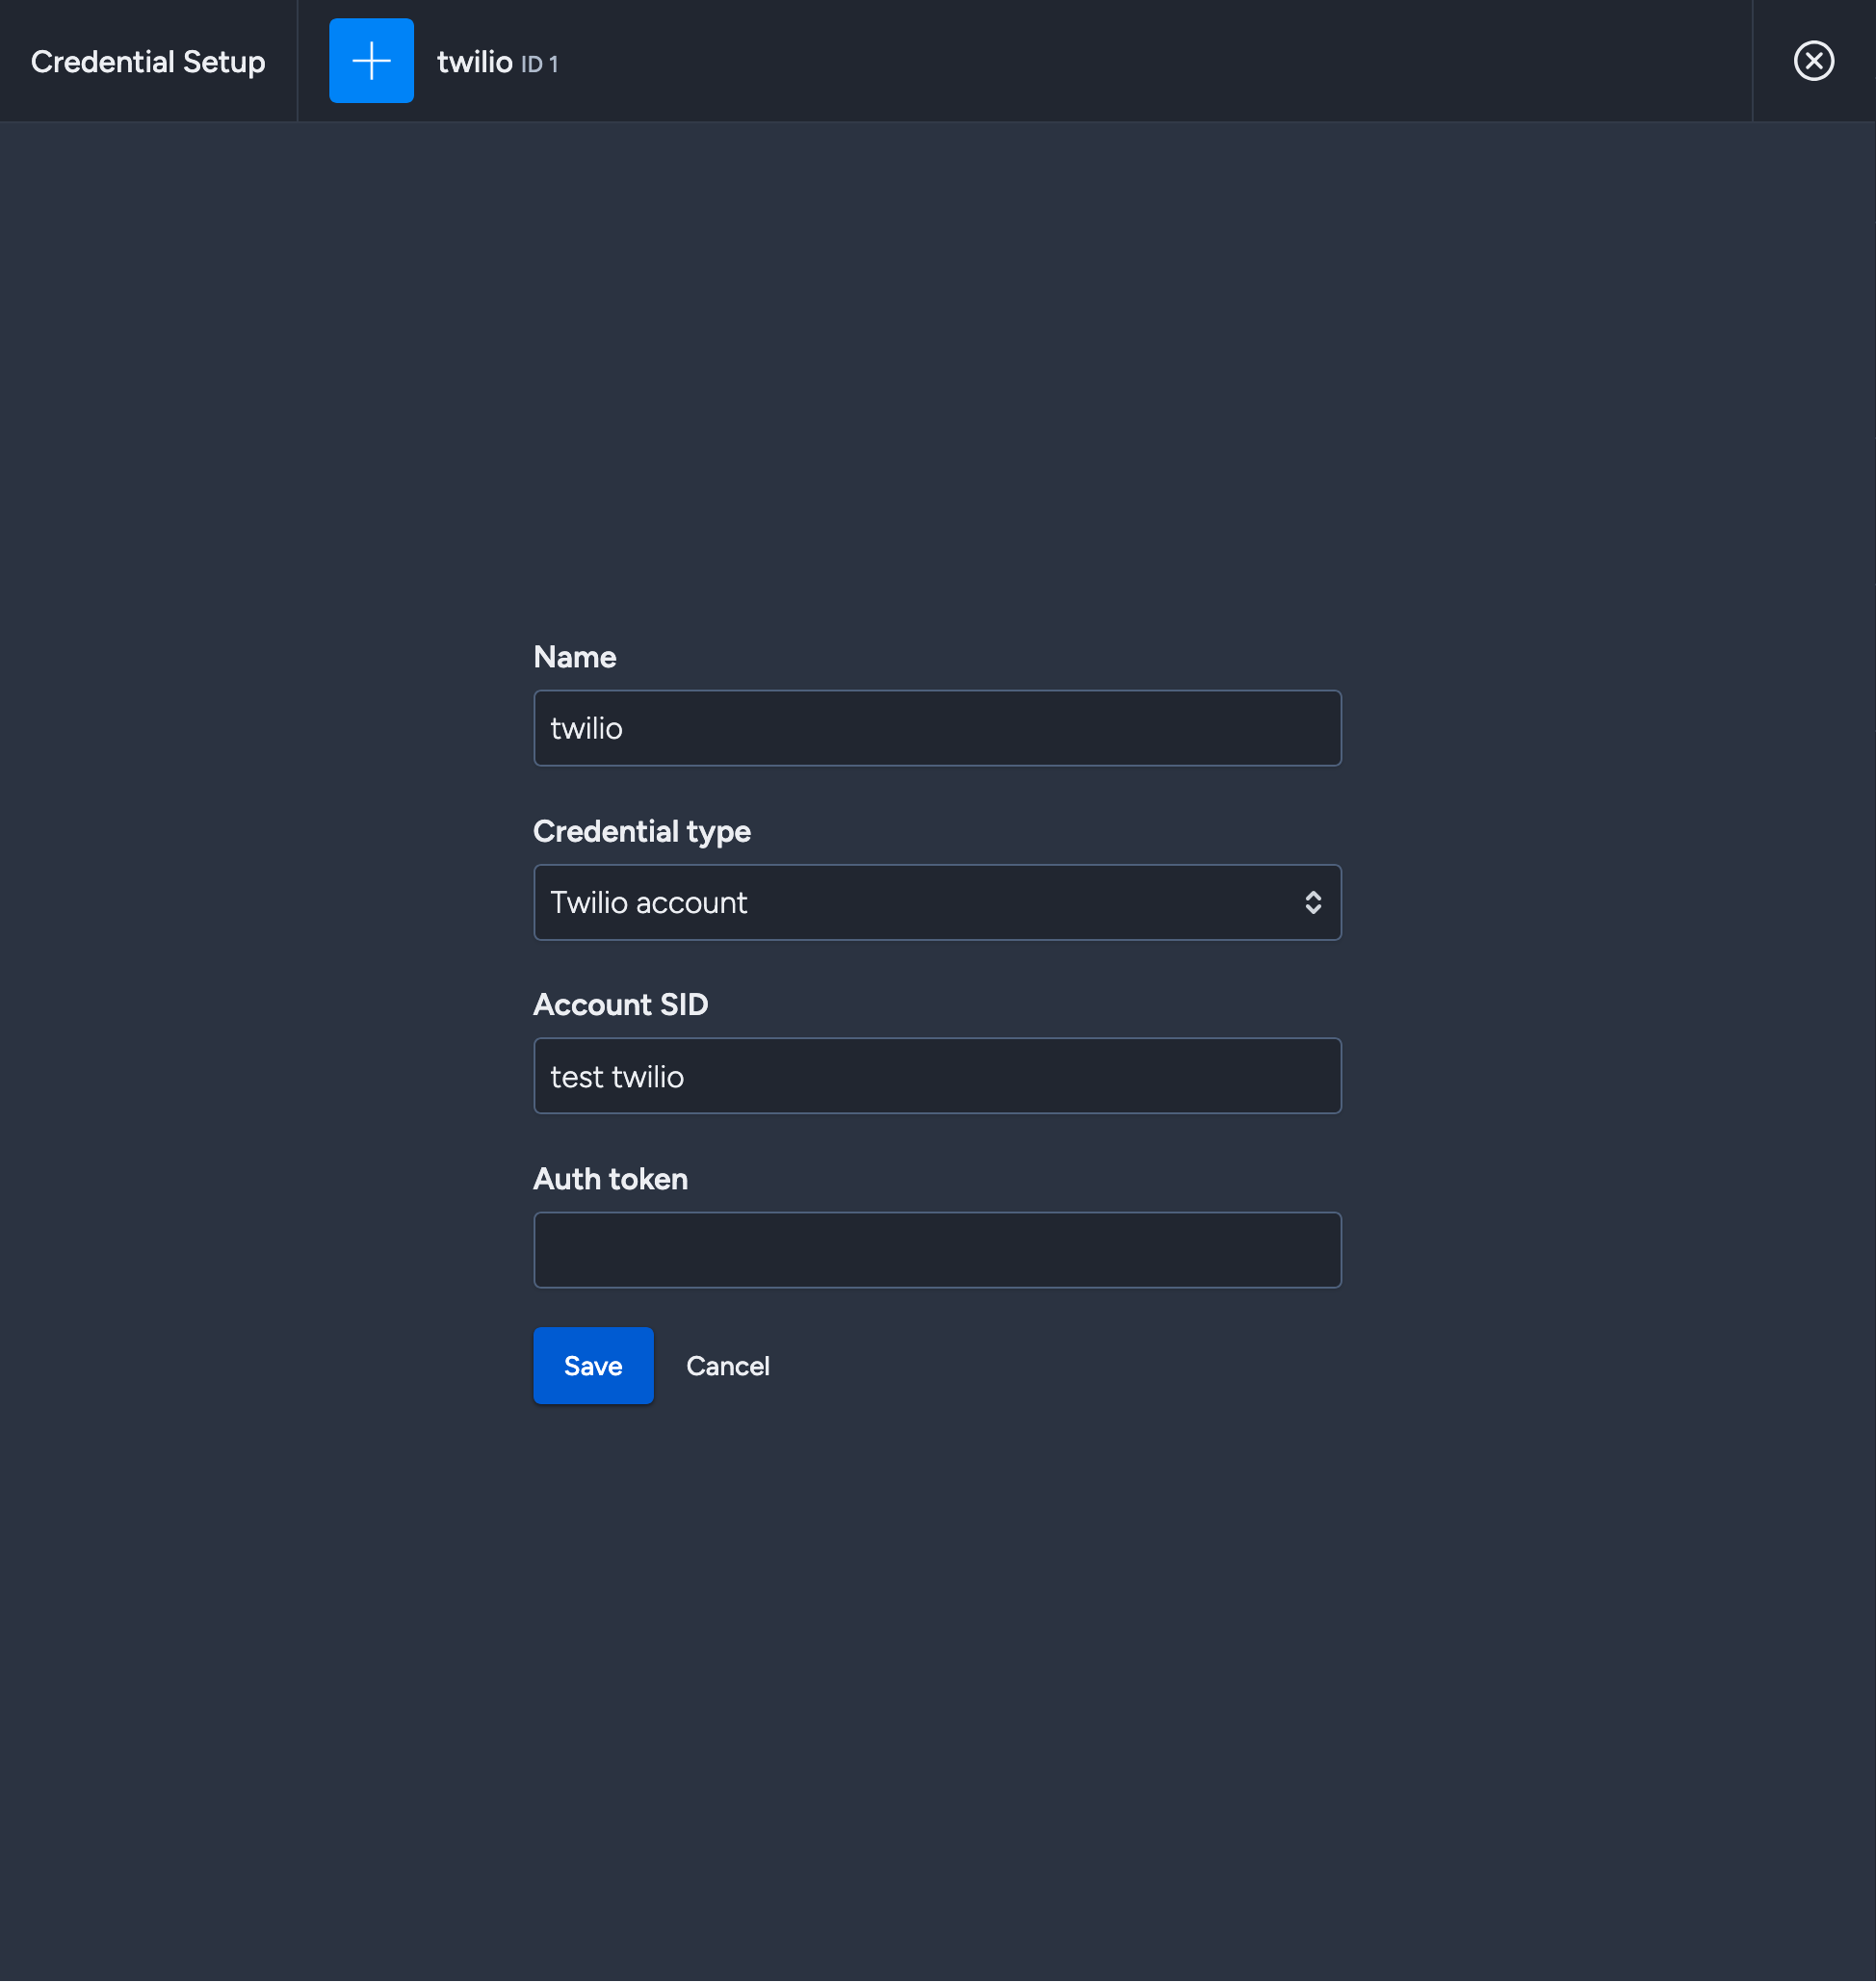 Taguchi Credential Setup for Twilio
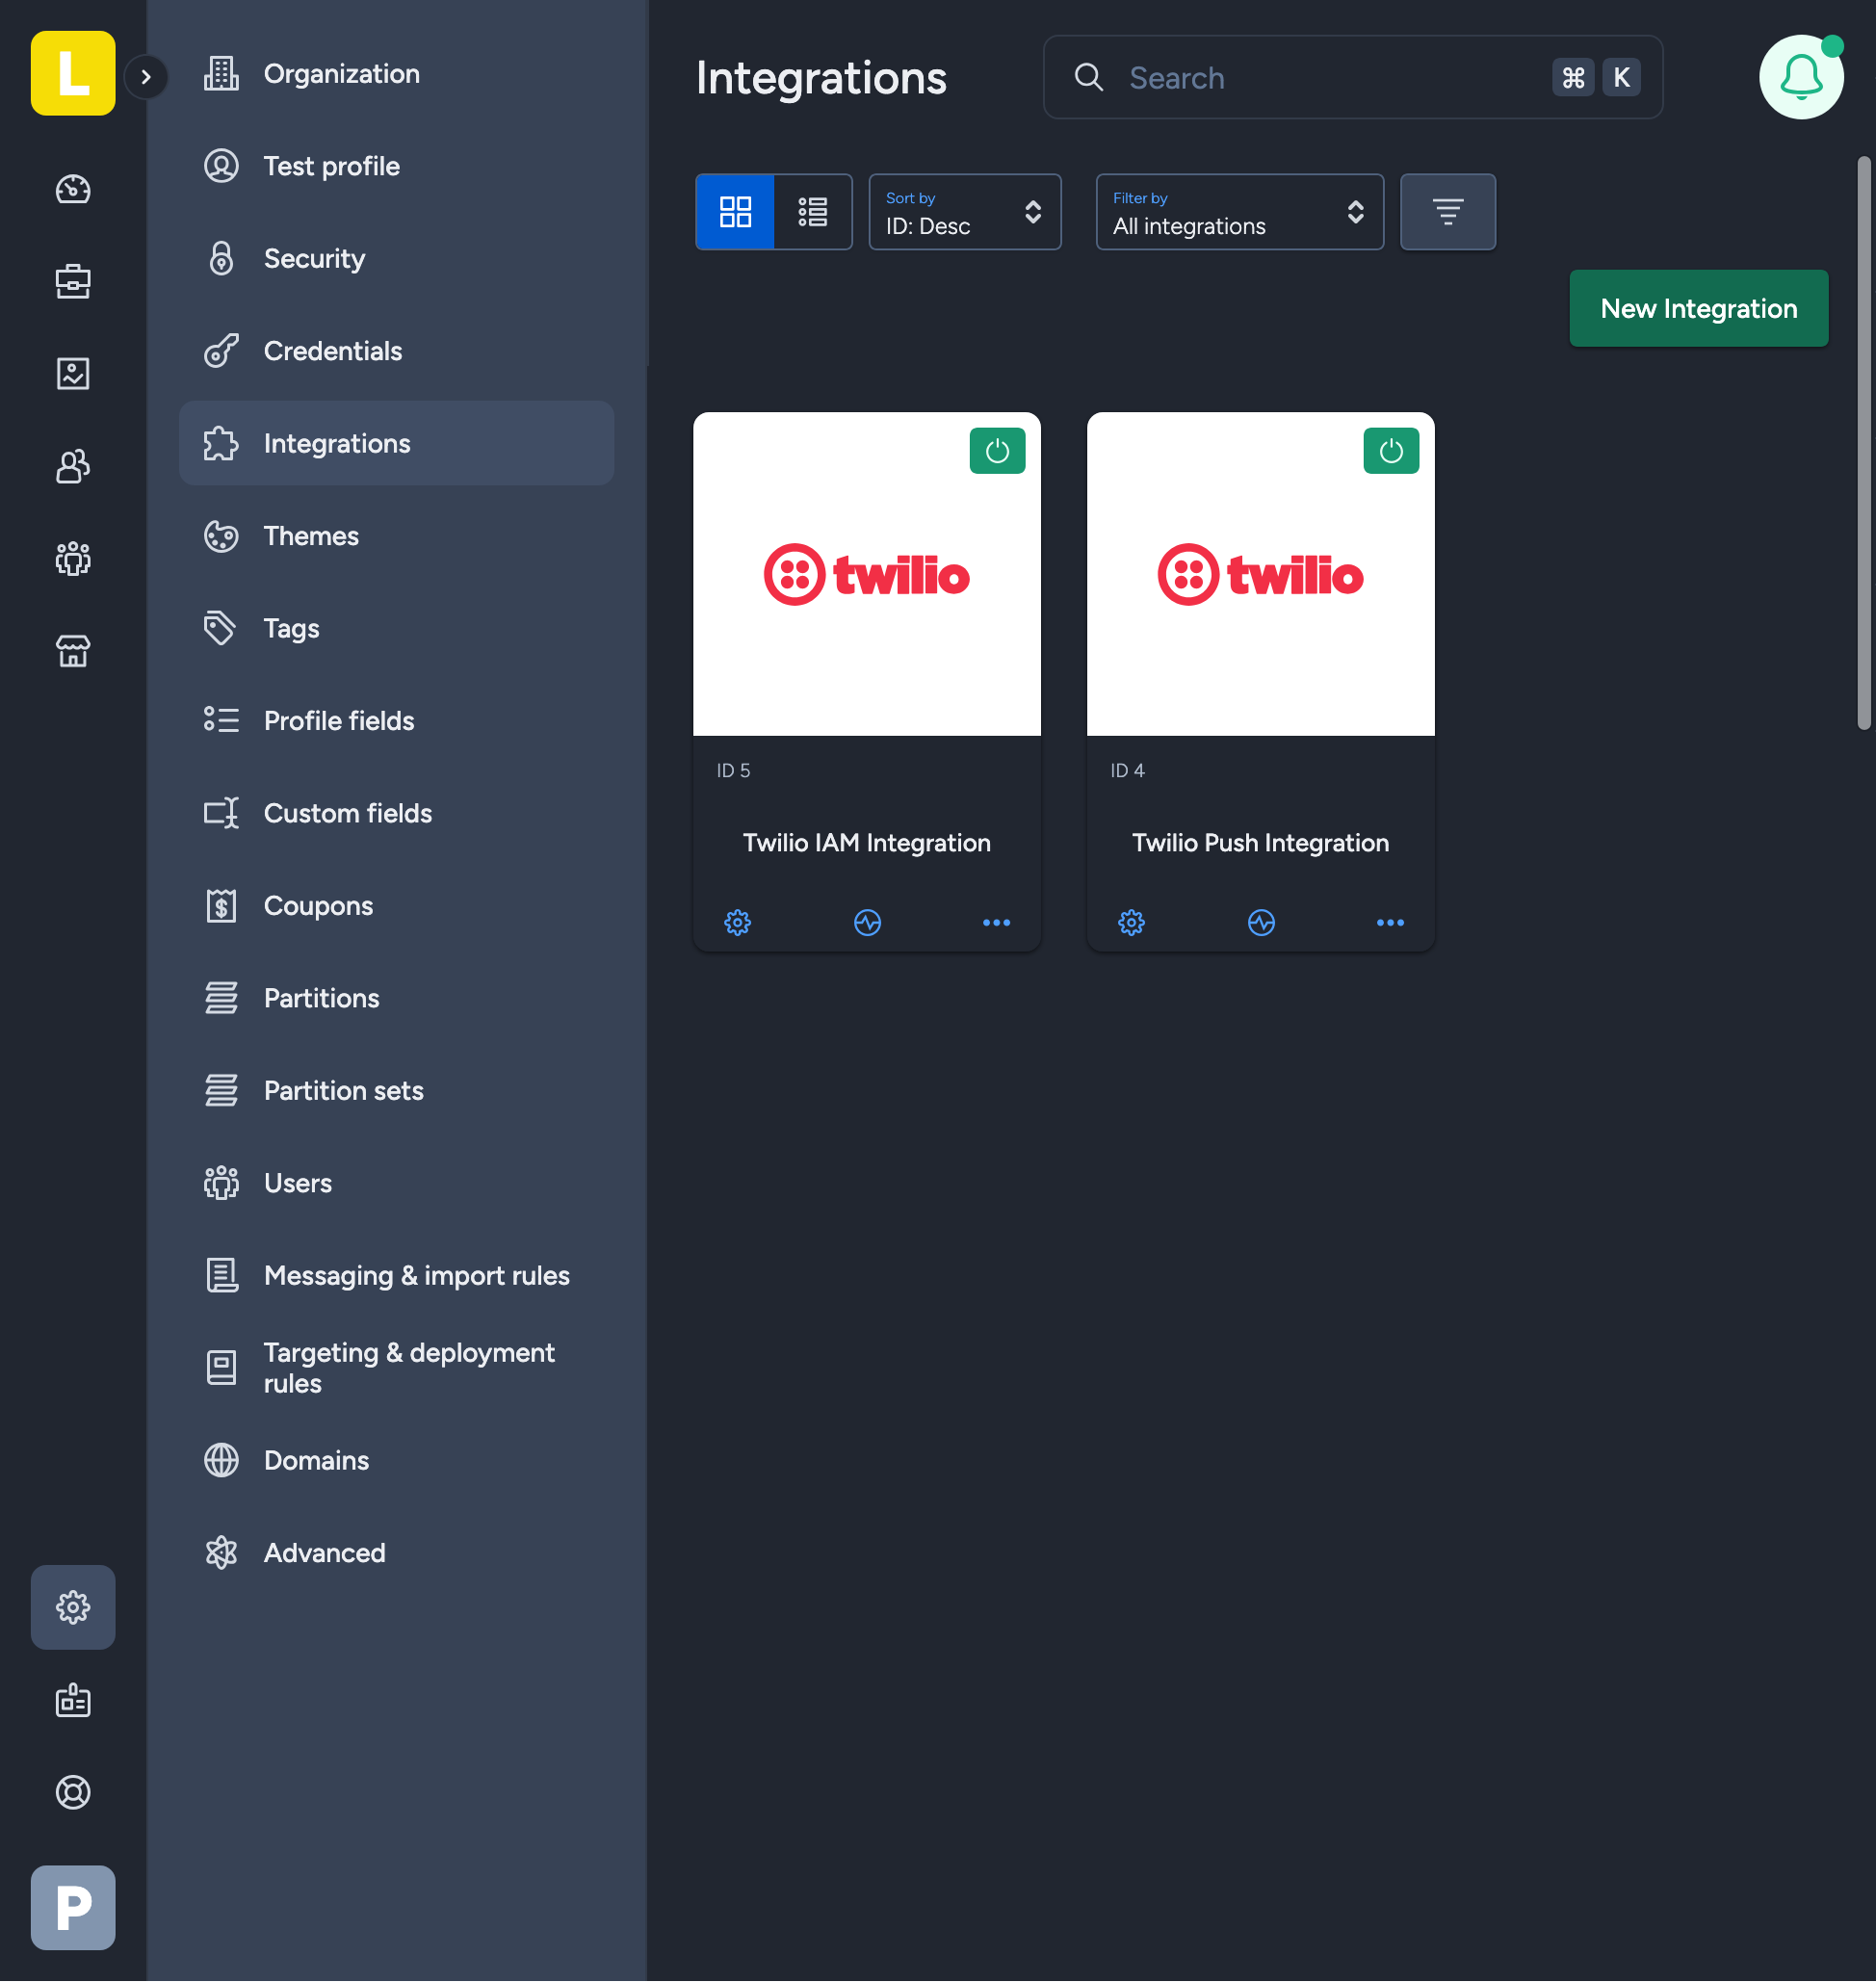 Taguchi Integrations