- Support Home
- Knowledge Base
- Getting Started
- How do I create a new landing page?
Related articles
Need some help?
If you have questions or can't find what you're looking for, we're here for you.
Taguchi Support is available Monday to Friday, 9am - 5:30pm AEDT.
Create New TicketTaguchi Certified Training
Join our free and live online training sessions. You'll benefit from a better understanding of the platform's features and functionality. Plus with Taguchi Certified Rewards, every session you attend, you're not just learning - you're earning your way to some fantastic rewards.
About Taguchi Certified RewardsAPI Version 5
Did you know Taguchi has an API that supports all of the functionality provided by the admin interface and more?
Explore API Documentation
Thanks for your feedback!
How do I create a new landing page?
To create a new landing page, these are the general steps you take. This is intended as a quick-start overview. Please see the relevant support categories for more information.
Step 1: Log In To Taguchi
Ensure you have logged in to Taguchi, if you do not know how to do this, please see the section 'How to Log In' in the v5 User Guide before attempting further steps.
Step 2: Create A New Campaign
If you have already created a campaign, skip to Step 3.
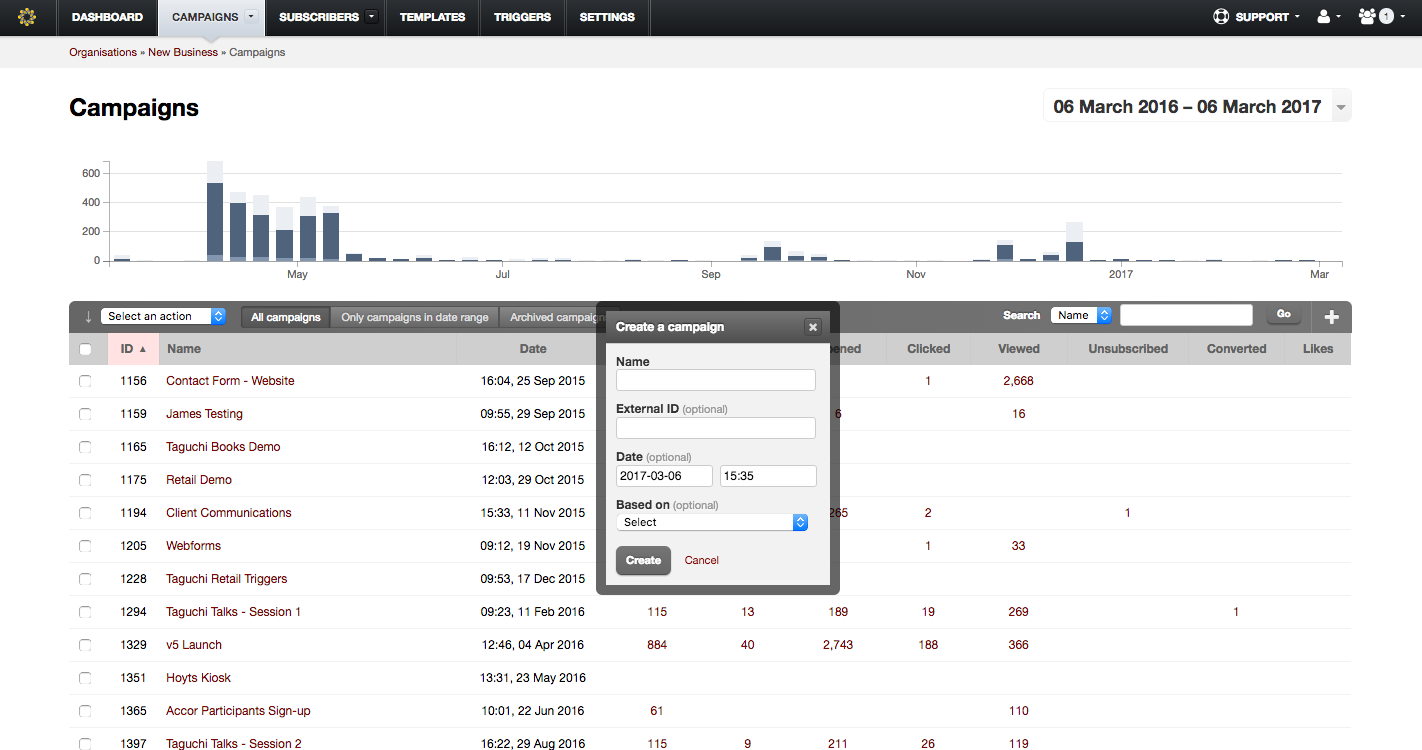
Navigate to your Campaigns tab and click the + button in the top right corner of the campaigns table. This will display a popup where you can enter in the campaign details:
- Name: Create a unique and useful campaign name (We recommend using a logical description, as well as any marketing reference codes, job number codes that will help identify the campaign in future e.g. J1257 Launch Campaign.)
- External ID: This is an optional field where you can add your own unique identifier for the campaign.
- Date: This is an optional field where you can change the date/time of the campaign.
- Based on: This is an optional field where you can base this new campaign off an existing campaign.
After you have entered the campaign details, click the Create button, you will be redirected to the newly created campaign folder.
Step 3: Create A New Activity
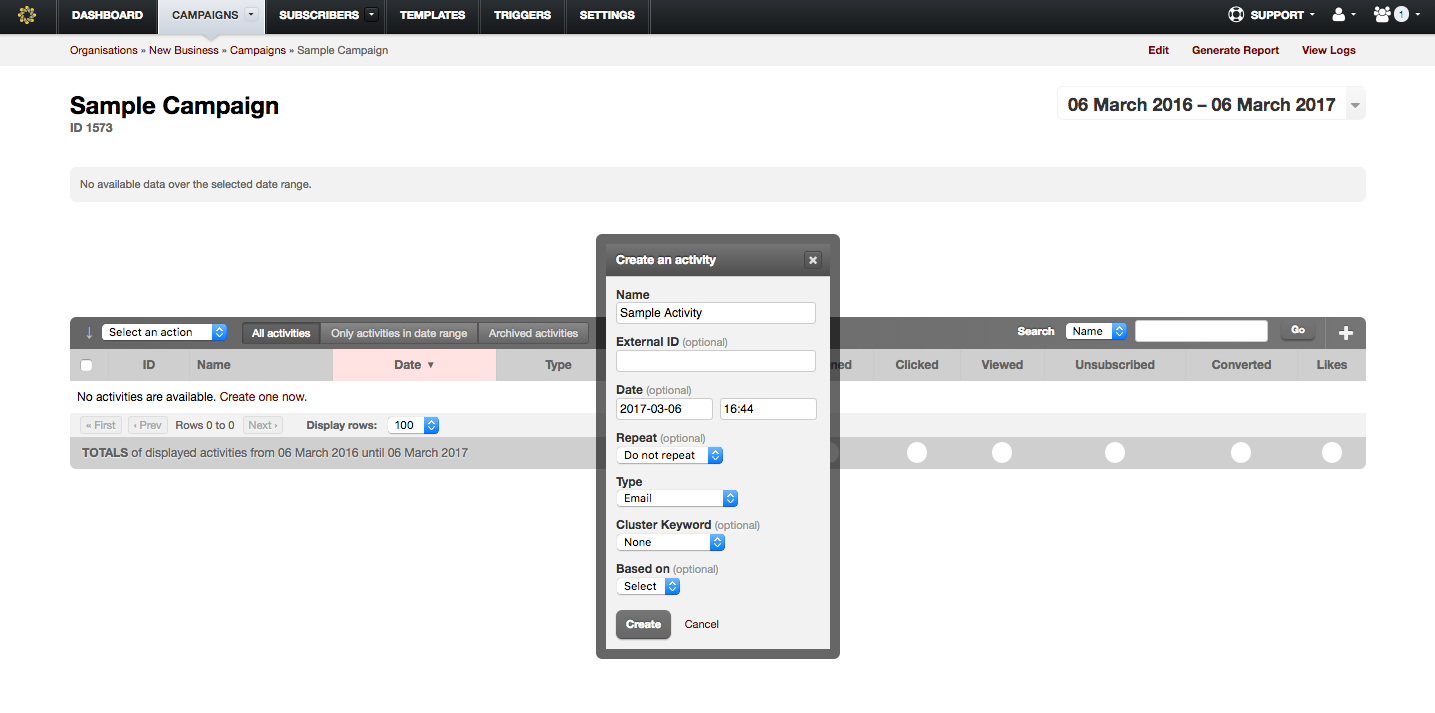
Once in your campaign folder, click the + button in the top right corner of the activities table. This will display a popup where you can enter your activity details:
- Name: Create a unique and useful activity name (We recommend using a logical description, as well as any marketing reference codes, job number codes that will help identify the activity in future e.g. REF-0981 Sale Activity.)
- External ID: This is an optional field where you can add your own unique identifier for the activity.
- Date: The date selector can be used to schedule the trigger day/time.
- Repeat: You can choose to repeat the activity trigger every hour, day or week.
- Type: The following types are: Email, Web Page and SMS. Select Web Page.
- Cluster Keyword: You can easily assign a cluster keyword to this activity using the dropdown. Cluster keywords are used to build a profile of an email recipient’s interests over time.
After you have entered the activity details, click the Create button, you will be redirected to the newly created blank activity.
Step 4: Select A Template
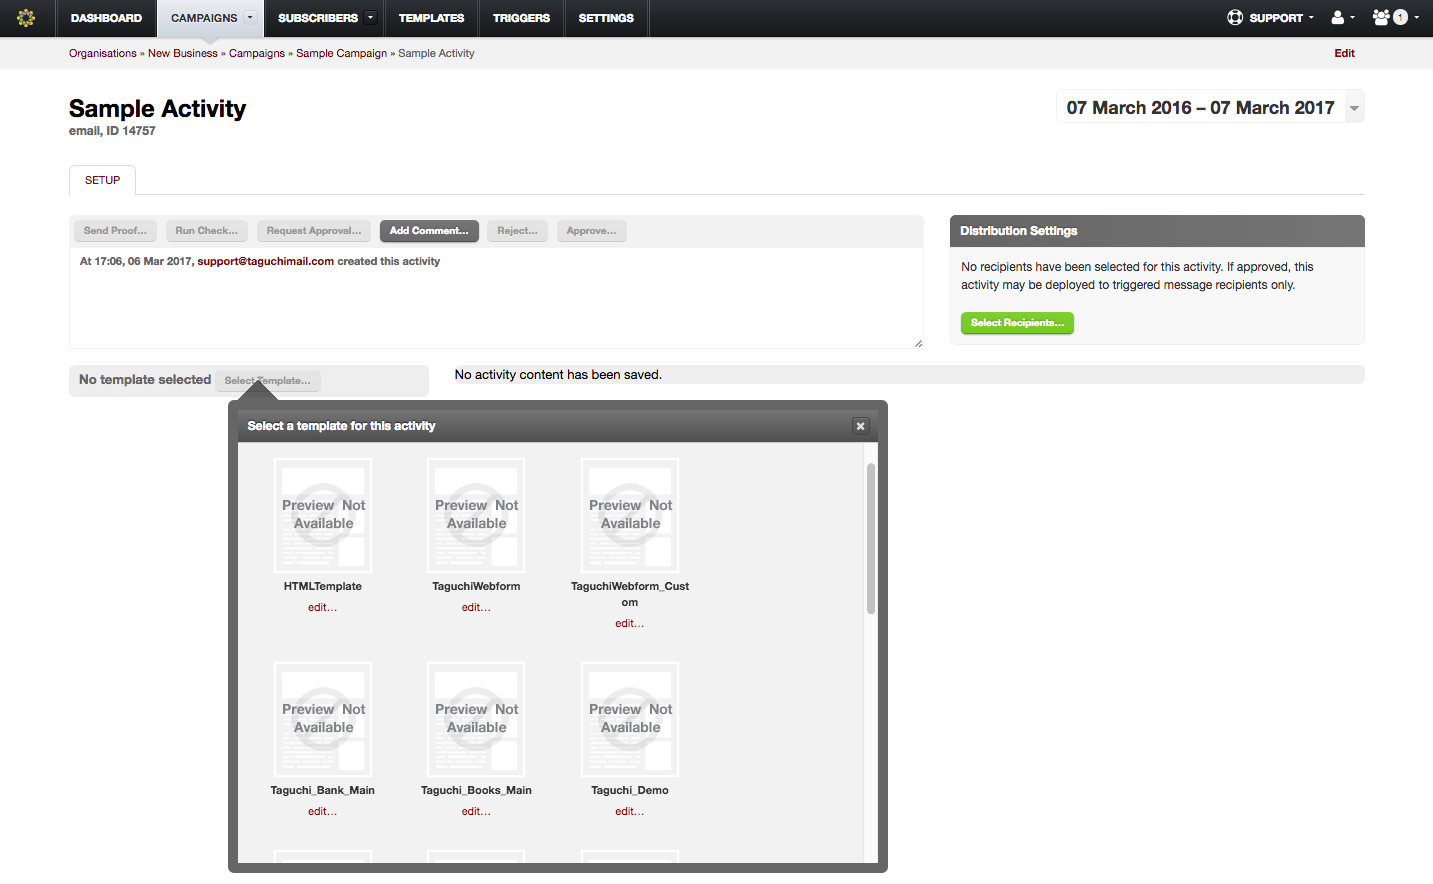
Click the green Select Template... button in the top right of the activity edit window and select a suitable template you wish to use for the activity. Once the template has loaded, you may begin populating the activity content.
Step 5: Edit The Activity Content
See the v5 Email Activity Edit Interface on how to edit the content blocks.
Step 6: Proof The Activity
To preview the activity in you web browser, simply click the link in the top right of the activity window. Please ensure you approve/deploy the activity first otherwise the link will not work.
Step 7: Approve/Deploy Your Activity
When you are ready to deploy your activity, simply click the green Approve button at the top of the activity log section. Click the three checkboxes confirming the deployment, that the activity revision is correct and that the distribution settings are correct. After that, simply click Approve. Once your activity is approved, you will need to deploy it. Click the Deploy button at the top of the screen.