- Support Home
- Knowledge Base
- Integrations
- Export - Azure Blob
Export - Azure Blob
Taguchi supports data transfer using Azure blob storage. Our simple, self-serve integration tool offers a smart and secure way to receive data extracts, without the risk and inefficiencies of manually handling customer data.
Credentials
You will need to setup an Azure access key credential to be able to use this integration.
Create Your Export: Azure Blob Integration
New Integration
To create a new integration, ensure that you have the required User Type integration role privileges assigned to you.
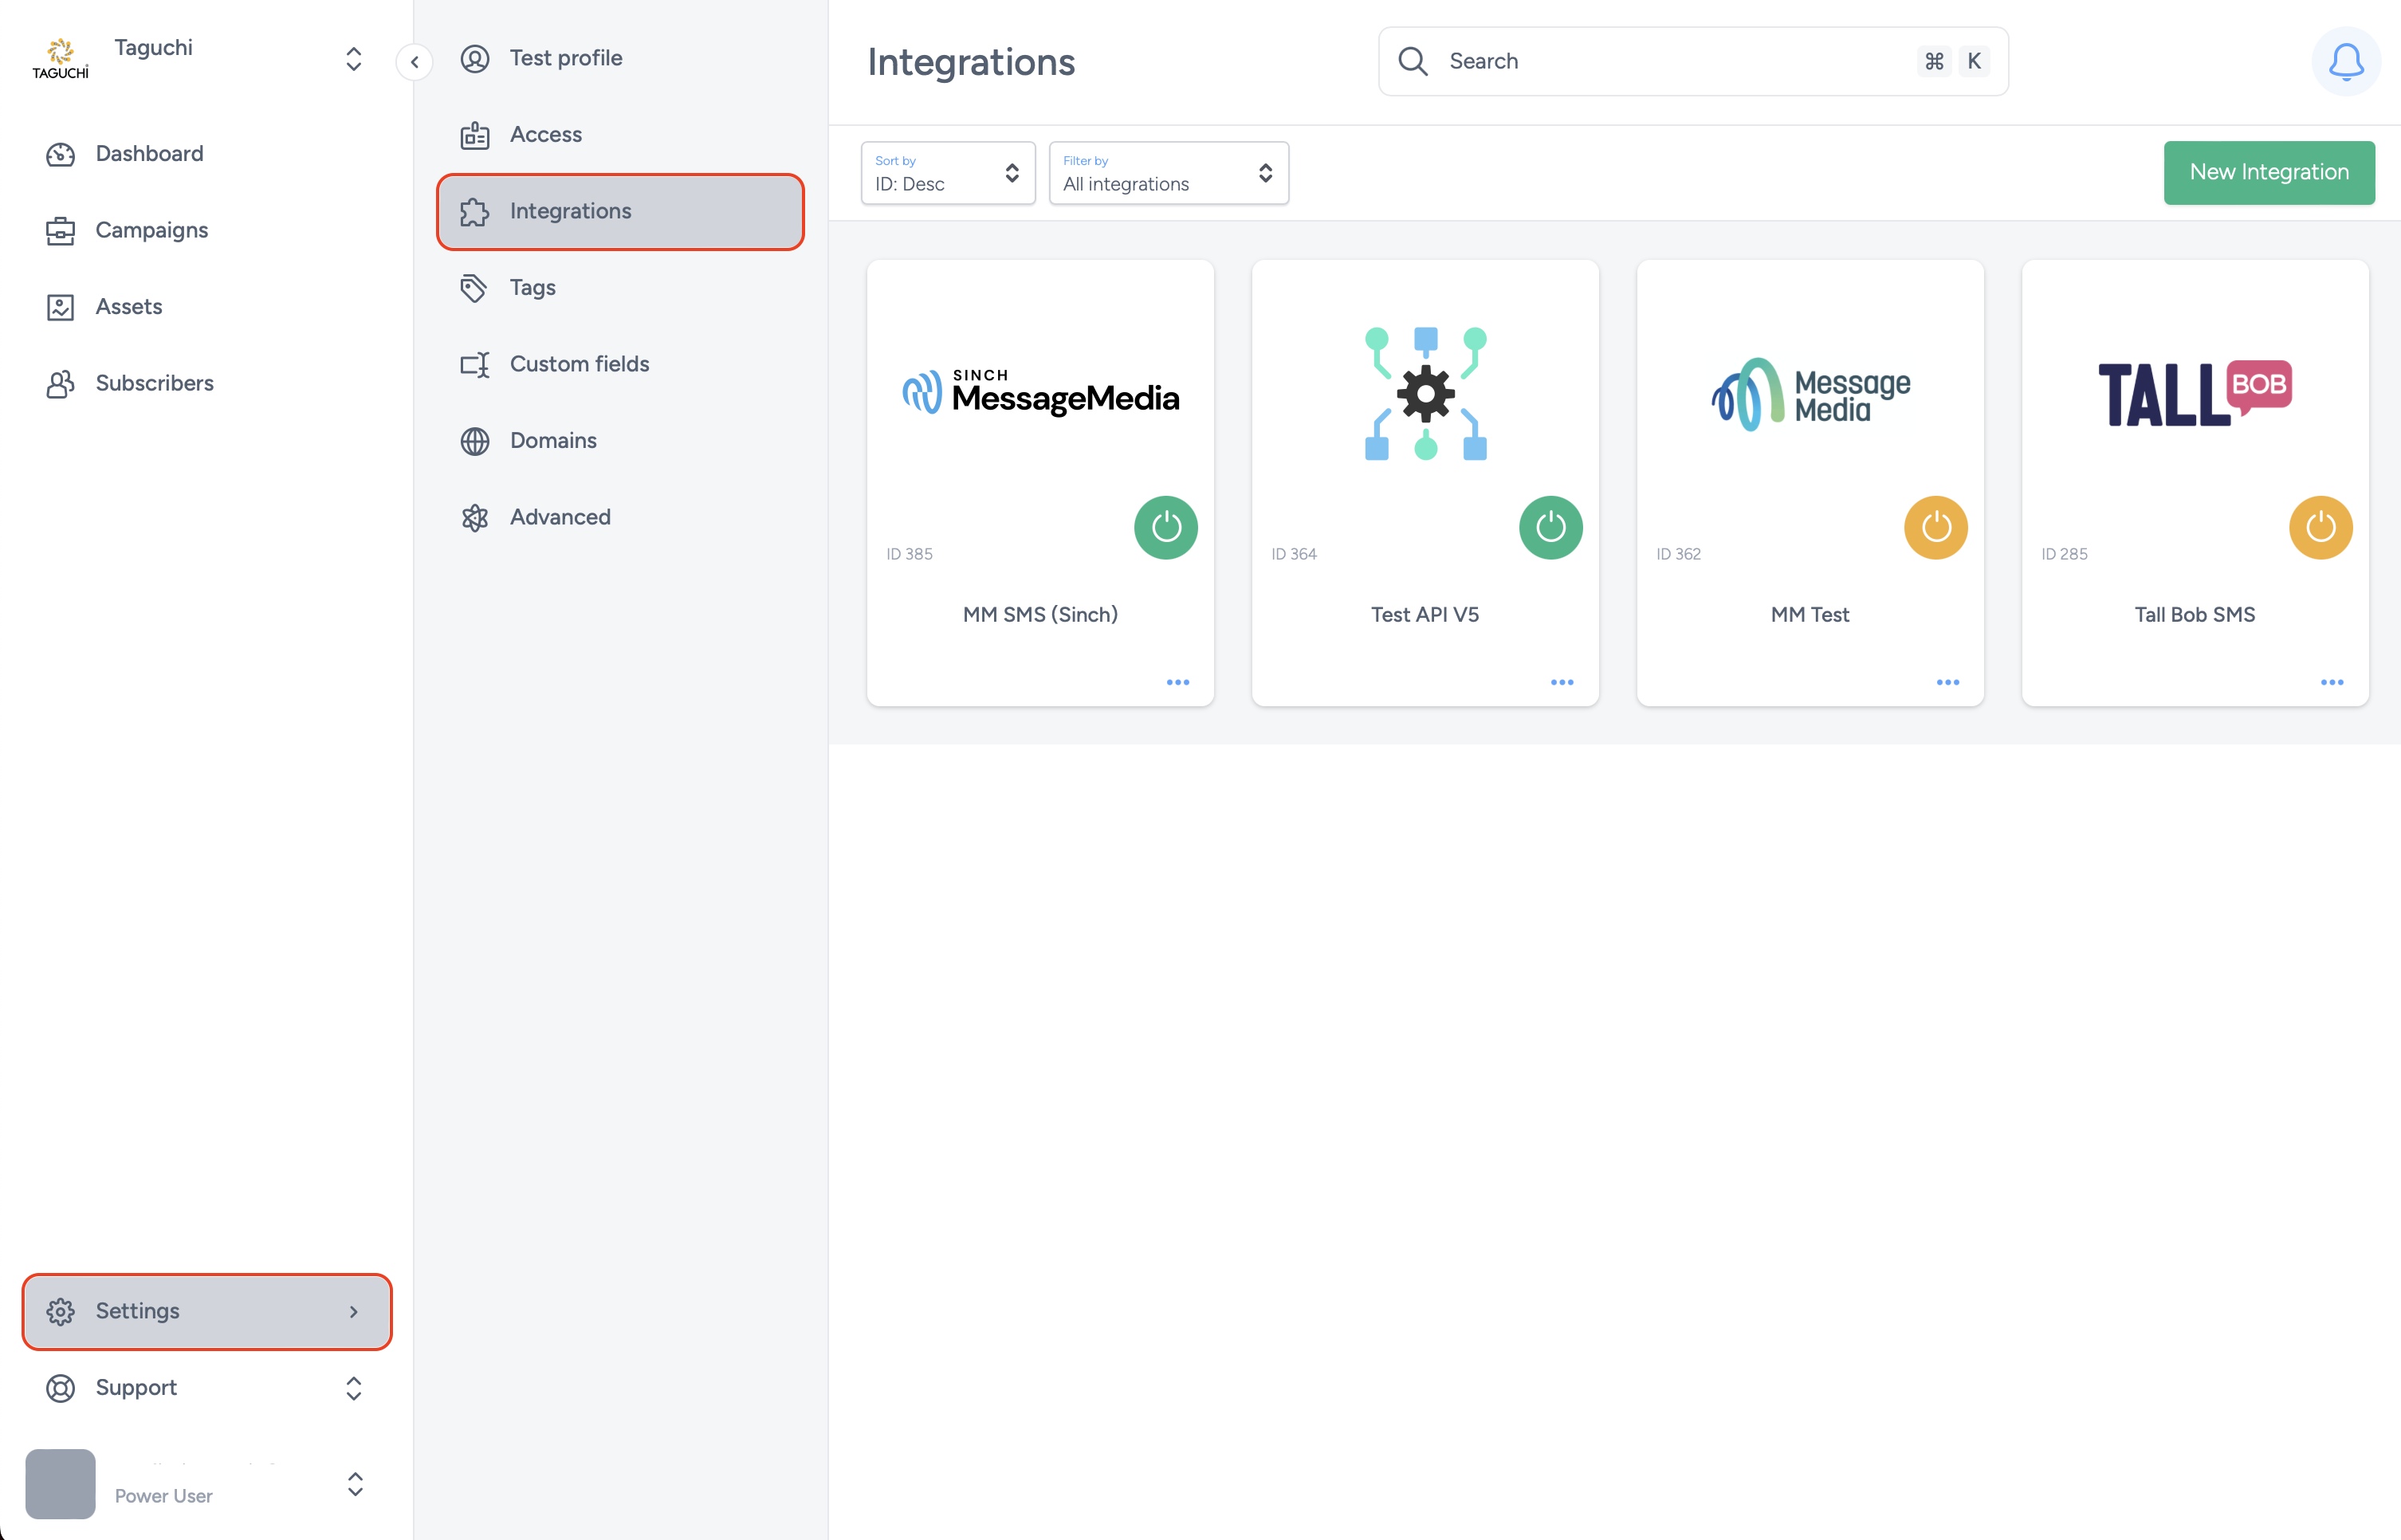
- Navigate to Settings > Integrations.

- Select ‘New Integration’ and a new screen will popup.

Details
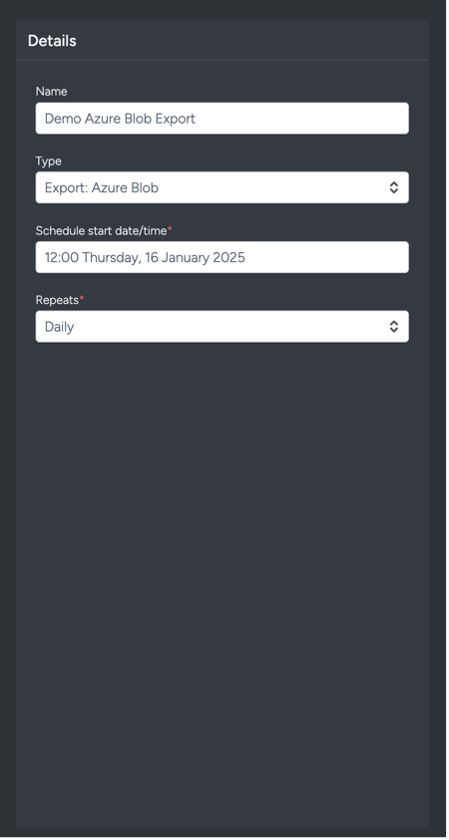
Set the name of the integration.
Under 'Type', select 'Export: Azure Blob'.
The Schedule start date/time allows the integration to start at the specified date/time. When used in tandem with repeat (weekly), this allows the integration to repeat weekly at 10:00 (based on the example above).
Repeats allow you to conduct the integration multiple times without having to create a new integration. You could choose either Yearly, Monthly, Weekly, Daily and Hourly. Some platforms have processing limitations whereby it could take some time to process the data. Hence hourly repeats might be affected, and daily repeat might be a preferred option instead.

Configuration

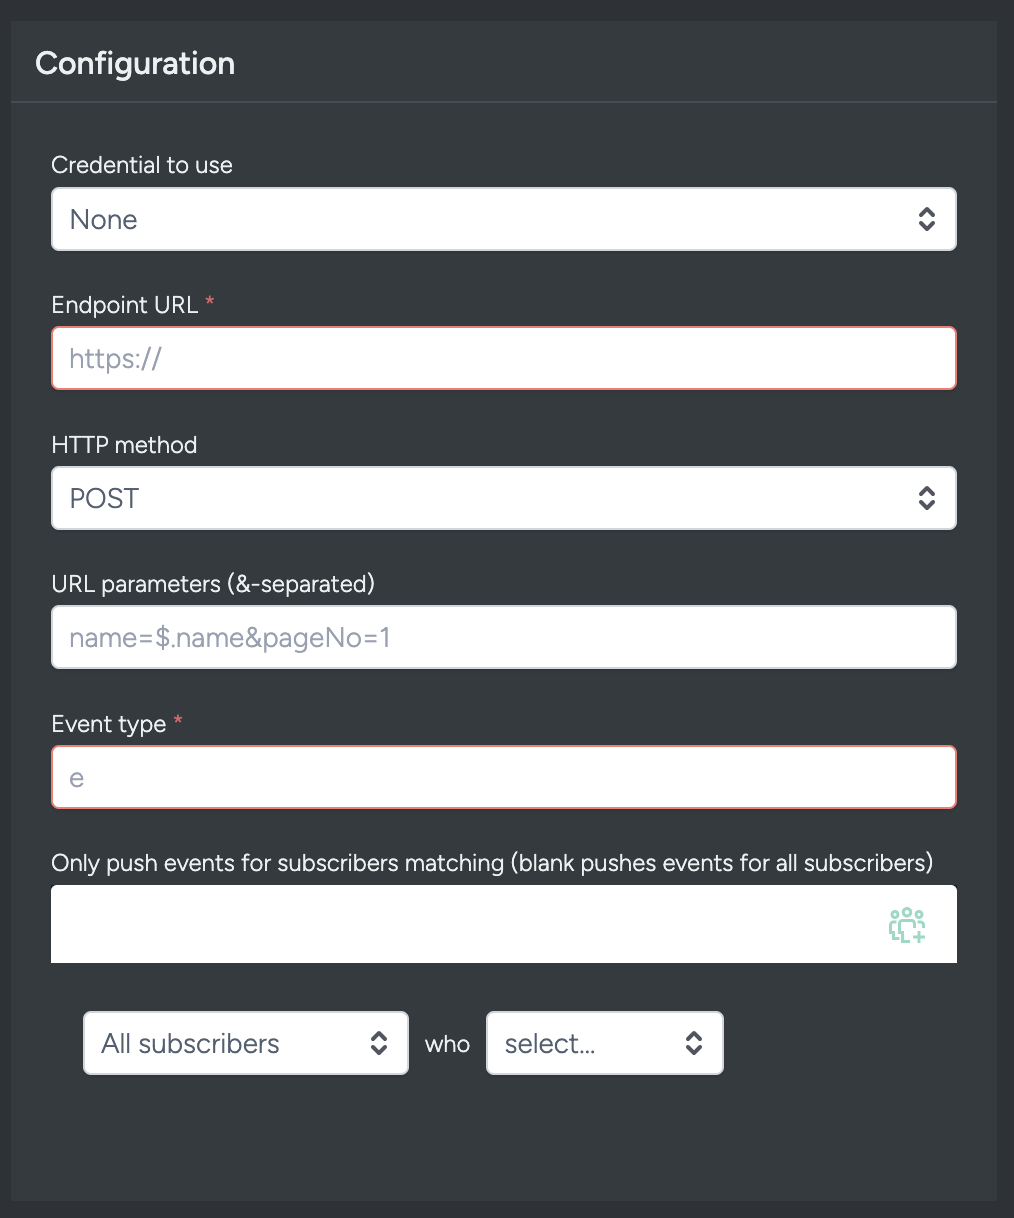
- Credential to use: Choose the desired credential that you have set up in the Credentials page.
- File format: Elect the file format that you wish to receive from Taguchi via the Azure Blob Export. You can choose either CSV, TSV, JSON (newline de-limited) or PSV file format.
- Destination storage account: The storage account in Azure where the file needs to be exported to.
- Destination path: The location within that storage account where the file will be delivered to (e.g: the folder the file will sit in).
- Extract filename: The name of the exported file.
- Use Extract Type Date Folder Structure Format after directory folder: Check this box if you would like the to use the 'Extract type' and generation timestamp after the directory folder e.g. {directory}/{extract_type}/{year}/{month}/{day}
- Compression: Provides options (ZIP, GZ) if file compression is required.
- Select credential for the ZIP password (optional): If a ZIP password is required, you will need a credential to set up a password.
- Force quotes: Applicable for delimiter-separated formats (CSV etc). Selecting ensures that all fields are quoted regardless of whether or not they need to be per the specs. E.g:
Without force quotes: 1,2,3
With Force quotes: "1","2","3"
Preserve custom field order: When selected, this ensures that the order of outputted custom fields by the selected extract type is preserved. This is useful when generating extract types which output fields in a specific order.
Split files at no more than N bytes per file (0 for unlimited): Reduce large exports into smaller files. You can choose a byte size to limit your file using this selector.
Extract type & Target Expression

Selecting your extract type will determine what data is exported. If you have custom data requirements beyond our standard reporting, contact our Taguchi Client Success team to discuss further.
Target expressions allow us to target specific subscribers in a list or based on other variables.
For more on Target Expressions, see our article ‘What are target expressions?’.
Save Changes and Activate

Once you have added your Details, Configuration and Target Expression, you will be able to save changes (1) and activate (2) the integration. You can only activate once you have saved changes.
Deactivate

To stop the integration, click on Deactivate. This will stop Taguchi from exporting to Azure Blob.
Active Integration

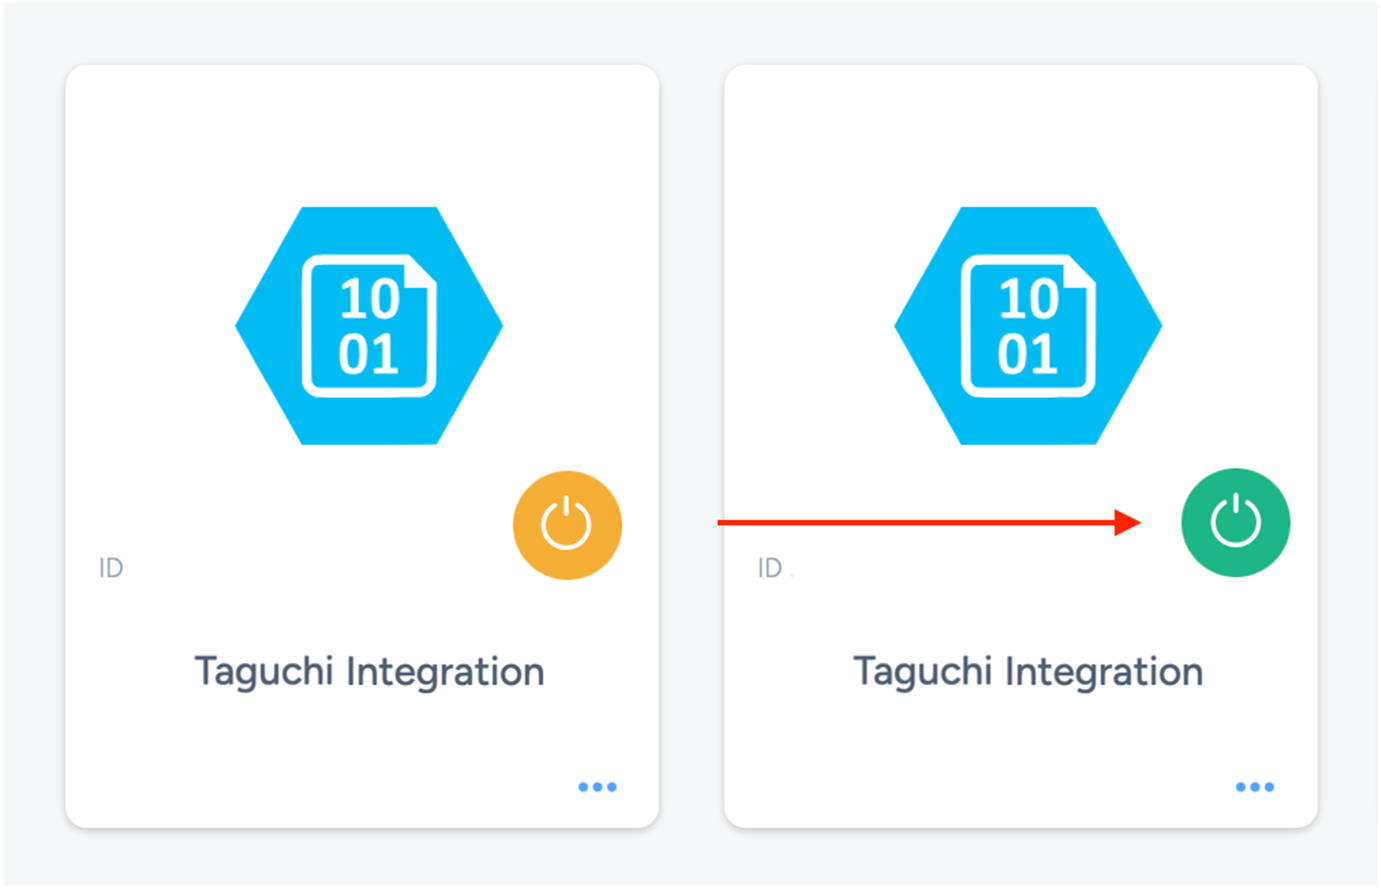
Once the integration has been saved and activated, the on/off icon of the integration card will change from yellow (Off) to green (On) which indicates that it is now activated.
Update Integration


If you want to update your Integration, you will be able to make the changes while it is activated or deactivated. Once the changes have been made, you will be able to update the integration by clicking on 'Save changes'. The Integration will be updated immediately.
Viewing Logs in the UI
Users can now view detailed integration logs directly in the Taguchi UI to troubleshoot issues.
To access logs:
- Navigate to Settings > Integrations.
- Select the integration you want to review.
- Click on View Status in the top right hand corner to see recent activity, including timestamps, status updates, and error messages (if any).

If an integration fails, checking the logs can help identify issues such as incorrect credentials, invalid audience configurations, or query timeouts.
If you are having trouble with this integration, please contact Taguchi Support for assistance.
