- Support Home
- Knowledge Base
- Integrations
- Push Notification Integration
Related articles
Need some help?
If you have questions or can't find what you're looking for, we're here for you.
Taguchi Support is available Monday to Friday, 9am - 5:30pm AEDT.
Create New TicketTaguchi Certified Training
Join our free and live online training sessions. You'll benefit from a better understanding of the platform's features and functionality. Plus with Taguchi Certified Rewards, every session you attend, you're not just learning - you're earning your way to some fantastic rewards.
About Taguchi Certified RewardsAPI Version 5
Did you know Taguchi has an API that supports all of the functionality provided by the admin interface and more?
Explore API Documentation
Thanks for your feedback!
Push Notification Integration
The Push Notification Integration enables you to deliver short, clickable messages directly to your users’ devices through a connected app.
Unlike email or SMS, push notifications appear instantly — even when the user isn’t actively using the app — helping you engage and re-engage your audience in real time.
Note: You must already have an app implemented. Taguchi will work with your app provider to establish the integration.
Why Use Push Notifications in Your Customer Journey?
Push notifications are both cost-effective and impactful communication tools. They help you:
- Drive user engagement: Prompt users to reopen and interact with your app.
- Deliver time-sensitive updates: Send alerts for order updates, new offers, or upcoming events.
- Increase conversions: Encourage immediate action with personalised calls-to-action.
- Boost retention: Re-engage inactive users and bring them back into your customer journey.
When used strategically, push notifications enhance customer experience and directly improve business outcomes.
How to Set Up a Push Notification Integration
Before proceeding, please confirm with the Taguchi Client Success team that your app provider integration is available and ready to connect.
Once confirmed, follow these steps:
Step 1: Credentials Setup
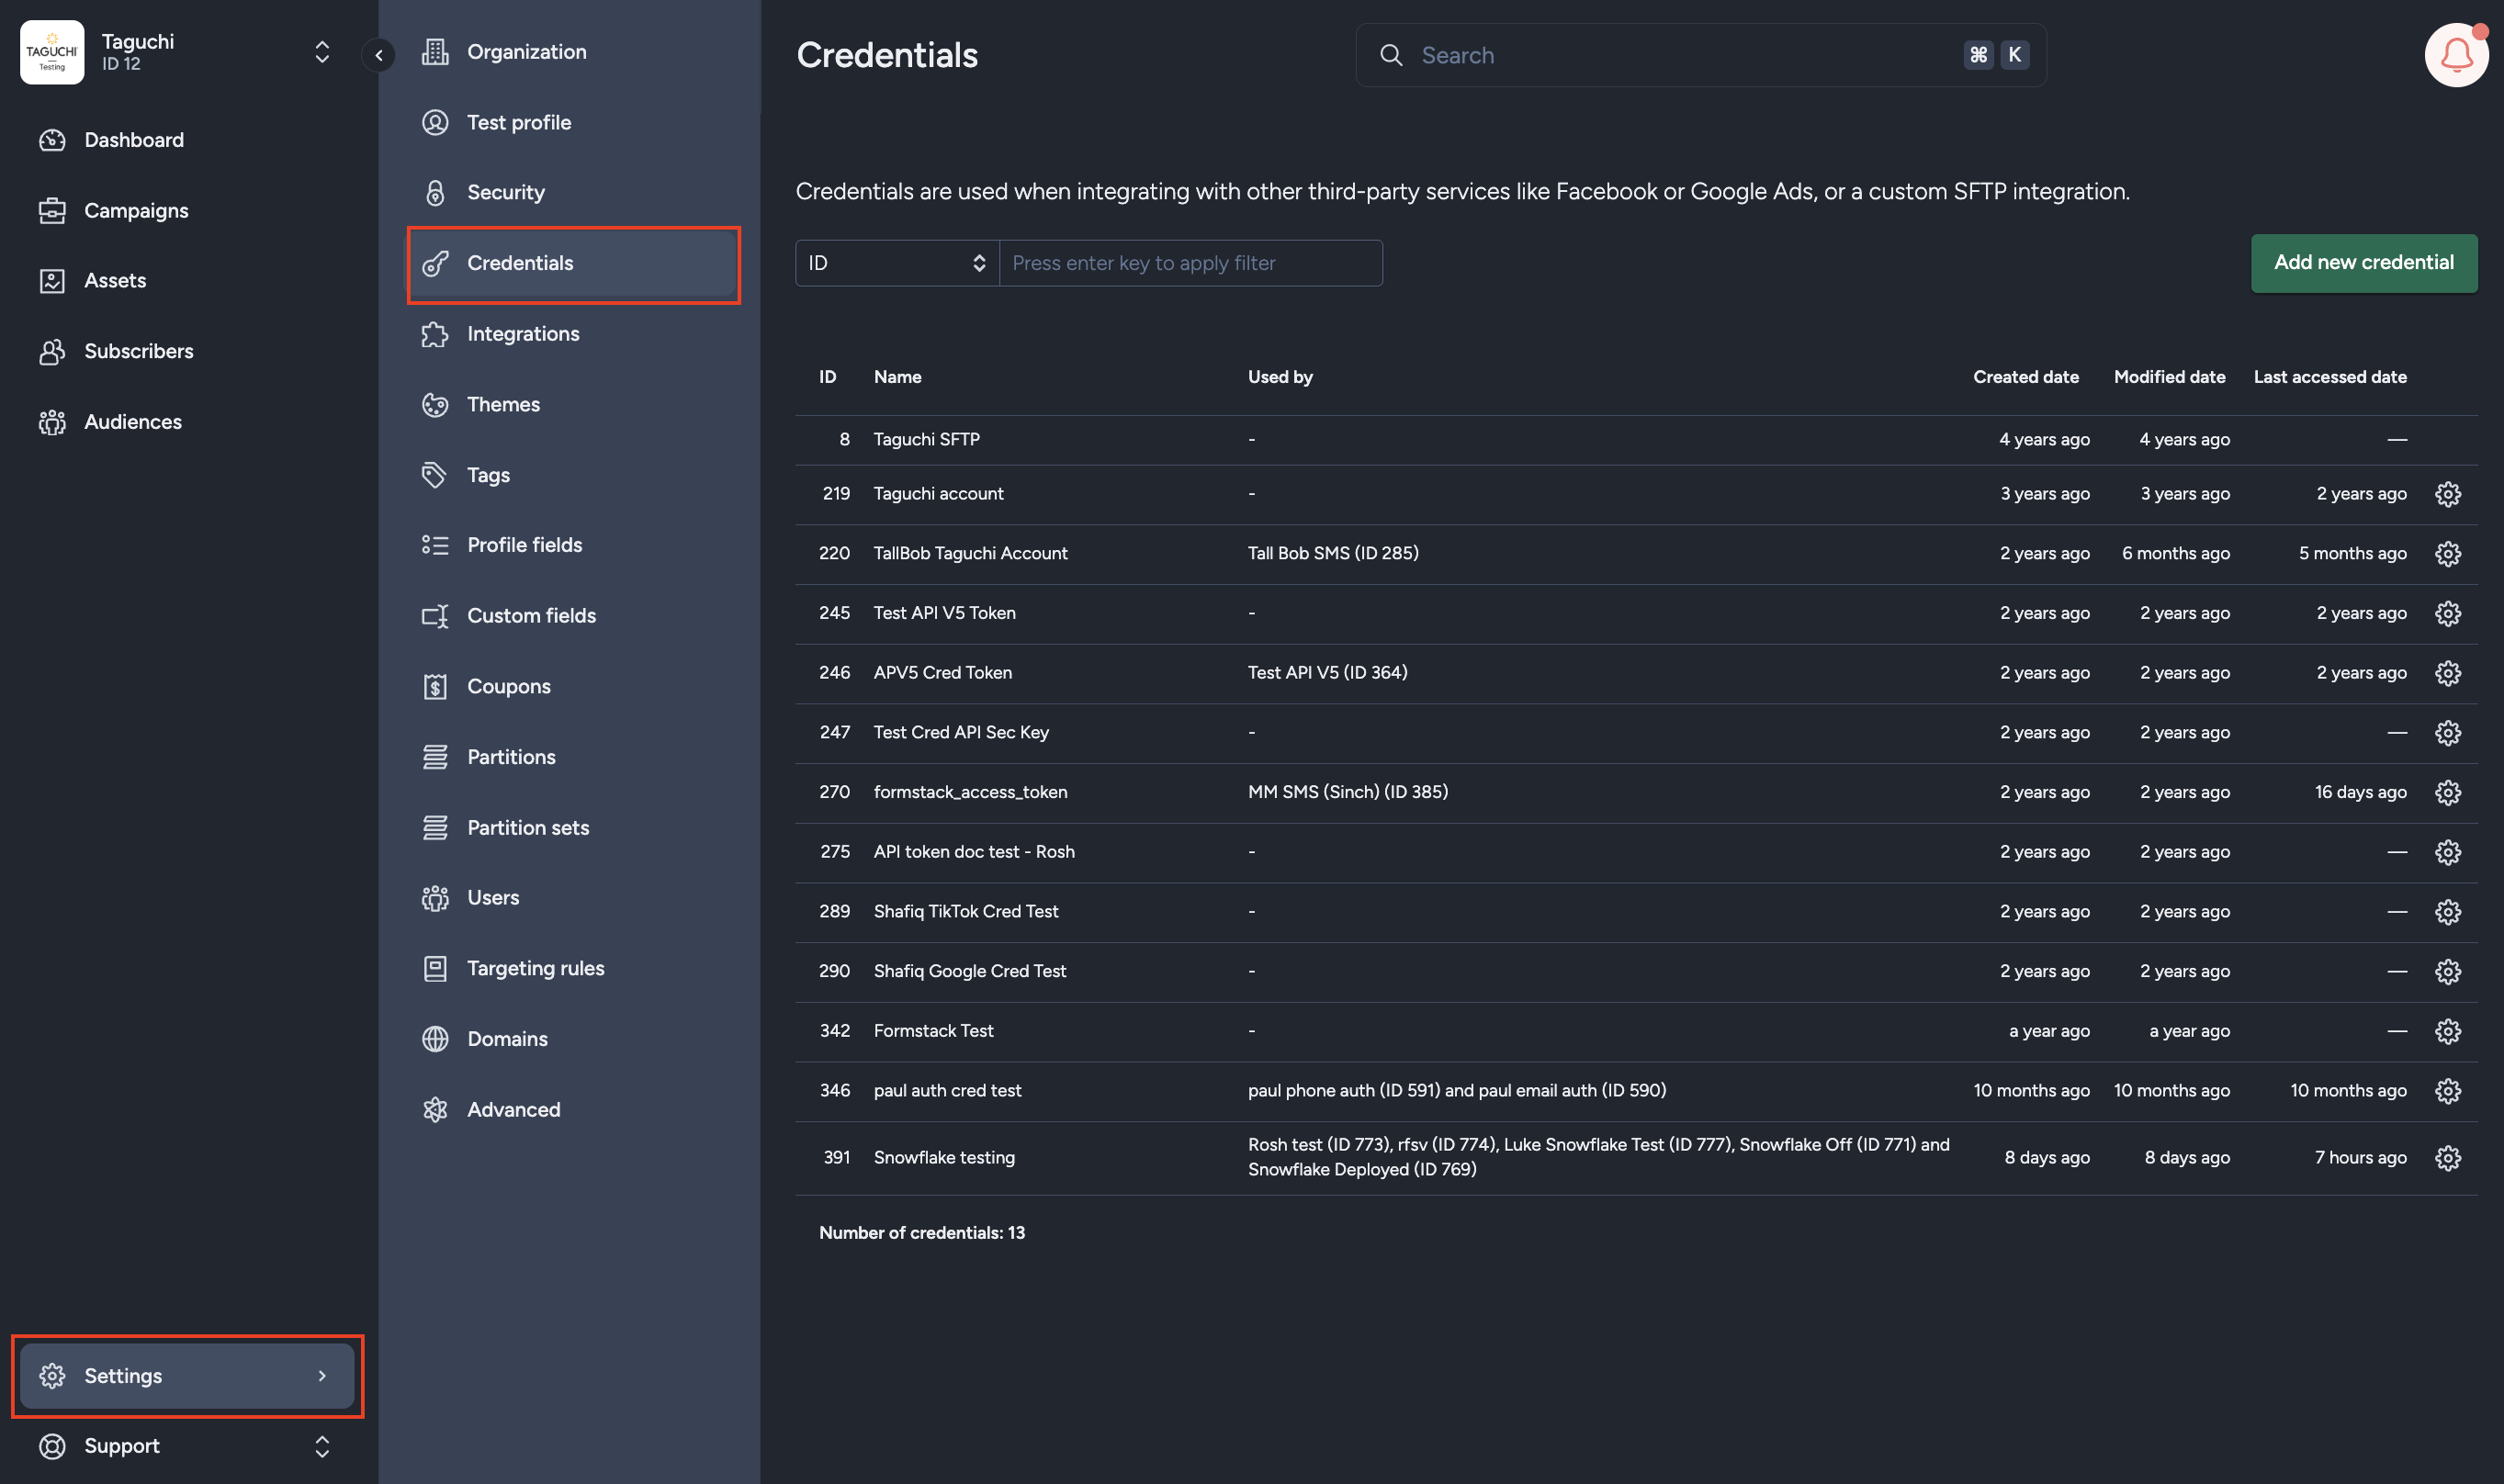

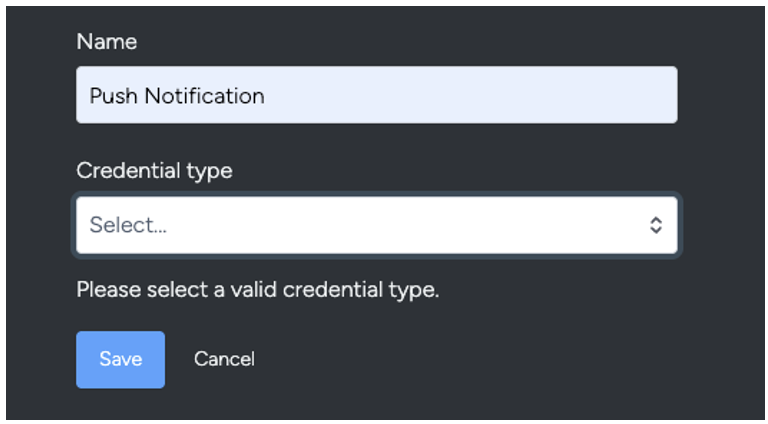
- Choose the appropriate Credential Type (your app provider integration).
- Enter the API Token provided by your app provider.
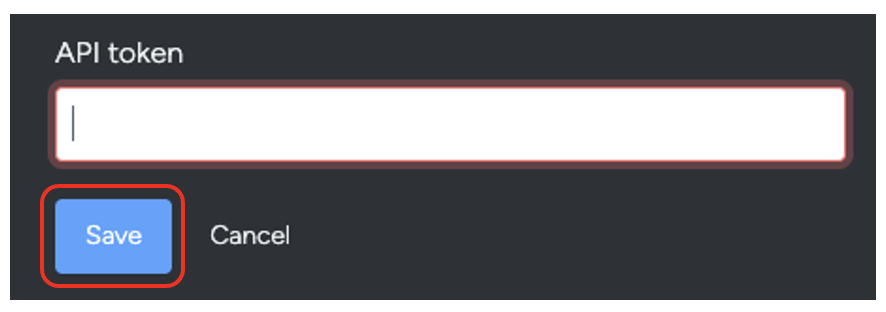
- Click Save to store your credentials securely.
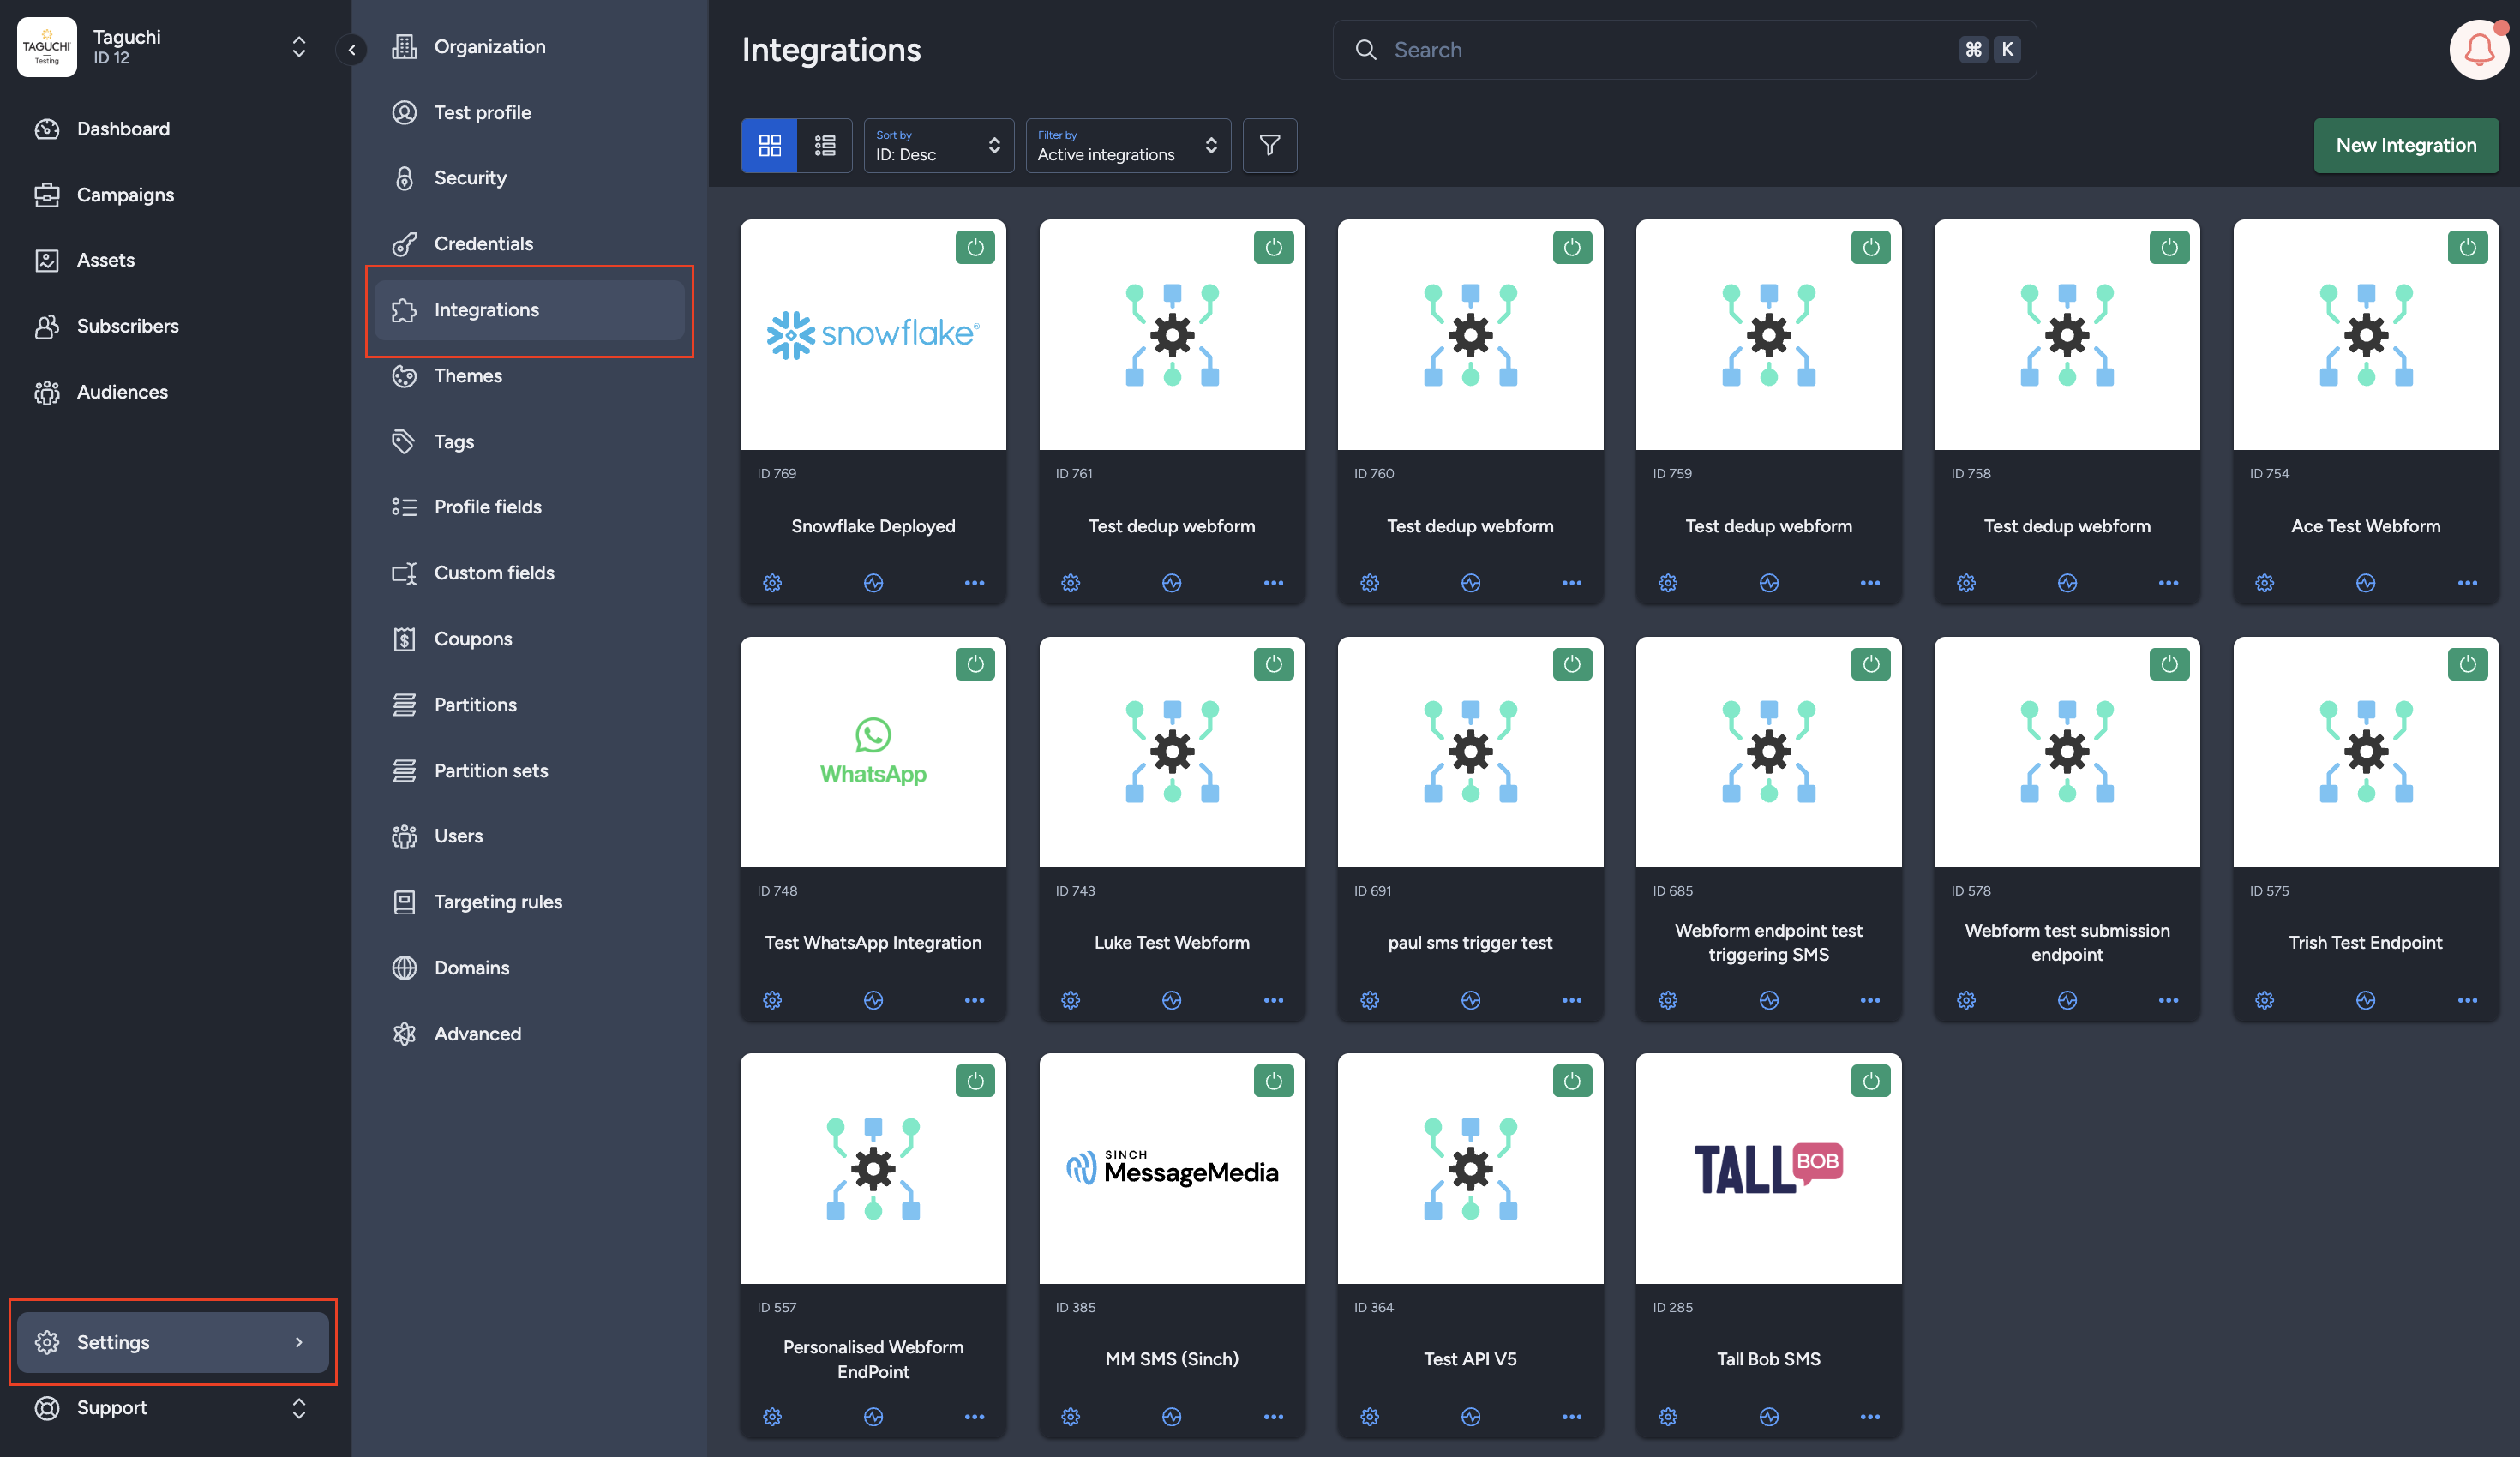
Step 2: Integration Setup
To create a new Push Notification Integration, ensure that your user account has Integration Role privileges assigned.
Without these permissions, you will not be able to configure or activate integrations.
Navigate to:
Settings → Integrations
Then select ‘New Integration’.

Available App Provider Integrations
Currently supported:
- TASK App Provider Integration
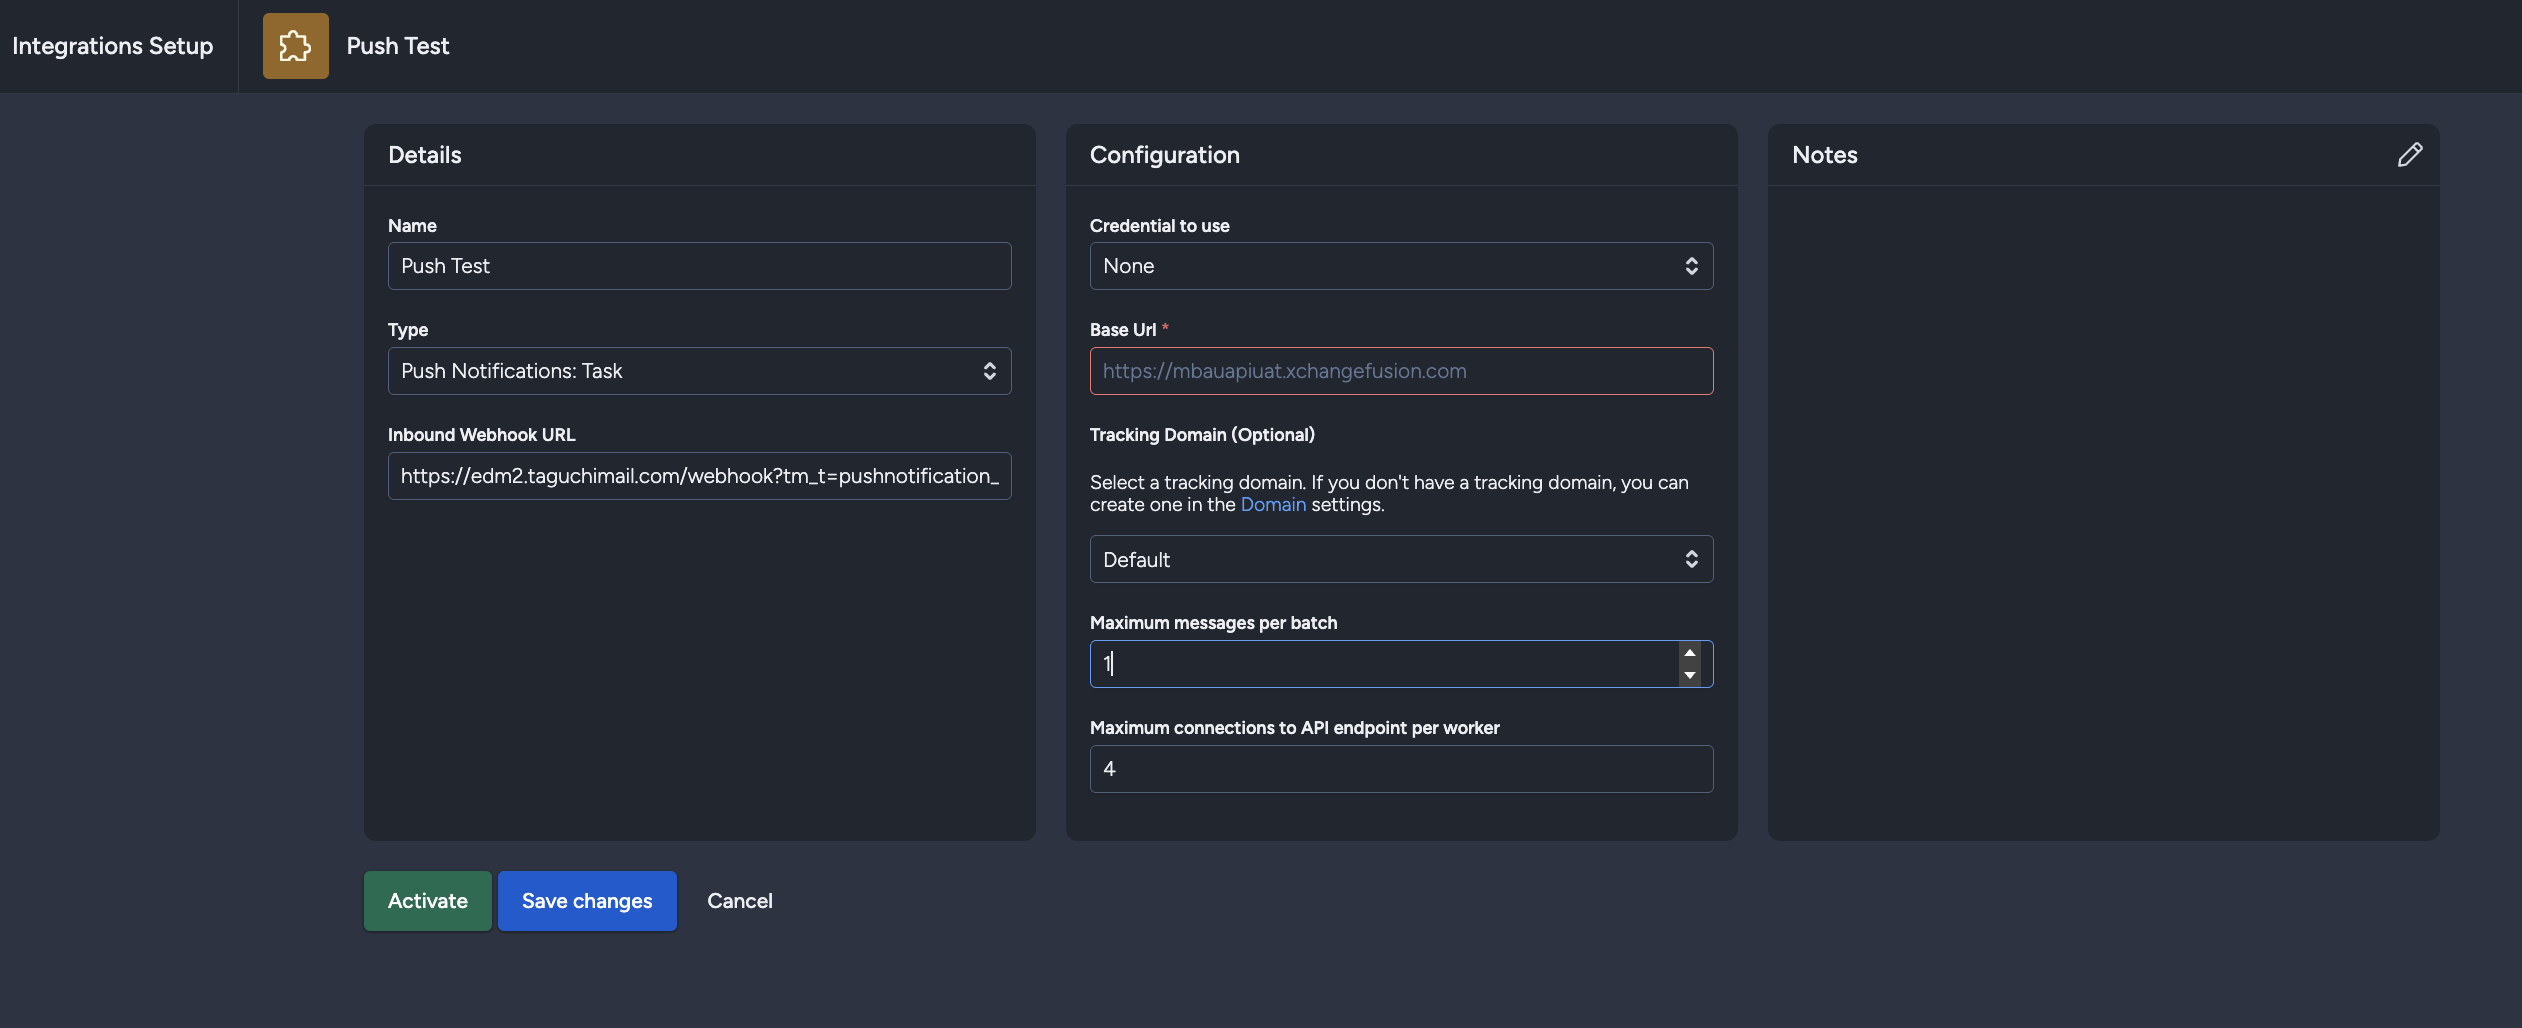
- Name the integration.
- Under Type, select Push Notification: TASK.
Integrations are grouped under nine categories: API, Audience Sync, Event, Export, Import, Messaging, Notification, Push Notification, and Scheduled.
- The Inbound Webhook URL will be generated automatically.
Each integration has a unique endpoint used for HTTP requests. - Credential: Choose the credential created earlier in Step 1.
- Base URL: Enter the main API URL provided by your app provider (without additional parameters).
- Tracking Domain (optional): If desired, select a tracking domain configured in Domain Settings.
- Maximum messages per batch is the number of messages that will be generated at a time.
- Maximum connections is the maximum number of connections to the Task (or whichever service) API endpoint per worker process.
- The minimum value for Maximum messages per batch and Maximum connections is 1 and 1, which depending on the endpoint will result in a delivery rate of 10 messages per second or lower.
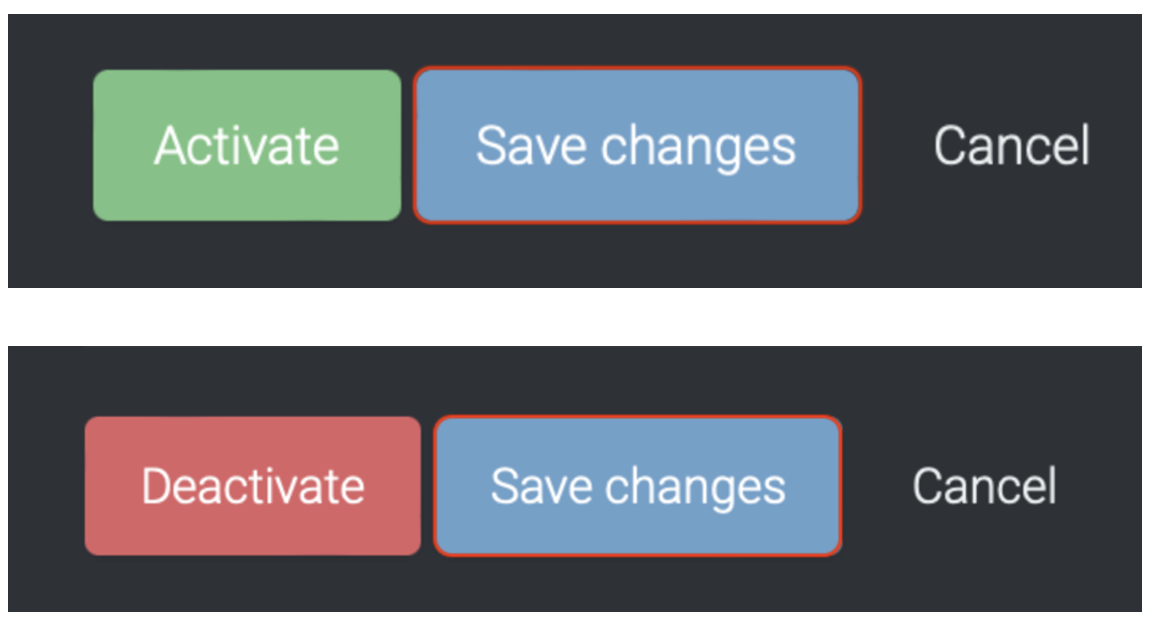
Step 3: Save Changes and Activate
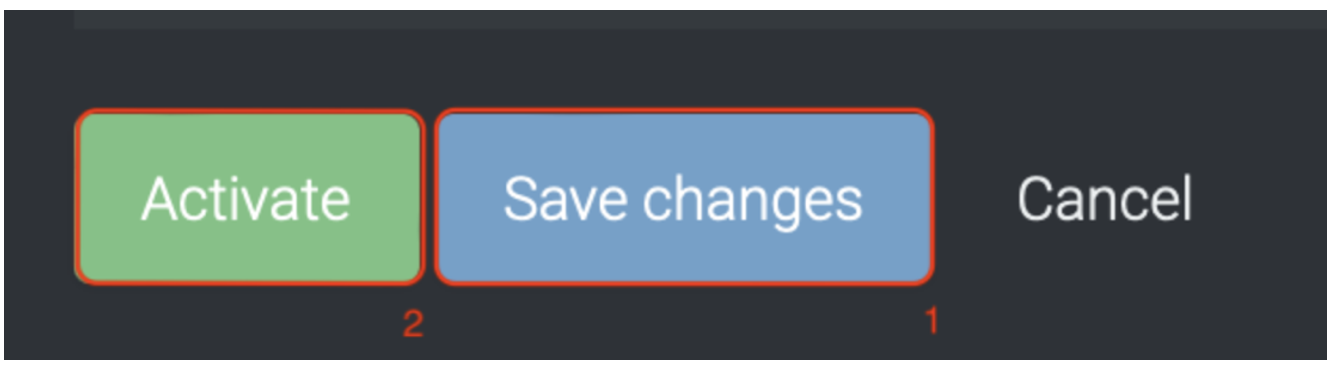
Once all required fields are completed:
- Click Save Changes
- Then click Activate
You can only activate after saving.
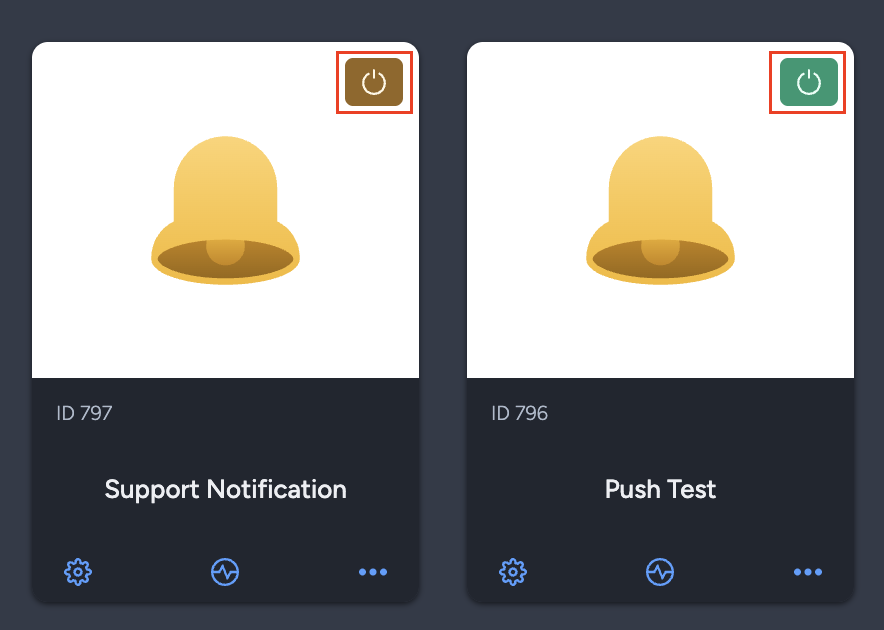
When activated, the integration status icon turns 🟢 Green (Active).
Inactive integrations appear as 🟡 Yellow.
Deactivate
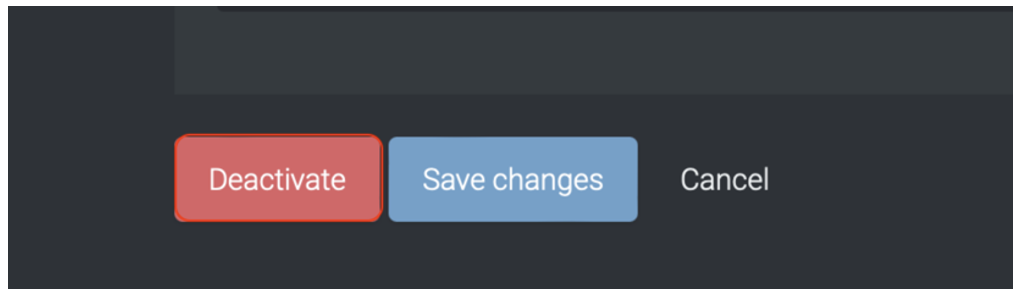
To stop the integration, click Deactivate.
This will disable the connection between Taguchi and your app provider, halting all push notification deliveries.
Error Handling
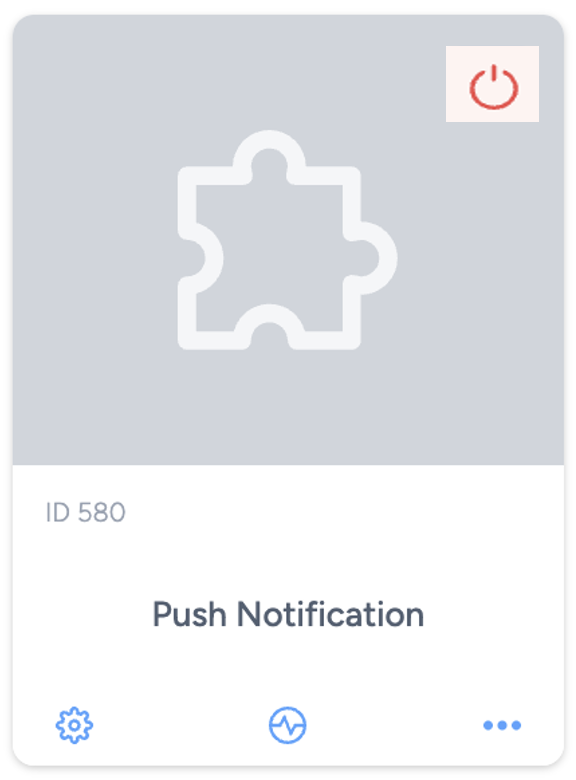
If an error occurs, the integration icon turns 🔴 Red, indicating a failure that requires attention.
Check your credentials, URLs, or contact Taguchi Support for further investigation.
Updating an Integration
You can update the integration while it is active or inactive.
After making changes, click Save Changes — updates take effect immediately.
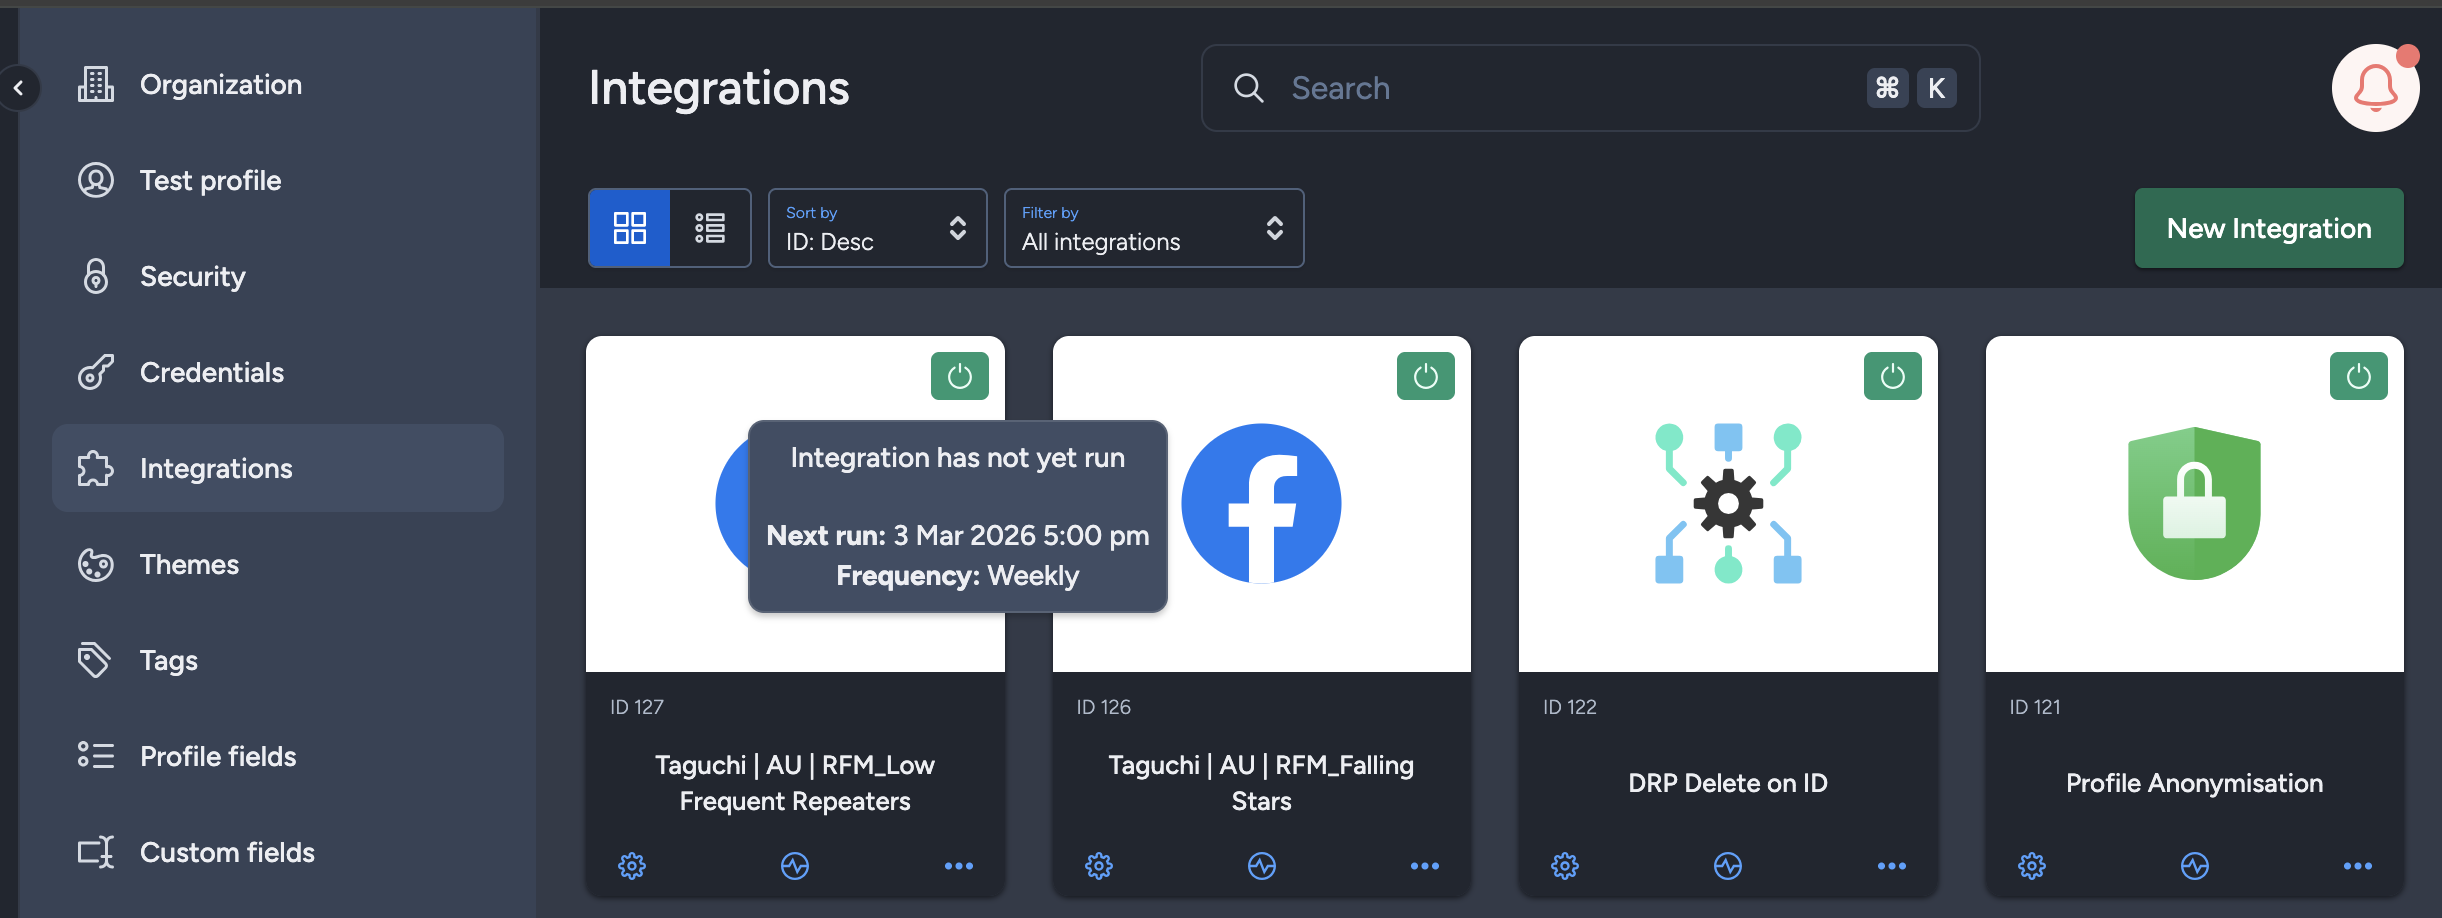
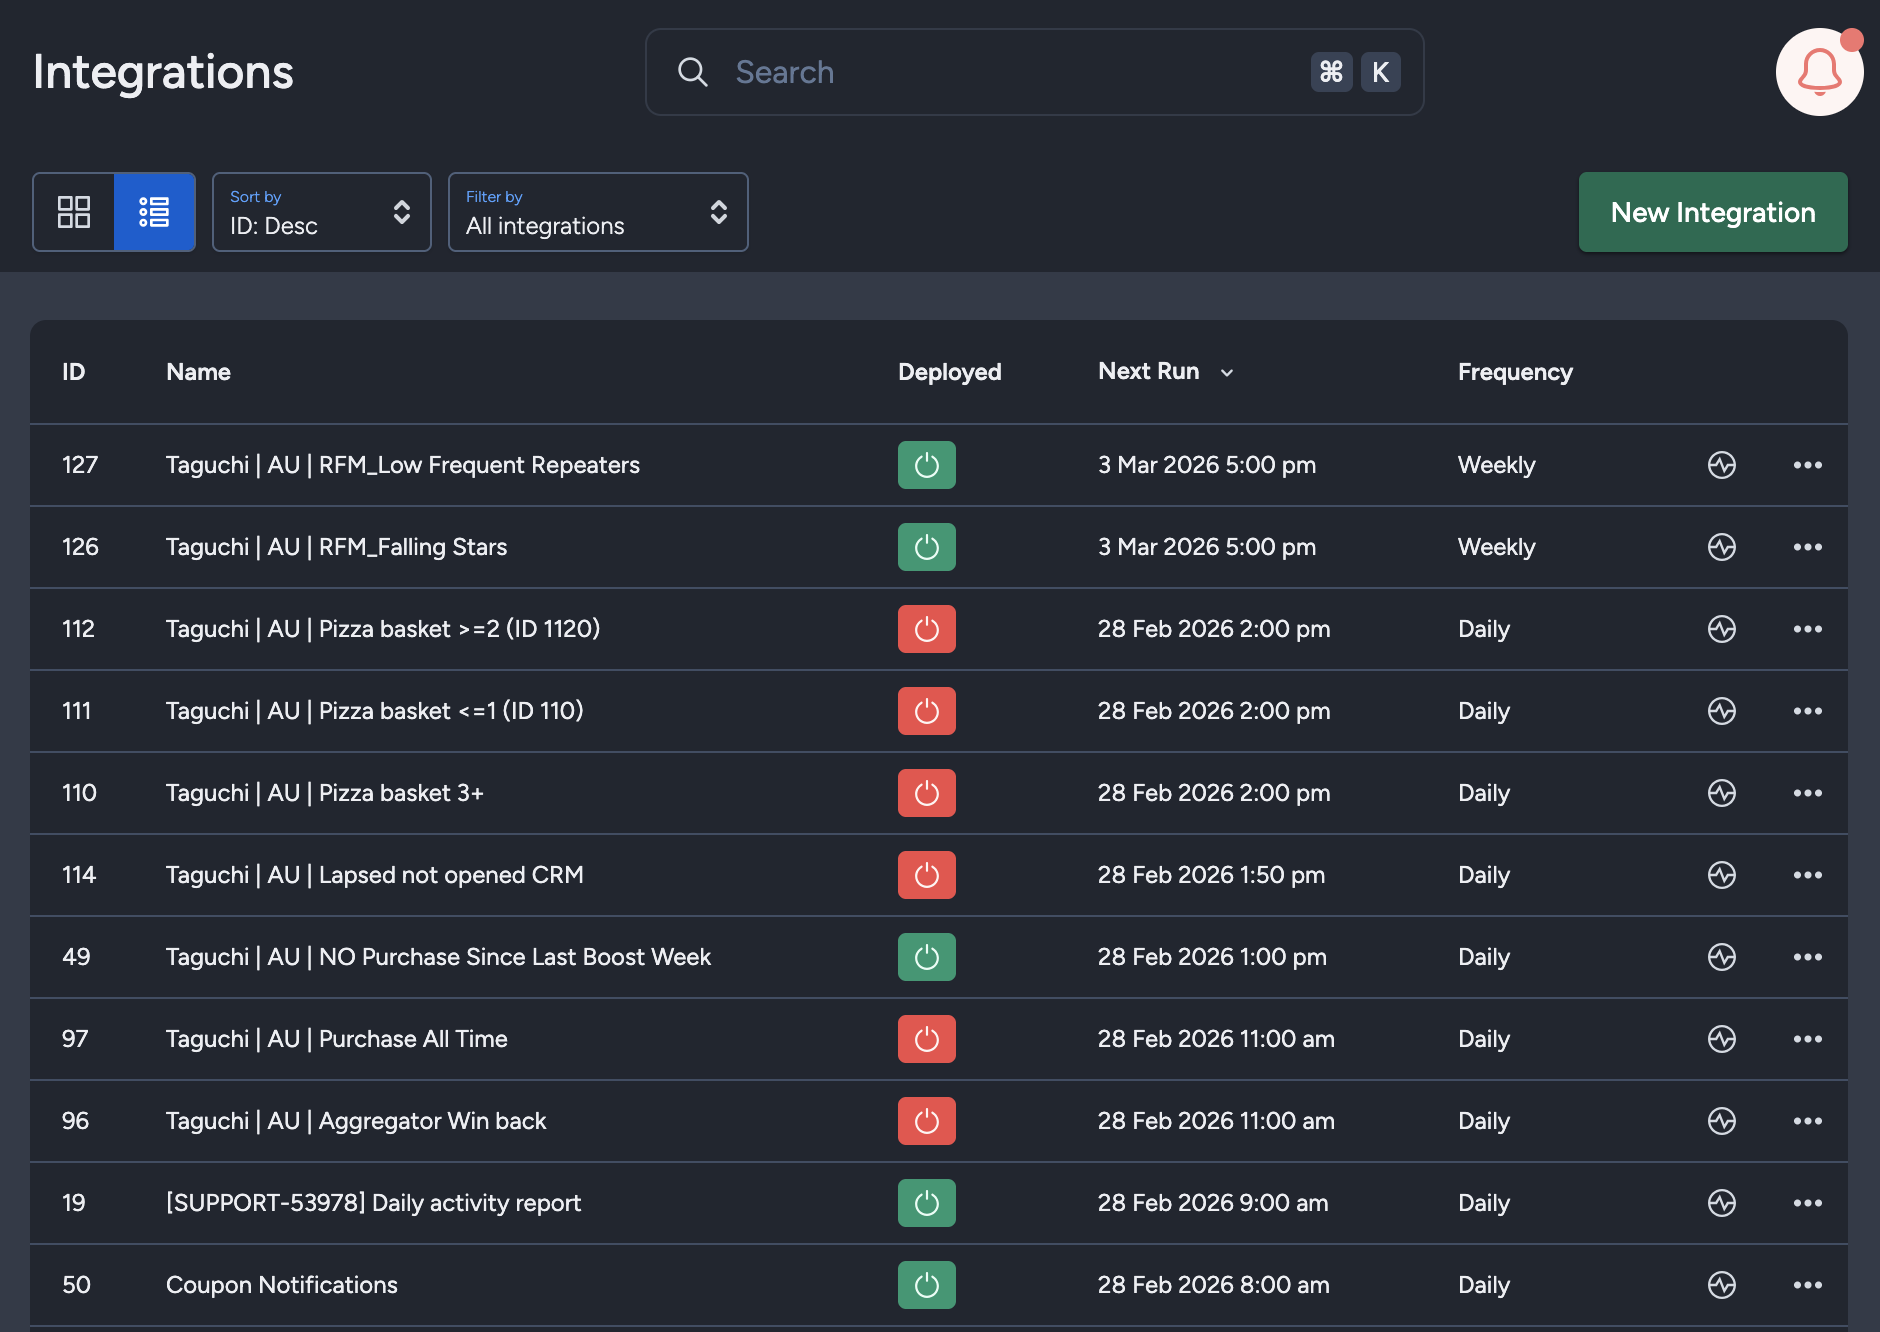
Viewing Integration Schedules and Next Run Details
The Integration UI provides visibility into integration schedules by displaying the scheduled frequency and the time of the next run when hovering over the status icon. Adding to that, the integration UI supports list view with sortable columns so you can see the next run timestamp and frequency there too.. This helps users quickly check when integrations are scheduled to execute and manage them more efficiently.
If you are having trouble with this integration, please contact Taguchi Support for assistance.