- Support Home
- Knowledge Base
- Web Forms
- How to send and personalise a form to existing subscribers?
Related articles
Need some help?
If you have questions or can't find what you're looking for, we're here for you.
Taguchi Support is available Monday to Friday, 9am - 5:30pm AEDT.
Create New TicketTaguchi Certified Training
Join our free and live online training sessions. You'll benefit from a better understanding of the platform's features and functionality. Plus with Taguchi Certified Rewards, every session you attend, you're not just learning - you're earning your way to some fantastic rewards.
About Taguchi Certified RewardsAPI Version 5
Did you know Taguchi has an API that supports all of the functionality provided by the admin interface and more?
Explore API Documentation
Thanks for your feedback!
How to send and personalise a form to existing subscribers?
To set up a V5 Webform with personalisation, you first need to create an activity. Here’s how you can do it:
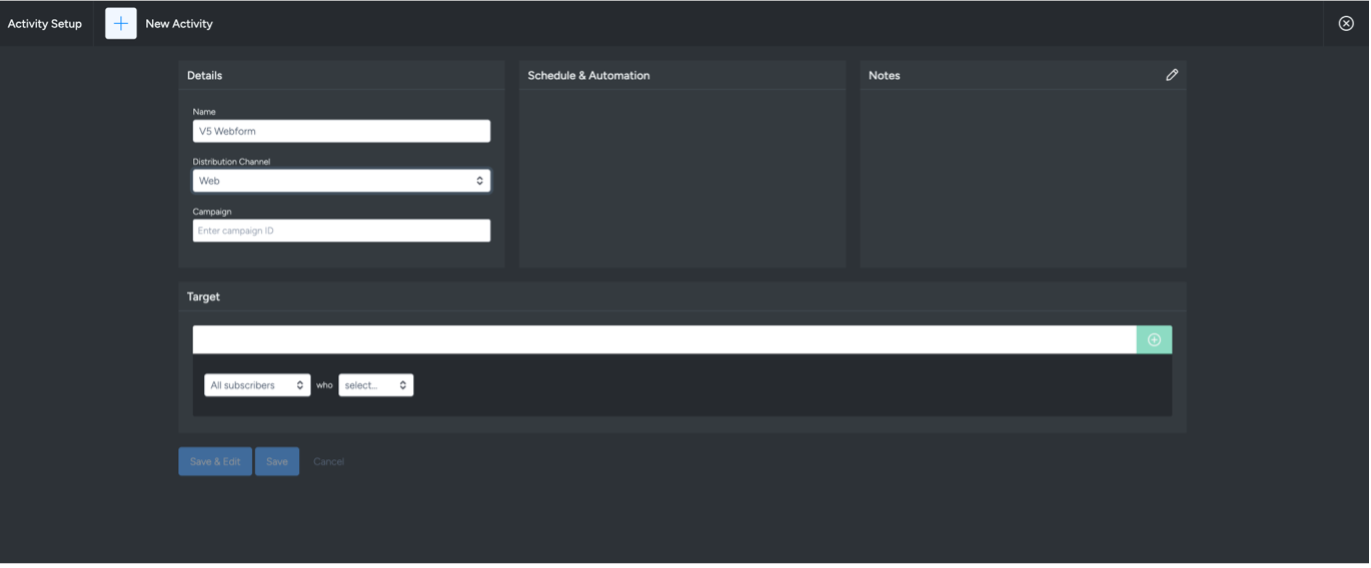
Create a new activity
a. Log into Taguchi and create a new activity, selecting "Web" as the distribution channel.
b. After setting up the activity, click 'Save & Edit' to ensure the webform is saved correctly.
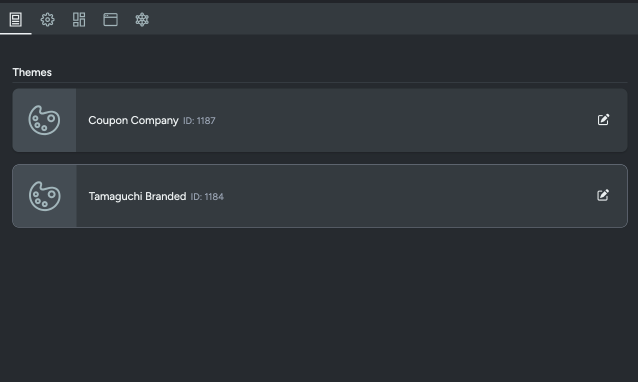
Select the theme
a. In the Theme settings, choose the theme you would like to use.
Set up the endpoint
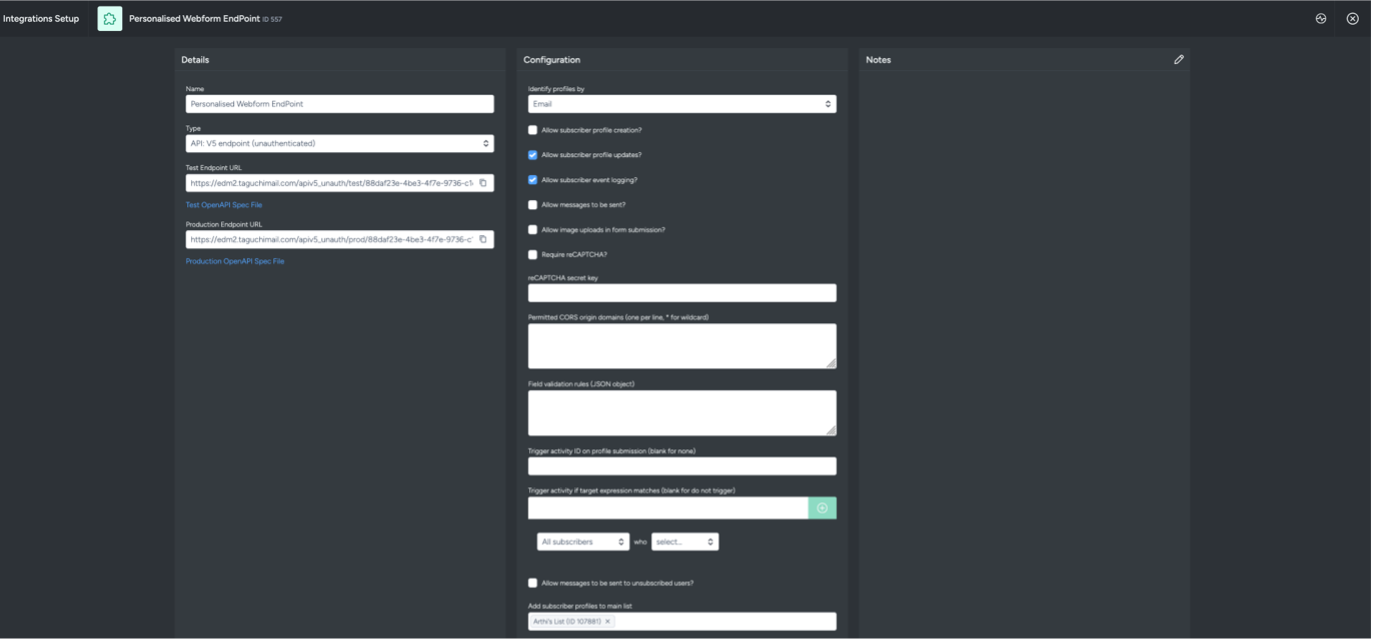
a. Ensure that the form is configured to connect to the correct API endpoint (V5). This is crucial for successful form submission. If your subscription management system uses a unique key outside of Taguchi, it’s best to reach out to your Client Success representative for guidance on how the subscription management process is set up for your organisation.
b. Since we want to send and personalise this particular form to existing subscribers, you should only select the option "Allow subscriber profile updates."
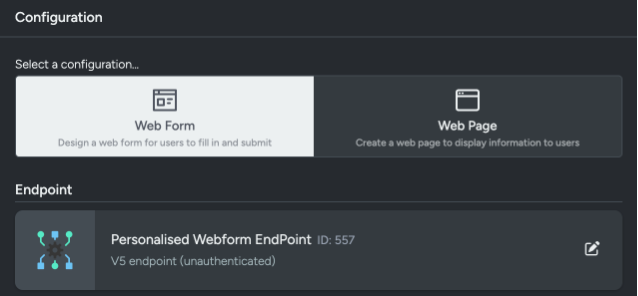
c. Once the integration is set up, you can select the endpoint in the Configuration tab.
To learn more about V5 API Endpoint (Unauthenticated) Integration, please click here.
- Configure form submission message
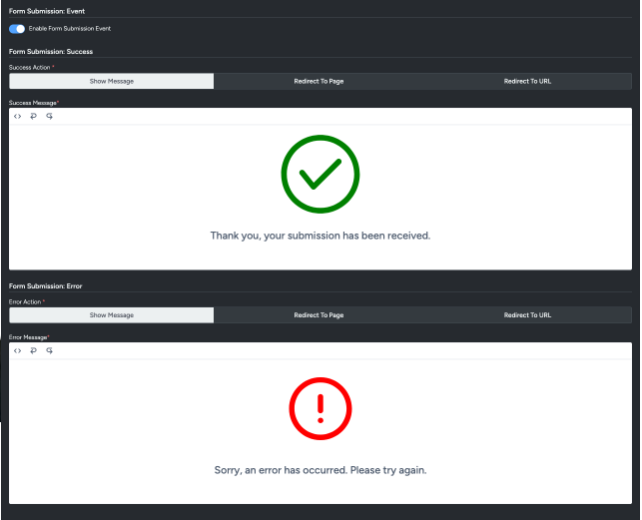
Ensure users receive a confirmation that their submission was successful or unsuccessful. This can be done through a message displayed on the screen, via an image, or by redirecting them to a landing page or to a specific URL.
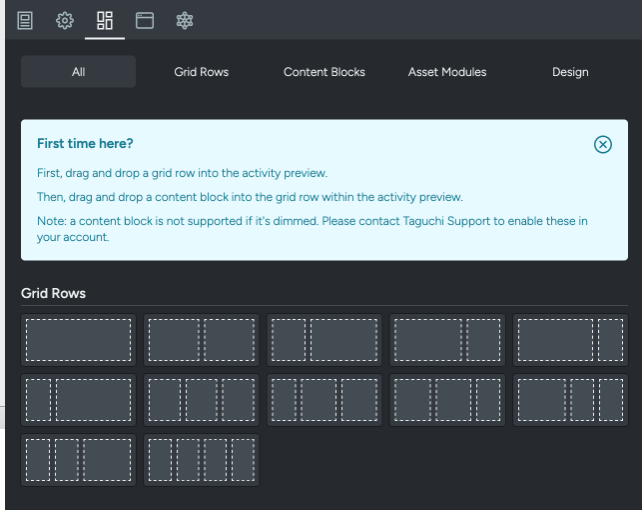
Organising the webform
a. Organise the form using grid rows, which allow you to define how many columns will appear in each row. This layout flexibility helps tailor the form's design to your requirements.
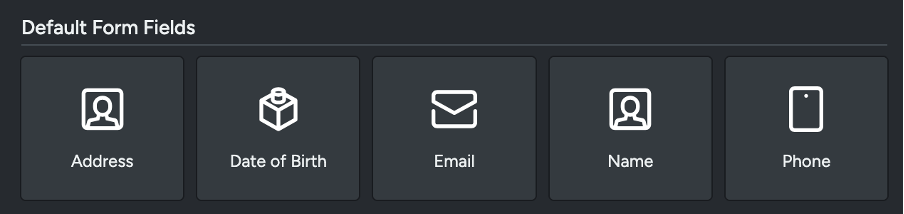
Default form fields
These are the default fields which can be used in the webform:
- Custom form fields
You can personalise the form by adding any of the following field types:
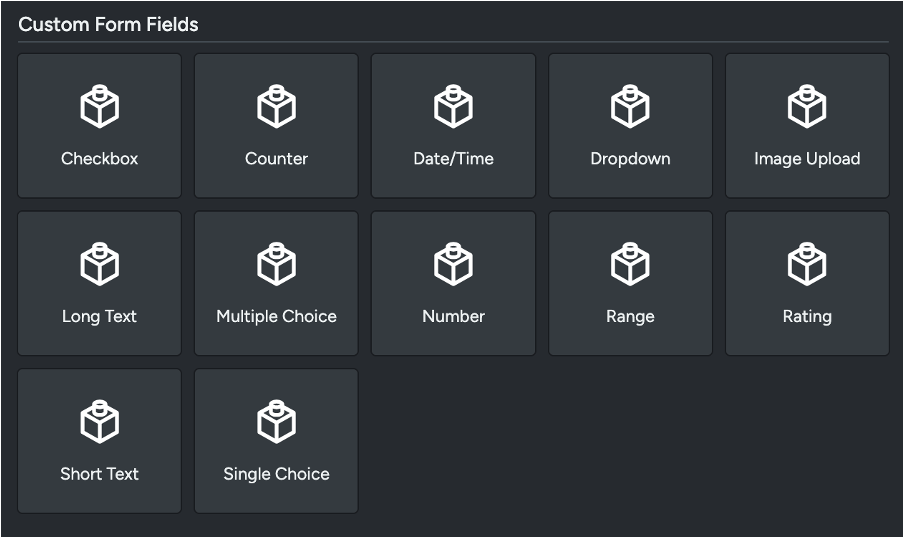
Simply drag and drop the required fields into the grid column to customise the form according to your needs.
Field customisation
a. Input name: This is the custom field which will save to subscriber profiles.
b. Label: This is the name to define the field.
c. Sub-label: The text that will appear below the form field (e.g., 'Full Name', 'Email Address').
d. Placeholder: Example text shown inside the field to guide users on the expected input (e.g., 'example@gmail.com').
e. Default value: This is where you can use personalisation tags to pull through information from the subscriber’s existing profile.
Personalisation tags
To pre-populate fields with user data from Taguchi, you can use personalisation tags for the default value. This will automatically populate relevant fields with the subscriber’s stored details (e.g., name, email) when they click on the webform.

You can learn how to create personalisation tags here.
- Publishing the webform
Once the webform is ready, approve and confirm its deployment. It will then be available as a webpage.
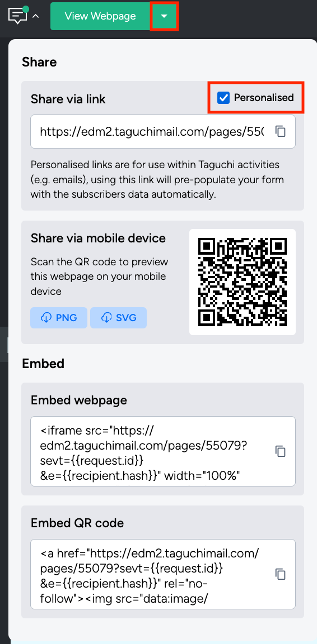
- Viewing webform form email activity
Once the form is deployed, click the arrow next to 'View Webpage' and select 'Personalised'. This will generate a personalised form URL with e-sev parameters. If any field's default values are set using personalisation tags in the form setup, these values will automatically populate based on the subscriber's profile. You can then insert this URL into the CTA of your email activities. When the subscriber clicks the CTA in the email, the form will open with their personalised information pre-filled, allowing them to complete it seamlessly.
💬 For further assistance, contact Taguchi Support.