- Support Home
- Knowledge Base
- Campaigns And Activities
- Proofing
- Test Matrix
Test Matrix
What is the Test Matrix?
When testing and proofing activities, it is sometimes insightful to see all the outputs of segments which are accounted for in the build process.
The test matrix allows you to create test profiles for each of the segments you wish to test, and outputs sample eDM's if the profiles fall into the target expression inputted for that activity.
This function is useful when you want to see sample emails of specific profiles i.e. a subcriber who is in Victoria and purchased a specific product more than once.
It can also help you validate whether the target expression is targeting who you actually want to target.
To use this function, "Work Flow" has to be enabled. Please contact support if you are unsure if "Work Flow" is enabled for your organisation.
How can I run the Test Matrix?
1. Prepare a CSV file which contains profiles you want to test.
The file must be CSV format and it contains one profile per row.
 Mandatory fields and values
Profile Name: This must be the first column in the file.
This will be used to name the .eml file of the sample email associated to this test profile.
Value : Profile name should be unique and not repeated across rows/profiles.email:
This will be used as a recipient email address in the sample email if the profile is targeted.
Value : It doesn't have to be an existing email address and it can be repeated across rows/profiles in the file.List: XXXX: Please change 'XXXX' to an existing subscribers list ID.
This field is used to add a condition whether the profile is subscribed to list XXXX or not.
Value : The value represents whether the profile is subscribed to that list or not. This can be achieved with 1 or 0, Y or N, Yes or No.
Optional fields and values
Standard field: Please change 'Standard field' to a standard field available in your organisation.
This field is used to add conditions of standard fields such as 'firstname', 'state', or 'dob'.
You can add multiple fields with one field per column (e.g. column A = firstname, column B = dob, column C = state...).Custom: customField: Please change 'customField' to an existing custom field in your organisation.
This field is used to add conditions of custom fields. You can add multiple fields with one field per column.
The profiles in the test matrix don't stay in the database - they are temporarily created when the test is run, and then deleted.
2. Upload a test matrix file.
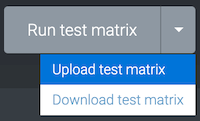
Click "Upload test matrix", and a file explorer dialog will appear to locate your test matrix file. Select your file and click 'Open'.

If there is a "Run test matrix" button instead of an "Upload test matrix" button, it means a test matrix has already been uploaded to the activity.
You can override the test marix by clicking ▾ next to the "Run test matrix" button, and then select "Upload test matrix" option.
You can't remove a test matrix from an activity, you can only override an existing one.
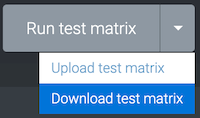
You can also download the existing test matrix to review the content and make edits for re-upload.
3. Run test matrix.
Once you upload the test matrix file, you can click "Run test matrix" and the test files should start downloading to your computer.
4. Check the files.
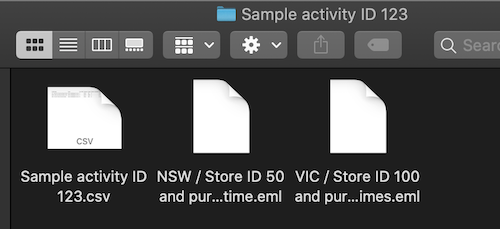
You will get a folder containing a CSV file and sample emails of targeted profiles.
CSV file
This will give you insight on who is targeted, which segment they fall in, and what personalised content they should see.
Targeted: Yes = this profile is included in the activity's target expression, No = this profile is not included in the activity's target expressionSegment: The segments they fall in in the activity
Email files
These are sample emails of the profiles whose 'Targeted' field value is Yes. Each email file name is matched with the profile's unique "Profile Name" in the downloaded CSV file.
When an activity is cloned, the test matrix in it is also cloned.
