- Support Home
- Knowledge Base
- Integrations
- Archiver Integration
Related articles
Need some help?
If you have questions or can't find what you're looking for, we're here for you.
Taguchi Support is available Monday to Friday, 9am - 5:30pm AEDT.
Create New TicketTaguchi Certified Training
Join our free and live online training sessions. You'll benefit from a better understanding of the platform's features and functionality. Plus with Taguchi Certified Rewards, every session you attend, you're not just learning - you're earning your way to some fantastic rewards.
About Taguchi Certified RewardsAPI Version 5
Did you know Taguchi has an API that supports all of the functionality provided by the admin interface and more?
Explore API Documentation
Thanks for your feedback!
Archiver Integration
The Archiver Integration automatically generates archive files for specific email sends and processes them via a scheduled integration script.
This feature is typically used for compliance, record-keeping, or external storage of campaign activity.
Before You Begin
- Ensure you have access to Integrations
- Confirm you have a campaign folder set up to designate for archiving. To setup new campaign, please refer to KB New Campaign.
- Ensure you understand how to create and broadcast an email activity
Step 1: Create or Activate an Archiver Integration
- Navigate to Integrations
- Create a new integration
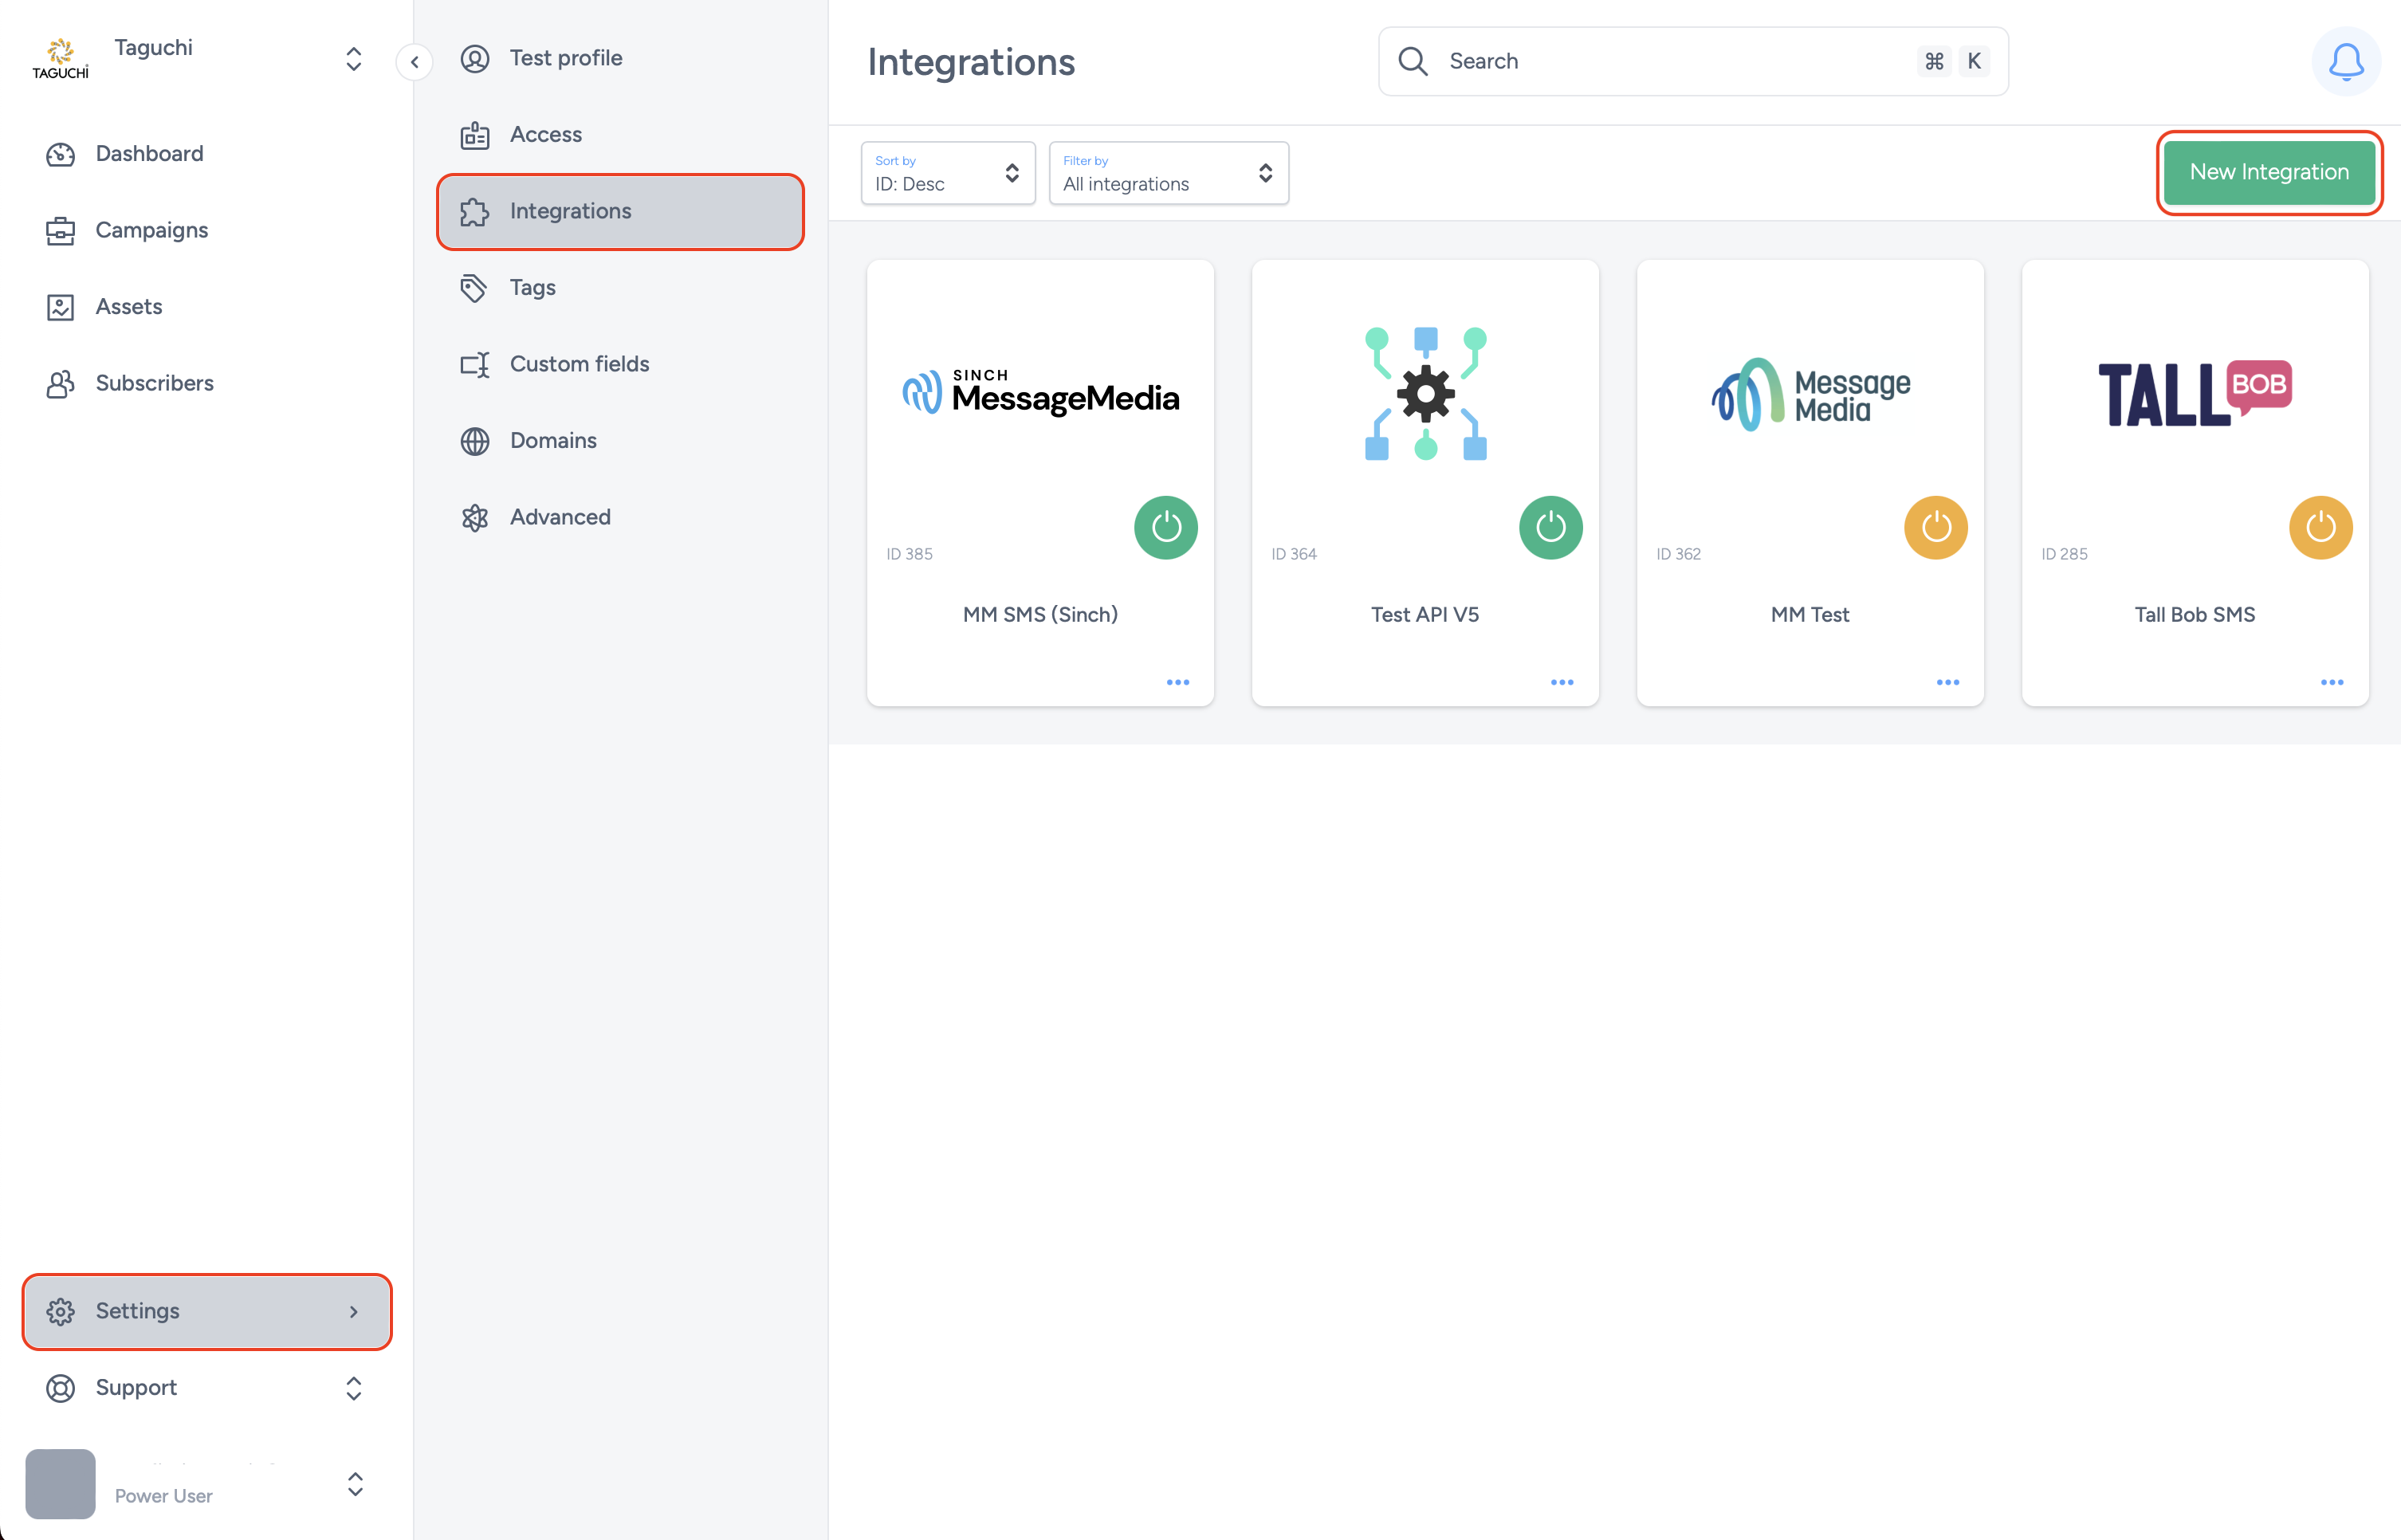
- Select type: Archiver
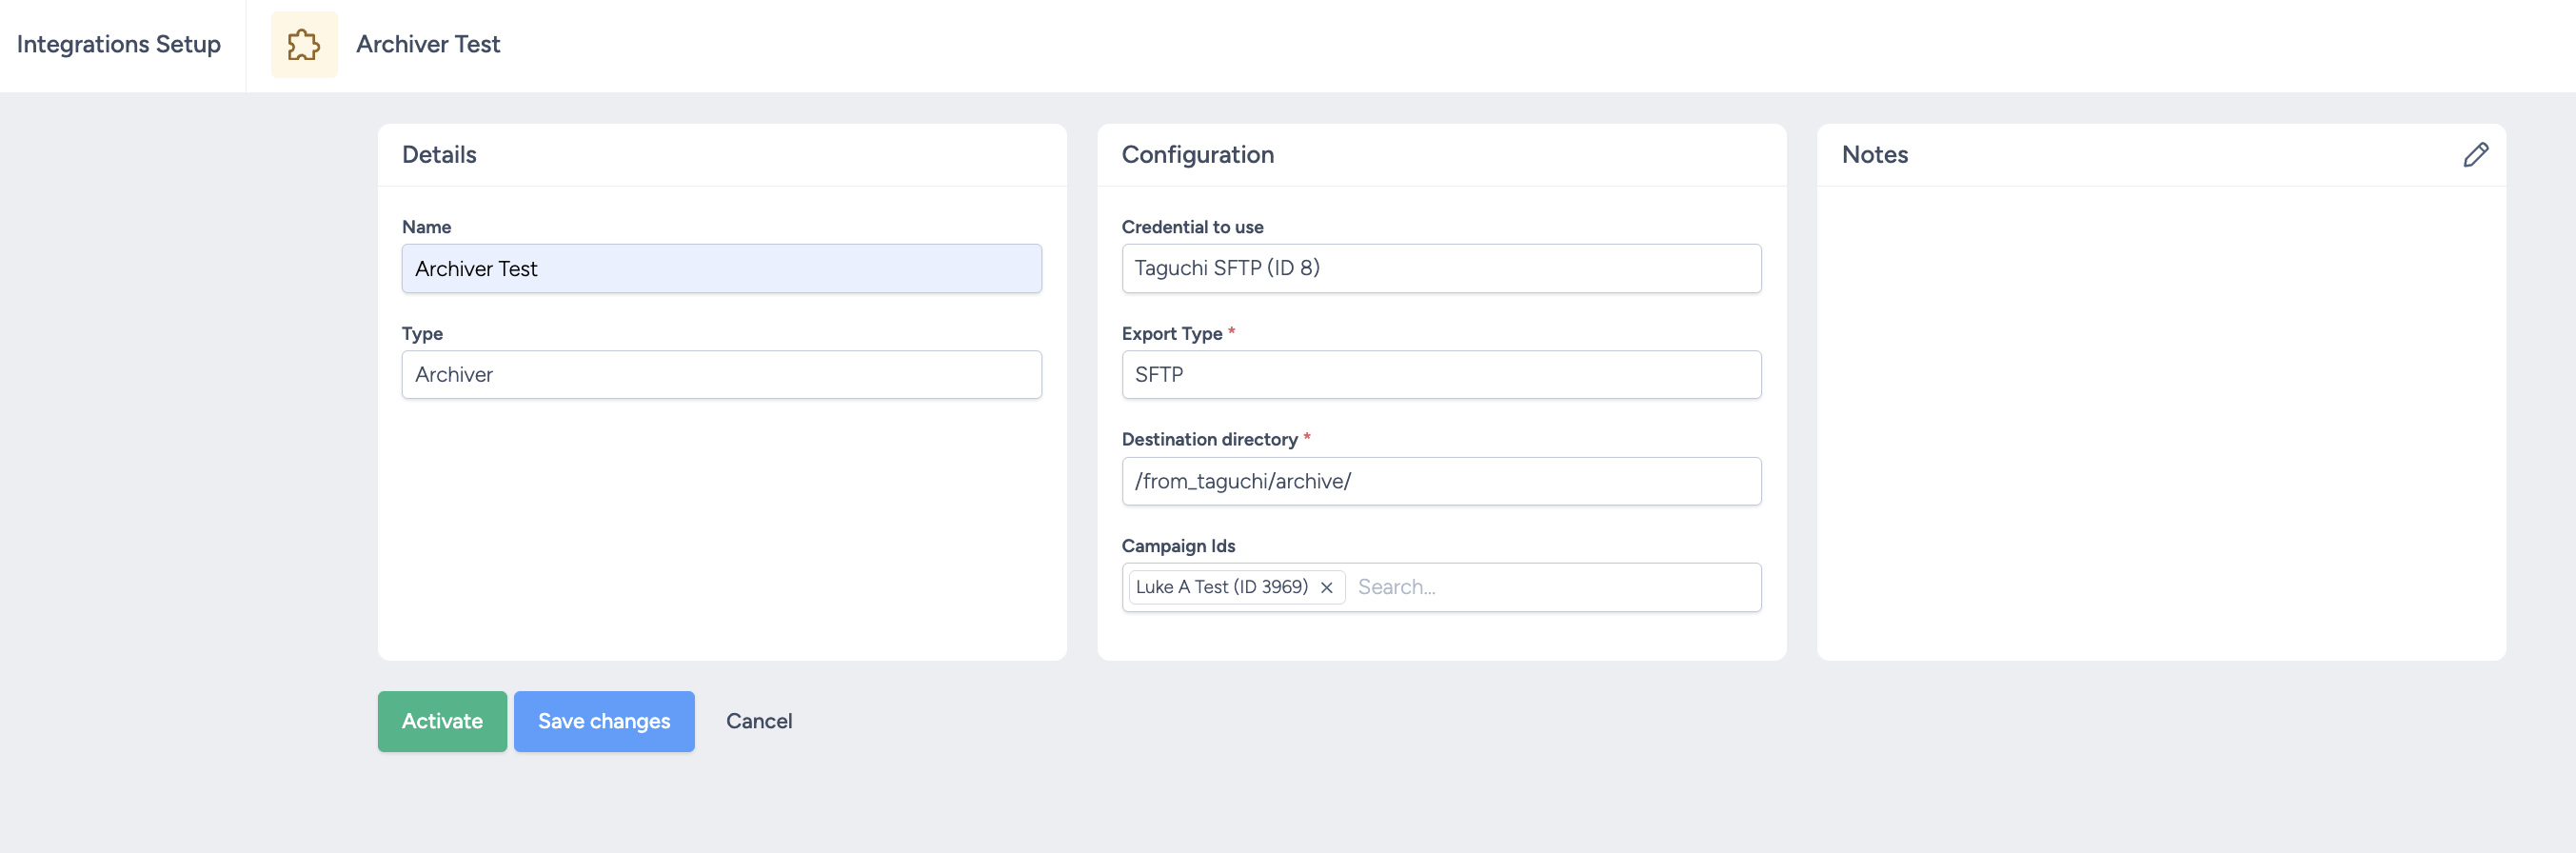
- Complete all required configuration fields
- Credential to use: Credential to external system where archived copies will be sent – typically the Taguchi SFTP folder will be used.
- Export type: Credential dependent - typically SFTP.
- Destination directory: Location where files will be saved
- Campaign Ids: Designate the campaign that will have archived copies created for it. All activities sent from these campaign folders will have archived copies creates
- Activate the integration
⚠️ The integration must be active for the archiving script to run.
Step 3: Archive File Creation
Once the email has been successfully sent Taguchi will generate an archive file for that send. To confirm successful processing:
- Navigate to Integrations
- Locate your Archiver integration
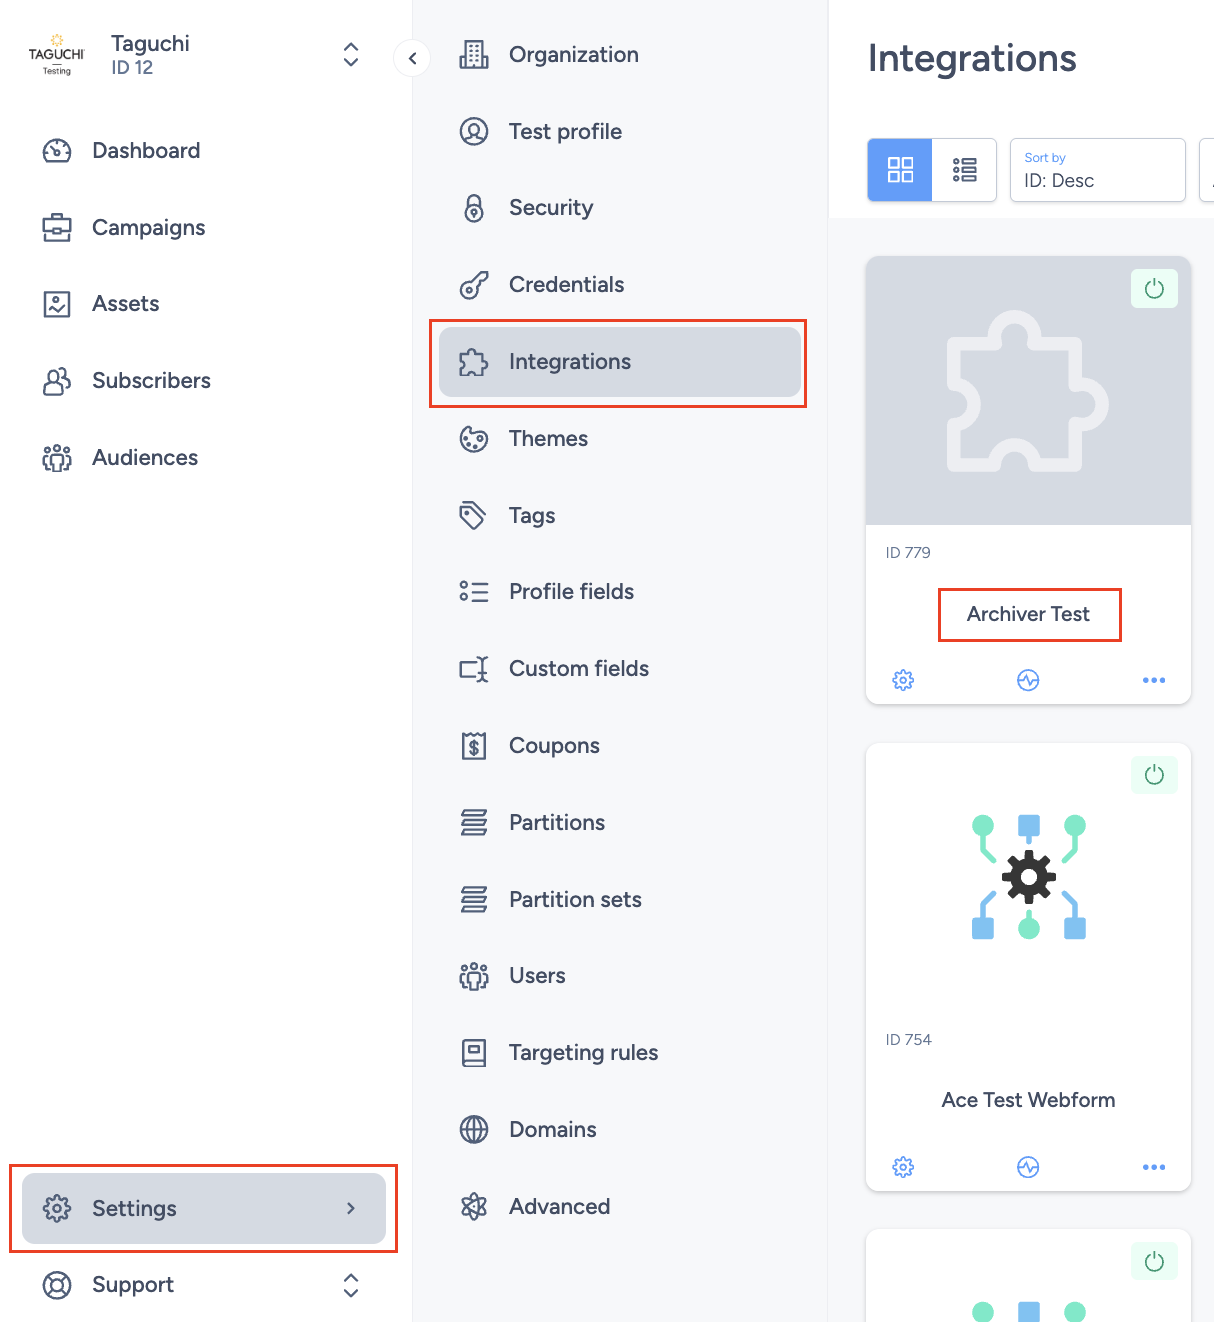
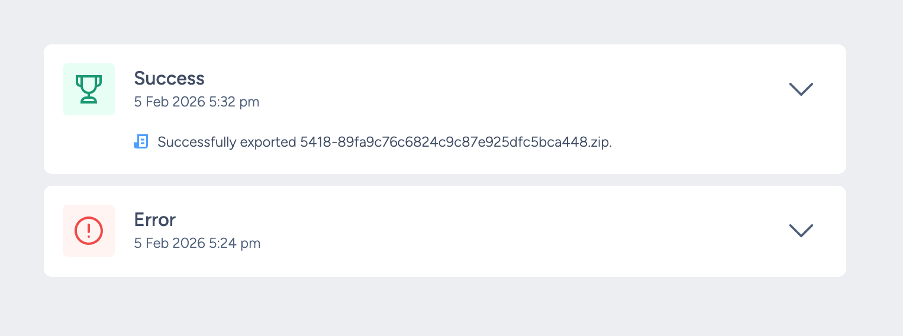
- Check the most recent log entry
- Confirm the script executed successfully
If the script fails, the logs will display the relevant error details.
Step 4: Validate Your Archived Activities
In your destination folder you will find a zip folder with your email copies. These copies will contain all the personalisation content sent to each recipient. Inside the ZIP folder you will find:
- A .html file for each recipient named in the following format: {activity-id}.{subscriber-id}.{unique-subscriber-key}-email.html
- A .txt headers file for each recipient named in the following format: {activity-id}.{subscriber-id}.{unique-subscriber-key}-headers.text
- An images folder which has all the relevant image files for all recipients
How It Works (Summary)
• Only email activities inside the designated “archive” campaign folder trigger archive file creation. • Successful and failed executions can be monitored via Integration Logs. • Email activities outside the archive folder are ignored by the integration.
If you experience issues: • Confirm the integration is active • Confirm the email activity is in the correct folder • Review the Integration Logs for error details
If you have any questions or need further assistance with export integrations, please contact Taguchi Support.