- Support Home
- Knowledge Base
- Integrations
- Using the frequency cap to limit the number of communications to your subscribers.
Related articles
Need some help?
If you have questions or can't find what you're looking for, we're here for you.
Taguchi Support is available Monday to Friday, 9am - 5:30pm AEDT.
Create New TicketTaguchi Certified Training
Join our free and live online training sessions. You'll benefit from a better understanding of the platform's features and functionality. Plus with Taguchi Certified Rewards, every session you attend, you're not just learning - you're earning your way to some fantastic rewards.
About Taguchi Certified RewardsAPI Version 5
Did you know Taguchi has an API that supports all of the functionality provided by the admin interface and more?
Explore API Documentation
Thanks for your feedback!
Using the frequency cap to limit the number of communications to your subscribers.
What is the frequency cap setting in Taguchi and how is it used?
The frequency cap functionality in Taguchi allows you to set a limit on how often you wish to communicate to your customers within a specific timeframe.
The frequency cap functionality utilises a Taguchi integration, which must be configured and activated first.
Once the integration has been configured, you can decide which activities are to take the cap into consideration, which is handled within the activity edit interface.
How to set up your frequency cap integration
To create a new integration, ensure that you have the required User Type integration role privileges assigned to you.
- Go to Settings, located at the bottom left of Taguchi, and then Integrations.
- Select the New Integration button on the right-hand side, and a new screen will popup.
- Set the name of the integration e.g. Frequency Cap
- Under 'Type', select 'Frequency Cap'.
- Configure your frequency cap requirements.
All activities
If you have “All activities" selected in your integration, every activity sent from your organisation will contribute to your frequency cap in place.
All activities
If you have "Only activities with 'Contributes to frequency cap' checked" selected in your integration, only activities that have this checkbox selected in the activity edit interface will contribute to the frequency cap in place.
Your daily cap is a non-mandatory field, while your weekly cap is a mandatory field. If you have a daily cap in place, this will take precedent over your weekly cap.
Save changes and activate your integration.
Wait for your integration to run - your integeration will run at what you inputted for Schedule start date/time.
Custom Frequency Cap
You can enable a Custom Frequency Cap to limit how many emails a subscriber can receive over a defined number of days. This helps prevent over-messaging and ensures a better subscriber experience.
What is the Custom Frequency Cap?
The Custom Frequency Cap allows you to:
- Define the maximum number of emails a subscriber can receive
- Specify the duration (in days) that the cap applies to
- Apply the cap across selected activities that contribute to email frequency
Once enabled, emails will automatically stop sending to a subscriber once they reach the configured limit within the defined time period.
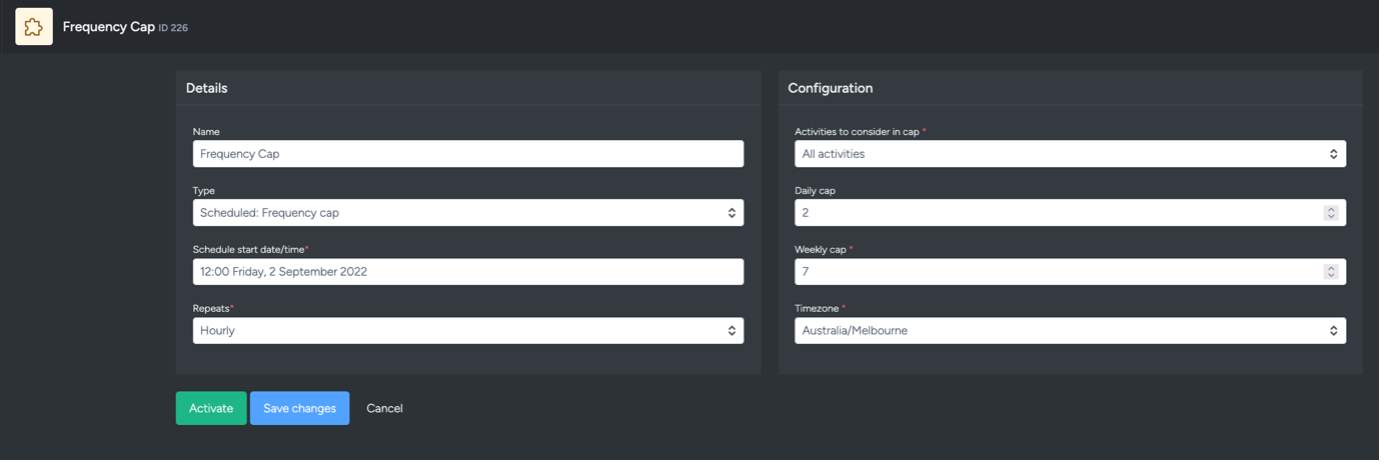
1. Create the Frequency Cap Integration
- Navigate to Integrations
- Create a new Scheduled: Frequency Cap integration
- Set the integration to repeat hourly
Note: The frequency cap uses a pre-calculated table from the previous hour. This means you’ll need to wait for the hour to complete before the cap fully applies and can be tested.
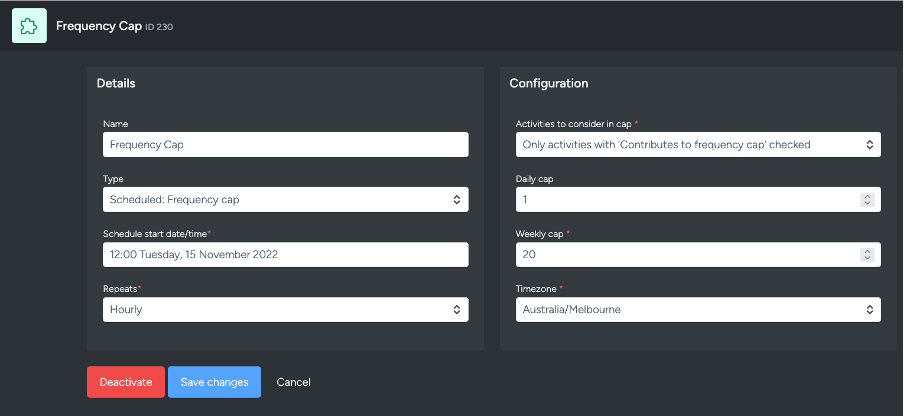
2. Configure Custom Frequency Cap Settings
Within the integration:
- Under Activities to consider in cap, select only activities that have “Contributes to frequency cap” enabled
- Enable Custom Frequency Cap
- Set the Email Frequency (maximum number of emails)
- Set the Duration (number of days)
- Set the Timezone you want the frequency cap to follow
Save and activate the integration once configured.

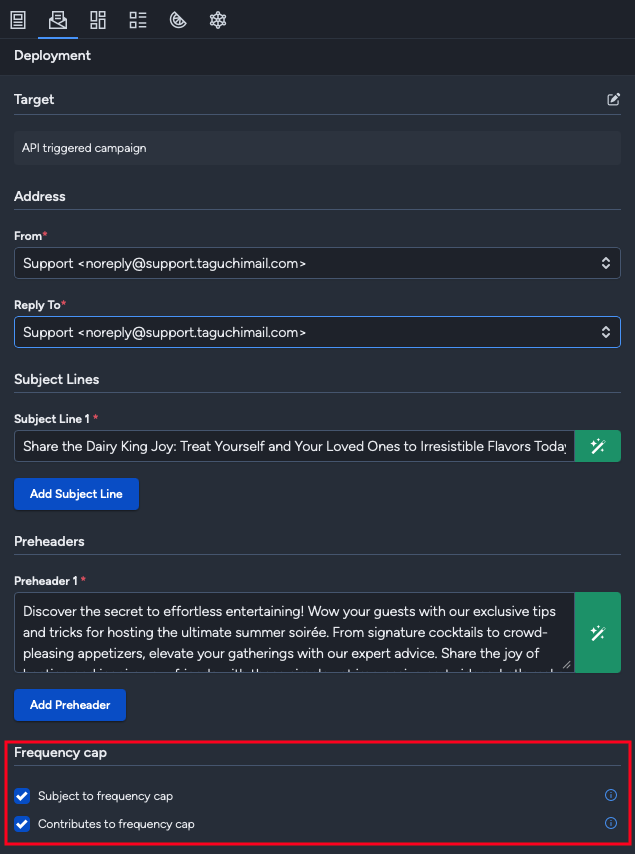
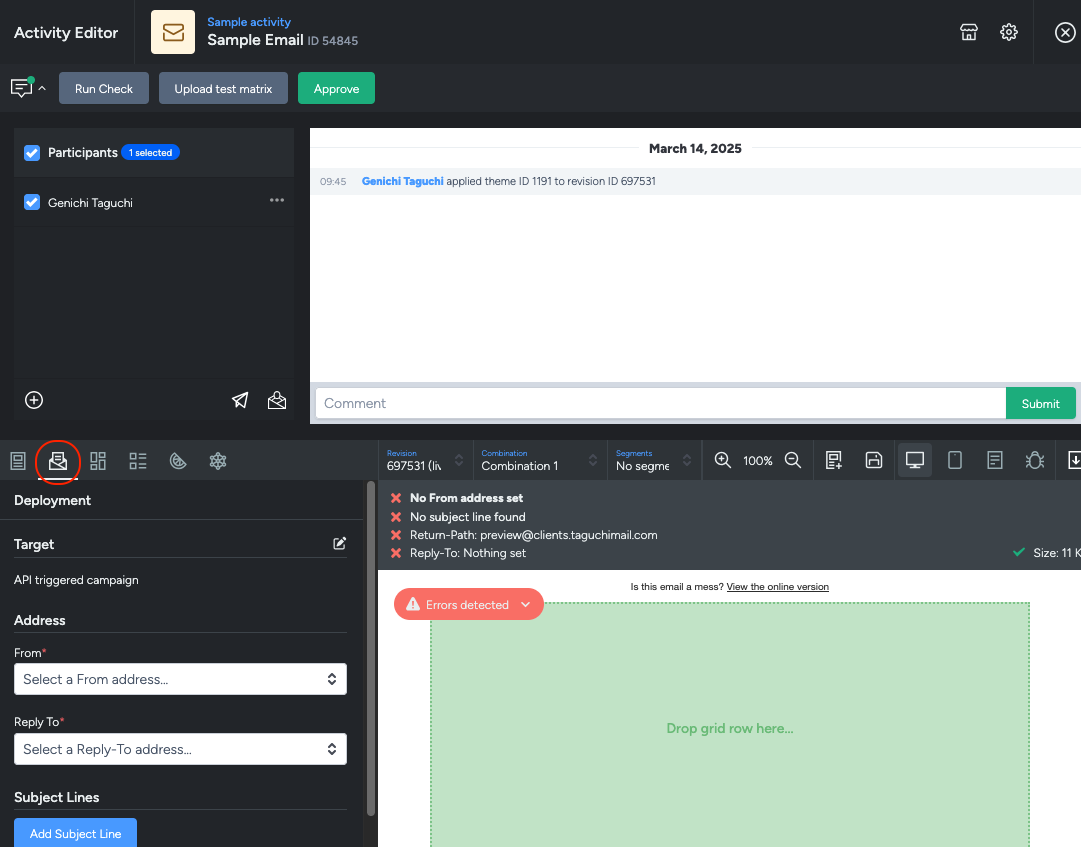
3. Apply Frequency Cap to an Activity
To ensure an email activity is included in the frequency cap:
- Open the relevant Activity
- Go to Deployment section
- Scroll down to the frequency cap settings
Ensure the following options are enabled:
- Subject to frequency cap
- Contributes to frequency cap
4. Deploying Emails with a Custom Frequency Cap
Once the integration and activities are configured:
- Deploy your email as normal
- The system will automatically cap sends per subscriber based on:
- The maximum email frequency
- The defined duration in the integration
Each subscriber in the database will only receive emails up to the configured limit within the specified time period.
Result
With the Custom Frequency Cap enabled:
- Subscribers will not receive more emails than allowed
- Email sends are automatically managed
- Frequency limits apply consistently across all contributing activities
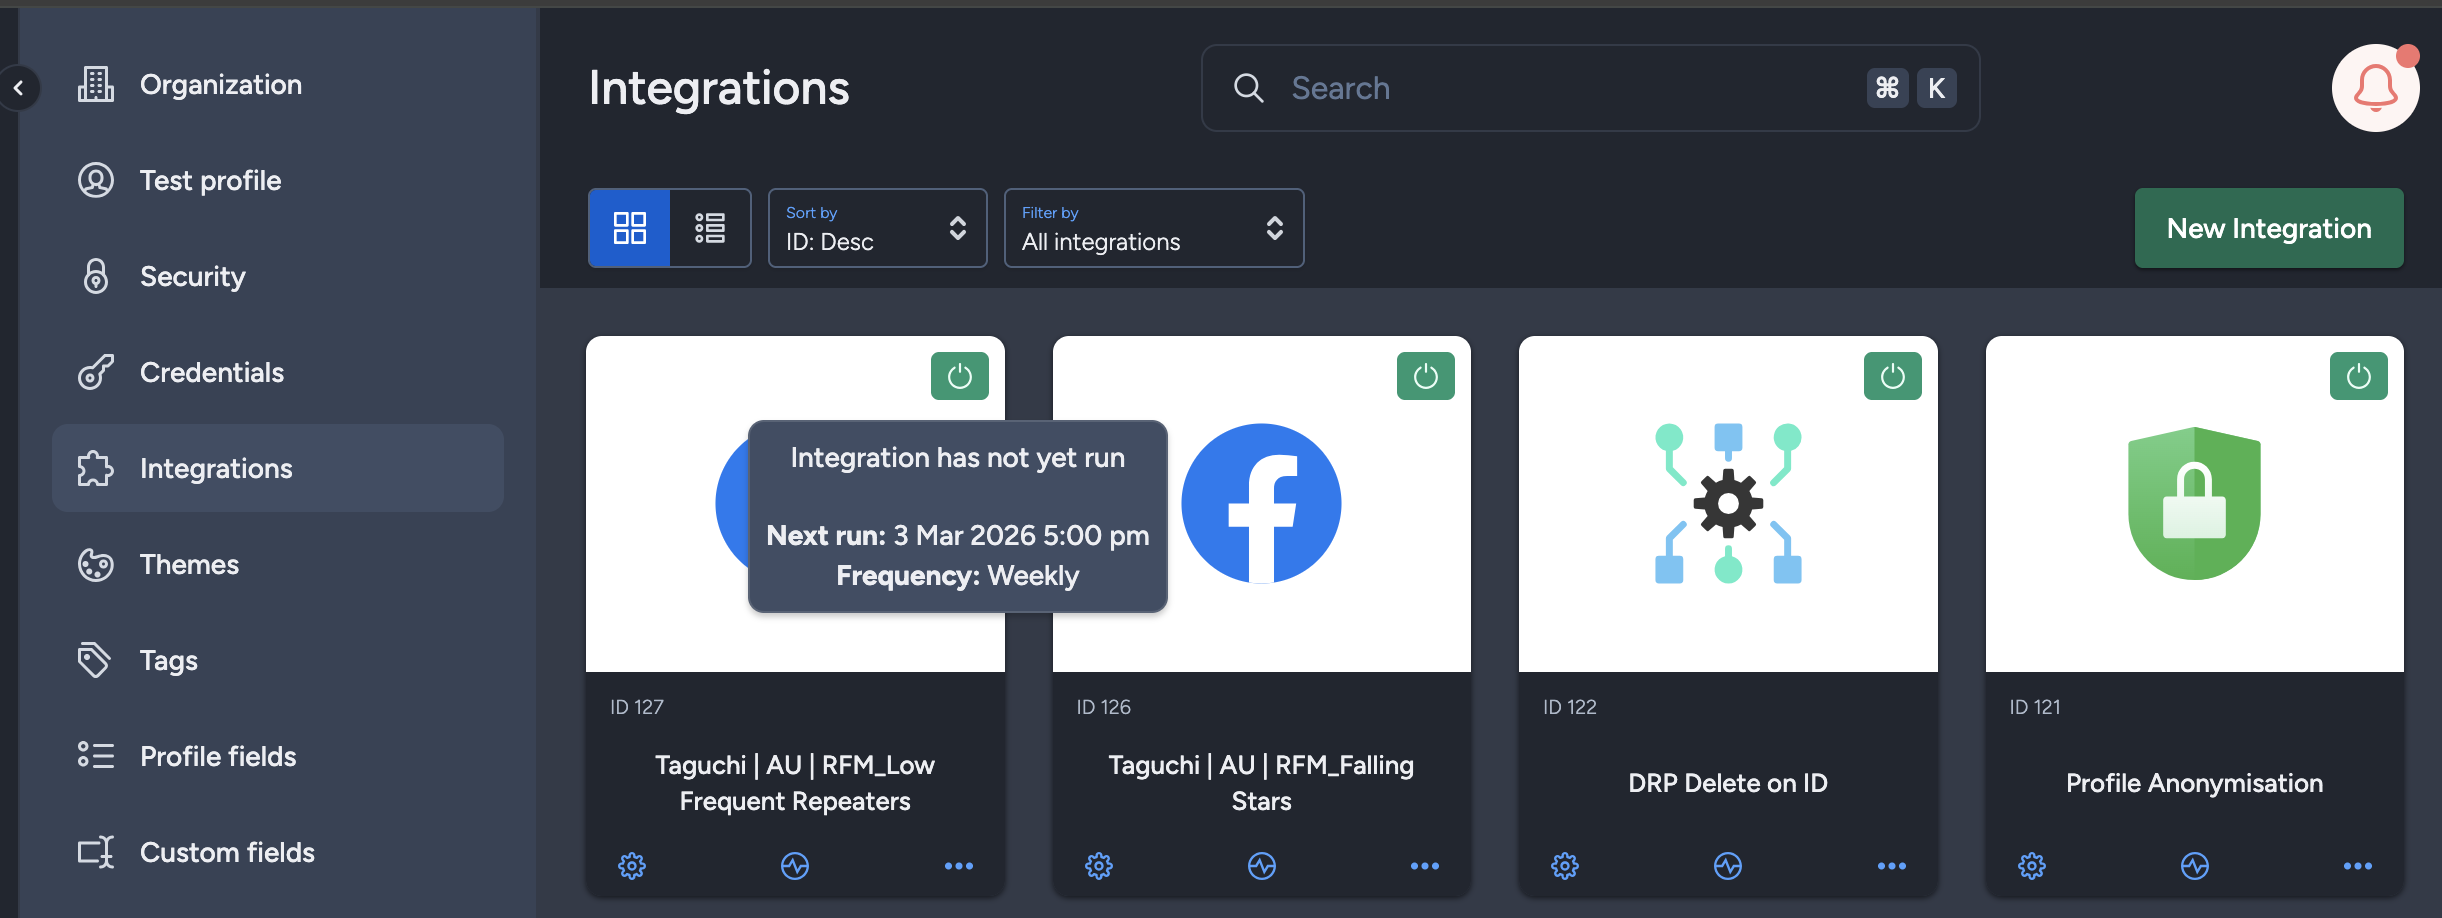
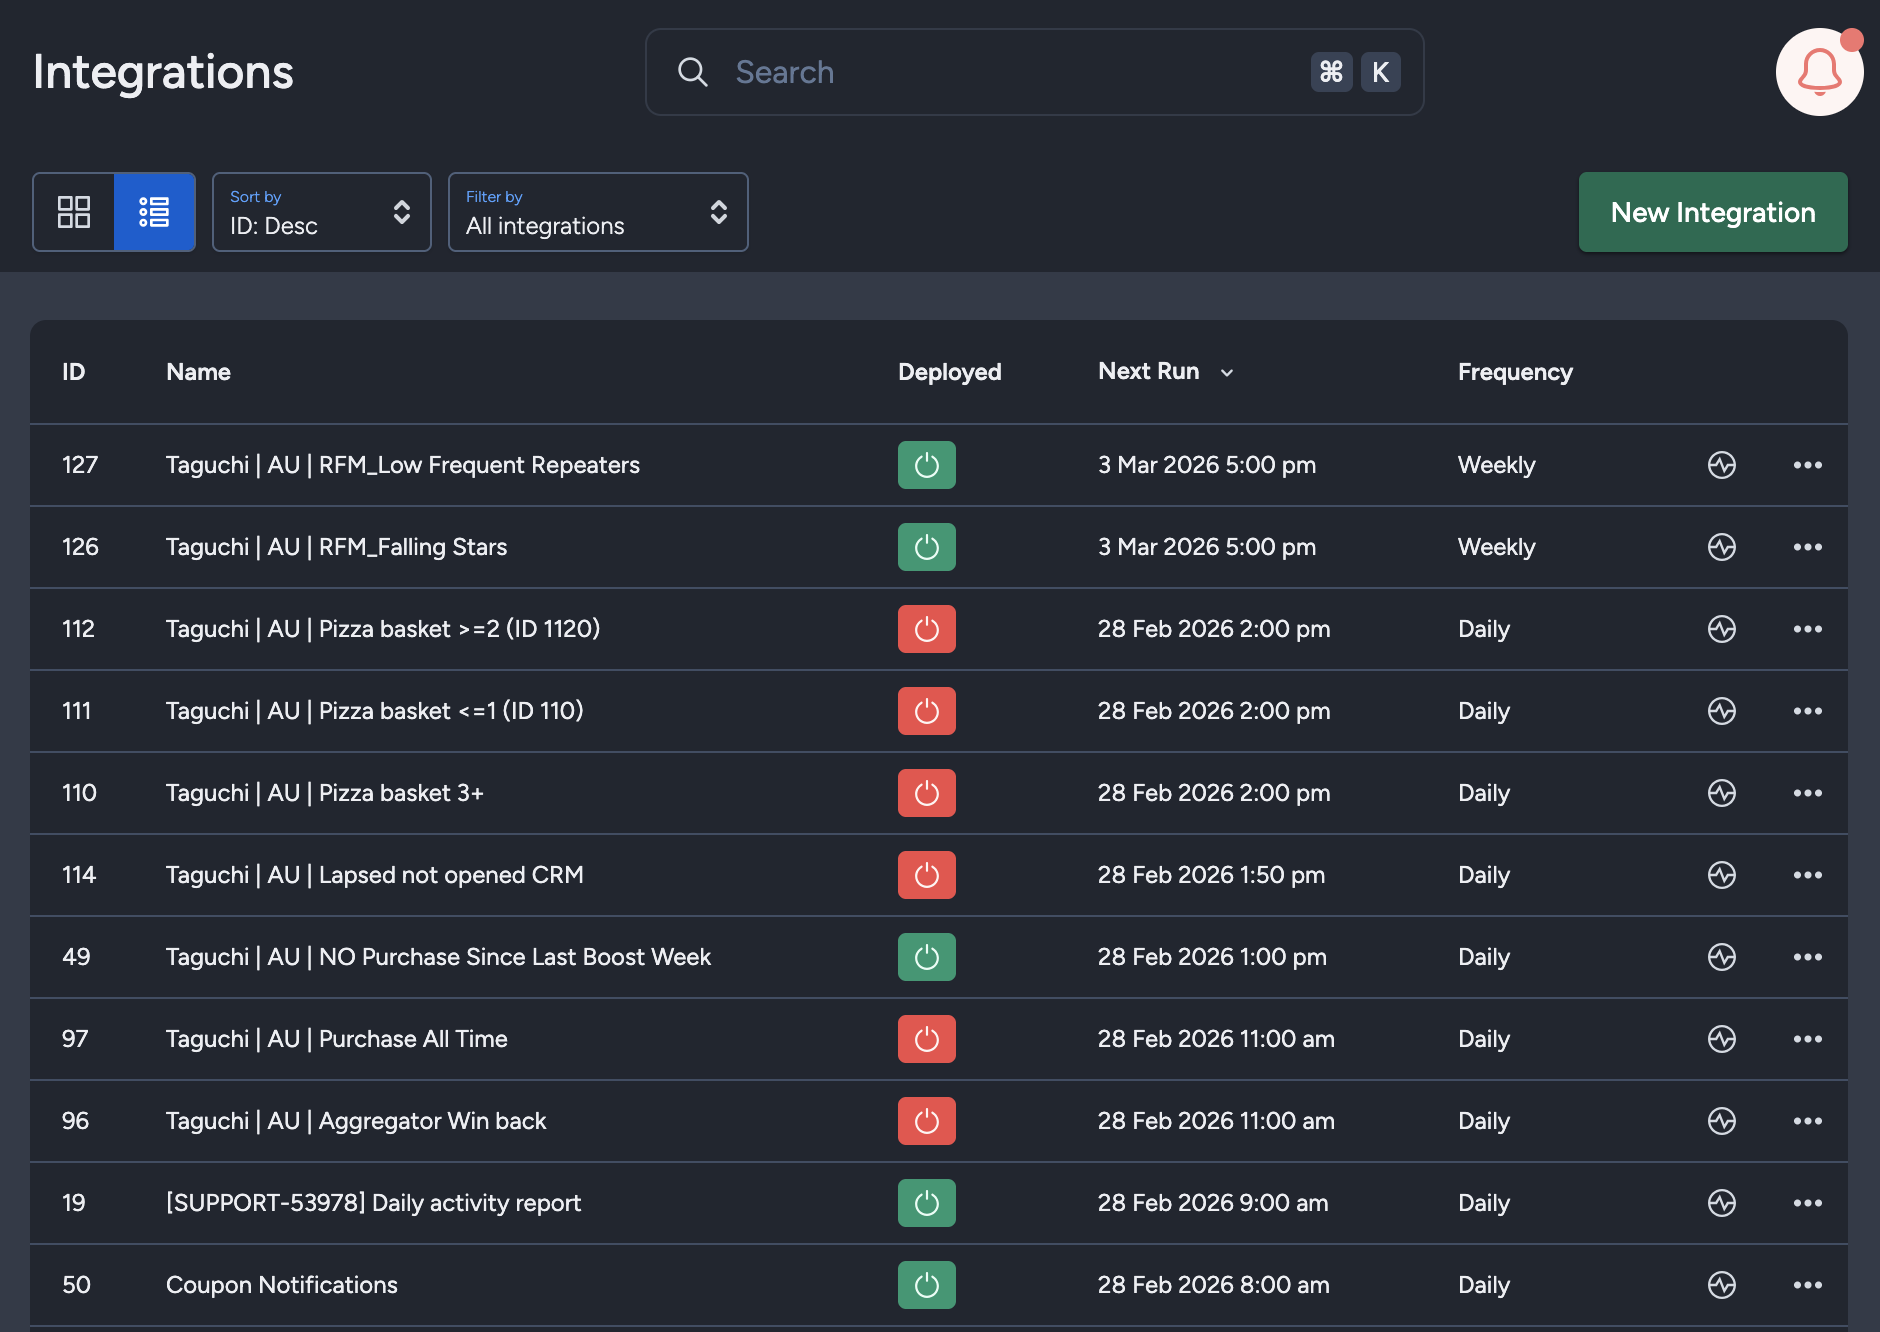
Viewing Integration Schedules and Next Run Details
The Integration UI provides visibility into integration schedules by displaying the scheduled frequency and the time of the next run when hovering over the status icon. Adding to that, the integration UI supports list view with sortable columns so you can see the next run timestamp and frequency there too.. This helps users quickly check when integrations are scheduled to execute and manage them more efficiently.
How to apply your frequency cap to activities
Within any email activity, under the deployment tab, you will see two frequency cap checkboxes.
These checkboxes give you the option to allow the activity to be subject to the cap and/or contribute to the cap.

Activity is subject to frequency cap:
- If checked this means the activity will look for and only send to the customers who have not reached the cap for the day/week.
Activity contributes to frequency cap: This is checked as default
- If checked this means the activity will count towards the customer cap for the day/week.
Service communications
For service messages, you may want to ensure the email is sent to everyone regardless of the frequency cap. To do this, leave the activity setup with the default values, i.e. unchecked.
Marketing communications
For marketing messages, you may want to only contact customers once a day. For this set up, you would configure your activity and integration to a cap of once a day, and your activity will require both checkboxes ticked.
Below is an example of how the integration would look like for this:
The frequency cap checkboxes in the deployment tab of the activity, would be both checked.

How to test your frequency cap integration
To test the frequency cap functionality, you can either run an Activity Check before you deploy an activity to validate whether the numbers in the activity check aligns with your expectations.
Alternatively, you can conduct a test manually. To do so, here is a proposed test approach:
- Set up a test list with subscribers who have never been sent an activity before and are not globally unsubscribed.
- Create a test activity targeted to your test list and conduct the below tests:
Test 1 (un-checked checkboxes)
- Run activity check: should display all test list subscribers
- Deploy activity: should send to all test list subscribers
Test 2 (both checkboxes checked)
- Conduct test only once the integration has run successfully.
- Run activity check: should display 0 subscribers.
- Deploy activity: should not send to any subscribers in the list.
Test 3 (subject to frequency cap checkbox checked)
- Run activity check: should display 0 subscribers.
- Deploy activity: should not send to any profile in the list.
This test will reveal:
- Activities subjected and contributing to the cap, will send to all subscribers who have not met the daily cap of 1 per day.
- Activities not subjected or not contributing to the cap, will send to all subscribers no matter the daily cap in place.
- Activities subjected to the frequency cap will send to subscribers who have not met the daily cap of 1 per day only.
Deactivate integration
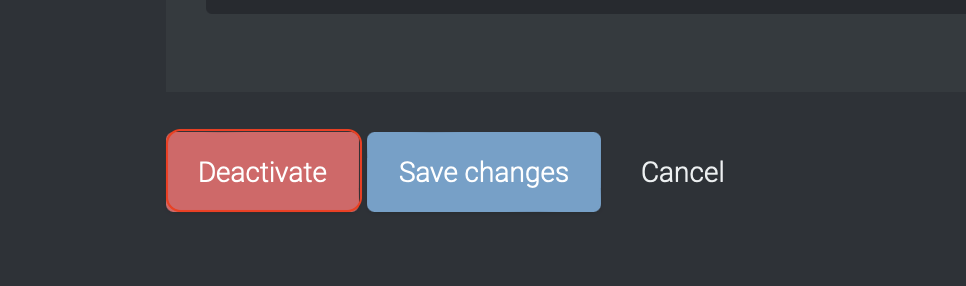
To stop the integration, click on Deactivate. This will stop the integration.
Active integration
Once the integration has been saved and activated, the on/off icon of the integration card will change from yellow (Off) to green (On) which indicates that it is now activated.
Update integration
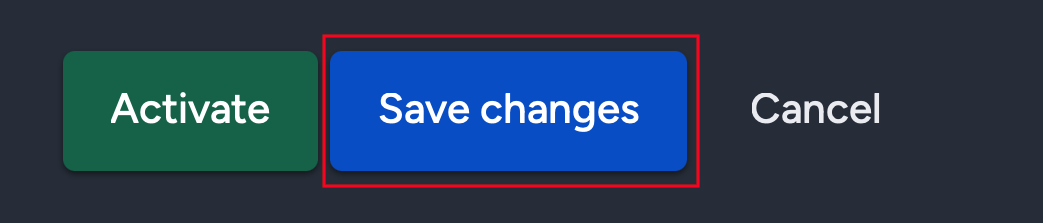

If you want to update your Integration, you will be able to make the changes while it is activated or deactivated. Once the changes have been made, you will be able to update the integration by clicking on 'Save changes'. The Integration will be updated immediately.
Integration status & logs
Users can determine the status of an integration by looking for the status symbol (On/Off icon) colour within the integration tile.
- Green – This colour indicates that the integration is active and has either been deployed or is awaiting deployment.
- Yellow – This colour indicates that the integration has been deactivated.
- Red – This colour indicates that the integration has failed to deploy the extract.
Viewing logs within Taguchi
Users can now view detailed integration logs directly in the Taguchi UI to troubleshoot issues.
To access logs:
- Navigate to Settings > Integrations.
- Select the integration you want to review.
- Click on View Status in the top right hand corner to see recent activity, including timestamps, status updates, and error messages (if any).

If an integration fails, checking the logs can help identify issues such as incorrect credentials, invalid audience configurations, or query timeouts.
Integration Deployment Status
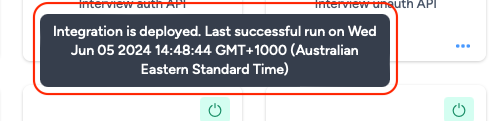
Users will be able to view the integration status message by hovering their cursor over the status symbol (On/Off) icon.
The messages the users will see will vary based on the deployment of the integration.
- Green – "Integration has not yet run (Start time/date have not occurred yet) / Integration is deployed. Last successful run onMon May 06 2024 06:00:44 GMT+0800 (Singapore Standard Time)"
- Yellow – "Integration is not deployed (Deactivated)"
- Red – "Integration Failed to run on Mon May 06 2024 06:00:44 GMT+0800 (Singapore Standard Time)"
Troubleshooting Measures
- Do ensure that the inputs that you have entered are correct as it will result in a failed integration if they are wrong.
If you are having trouble with this integration, please contact Taguchi Support for assistance.