- Support Home
- Knowledge Base
- Integrations
- Messaging - LINE Integration
Messaging - LINE Integration
This integration allows secure and efficient API connection, directly into the Taguchi platform. With the LINE integration, the process is fully automated, ensuring that your data is regularly updated without manual intervention, while maintaining the highest level of security.
Credentials
You will need to setup credentials to be able to use this integration.
LINE integration set up
New Integration
To create a new integration, ensure that you have the required User Type integration role privileges assigned to you.
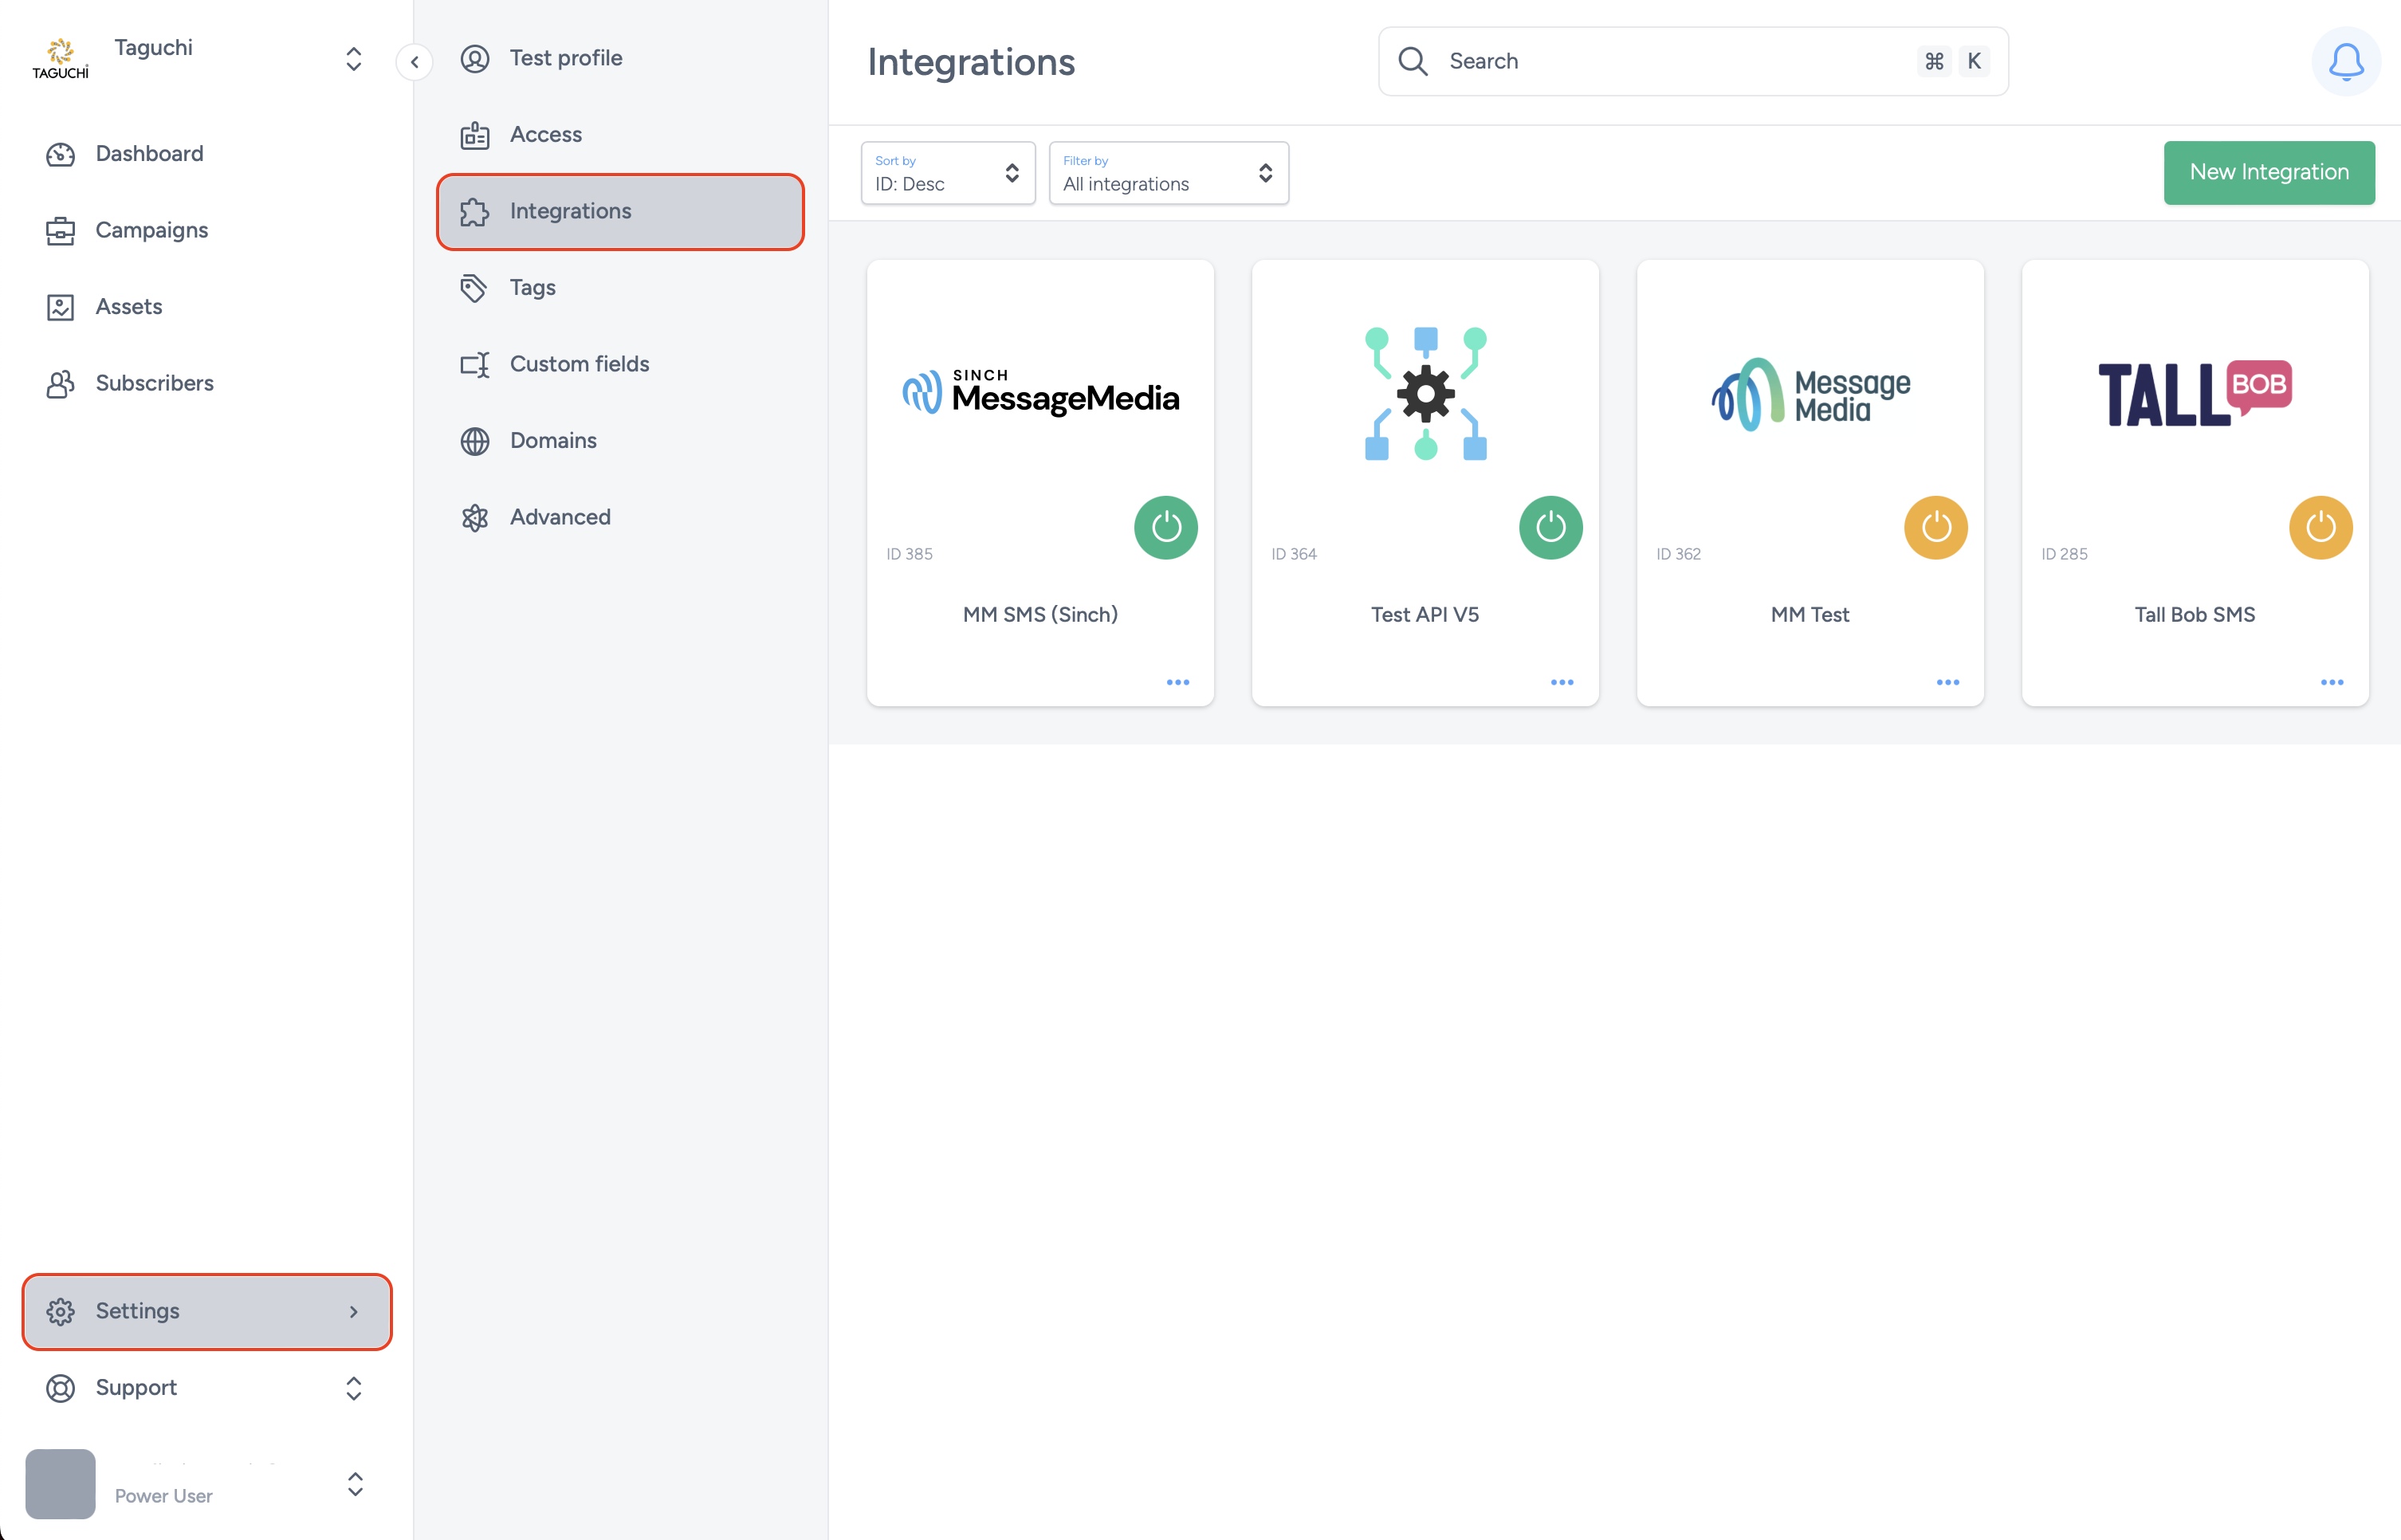
- Navigate to Settings > Integrations.

- Select ‘New Integration’ and a new screen will popup.

Details
Set the name of the integration.
Under 'Type', select 'Messaging: LINE'. When selecting the integration type, do take note that the integrations are arranged in five different groups which are API, Import, Export, Messaging, Scheduled and that some integrations would appear in multiple groups.
The Inbound Webhook URL is a callback URL where LINE sends HTTP POST requests containing information about incoming LINE messages or events. This URL is required to be configured and added in your LINE account to process

Configuration
- Credential to use: Choose the desired credential that you have set up in the Credentials page.
Save Changes and Activate

Once you have added your Details, Configuration and Target Expression, you will be able to save changes (1) and activate (2) the integration. You can only activate once you have saved changes.
Deactivate

To stop the integration, click on Deactivate.
Active Integration

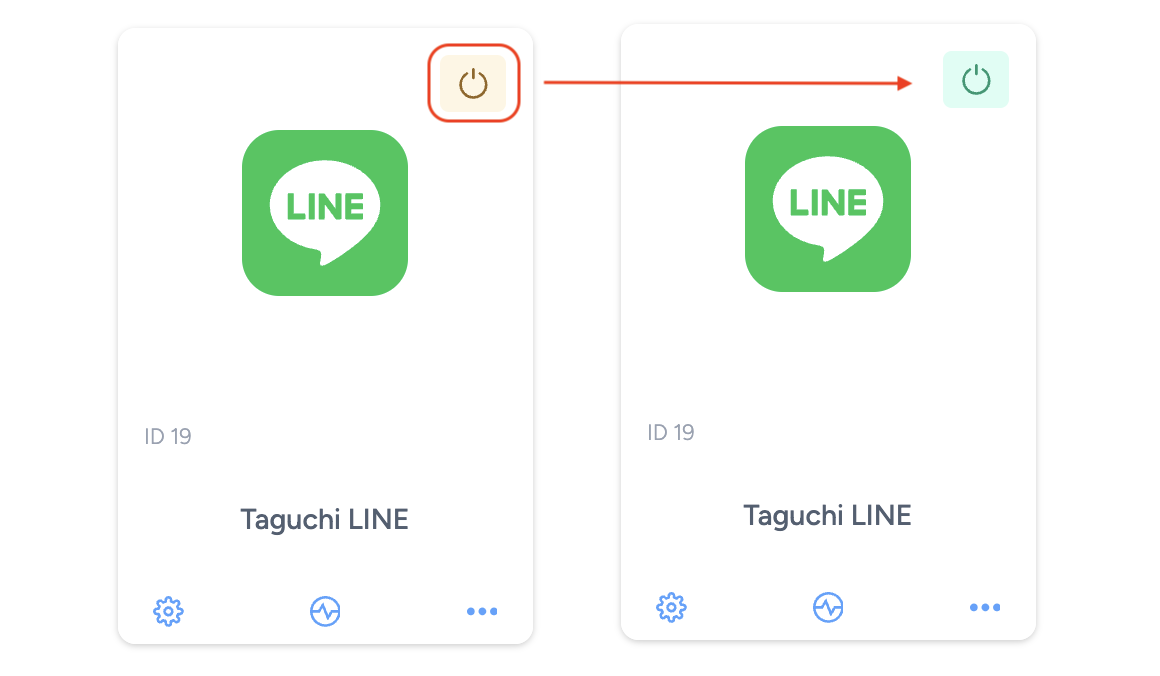
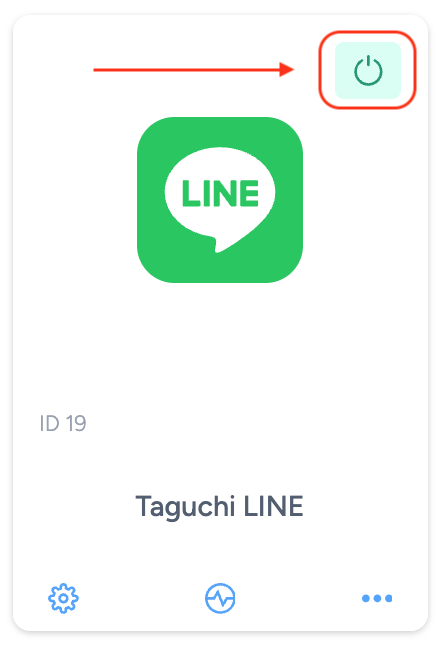
Once the integration has been saved and activated, the on/off icon of the integration card will change from yellow (Off) to green (On) which indicates that it is now activated.
Update Integration


If you want to update your Integration, you will be able to make the changes while it is activated or deactivated. Once the changes have been made, you will be able to update the integration by clicking on 'Save changes'. The Integration will be updated immediately.
Integration deployment status
Users can determine the status of an integration by looking for the status symbol (On/Off icon) colour within the integration tile.

- Green – This colour indicates that the integration is active and has either been deployed or is awaiting deployment.
- Yellow – This colour indicates that the integration has been deactivated.
- Red – This colour indicates that the integration has failed to deploy.
Troubleshooting measures
- Do ensure that the inputs that you have entered are correct as it will result in a failed integration if they are wrong.
Viewing Logs in the UI
Users can now view detailed integration logs directly in the Taguchi UI to troubleshoot issues.
To access logs:
- Navigate to Settings > Integrations.
- Select the integration you want to review.
- Click on View Status in the top right hand corner to see recent activity, including timestamps, status updates, and error messages (if any).

If an integration fails, checking the logs can help identify issues such as incorrect credentials, invalid audience configurations, or query timeouts.
If you are having trouble with this integration, please contact Taguchi Support for assistance.
