- Support Home
- Knowledge Base
- Integrations
- Scheduled - Partition Assignment
Scheduled - Partition Assignment
Scheduled: Partition Assignment Integration
What is a partition? Partitions are sub-divisions within an organisation that help improve data management, personalisation and targeting. Click here to learn more about partitions.
Partition assignment integration
Taguchi has a partition assignment integration that allows each subscriber profile to be allocated a partition ID in your organisation.
Credentials
There are no credentials needed for this integration.
Create your partition assignment integration
New integration
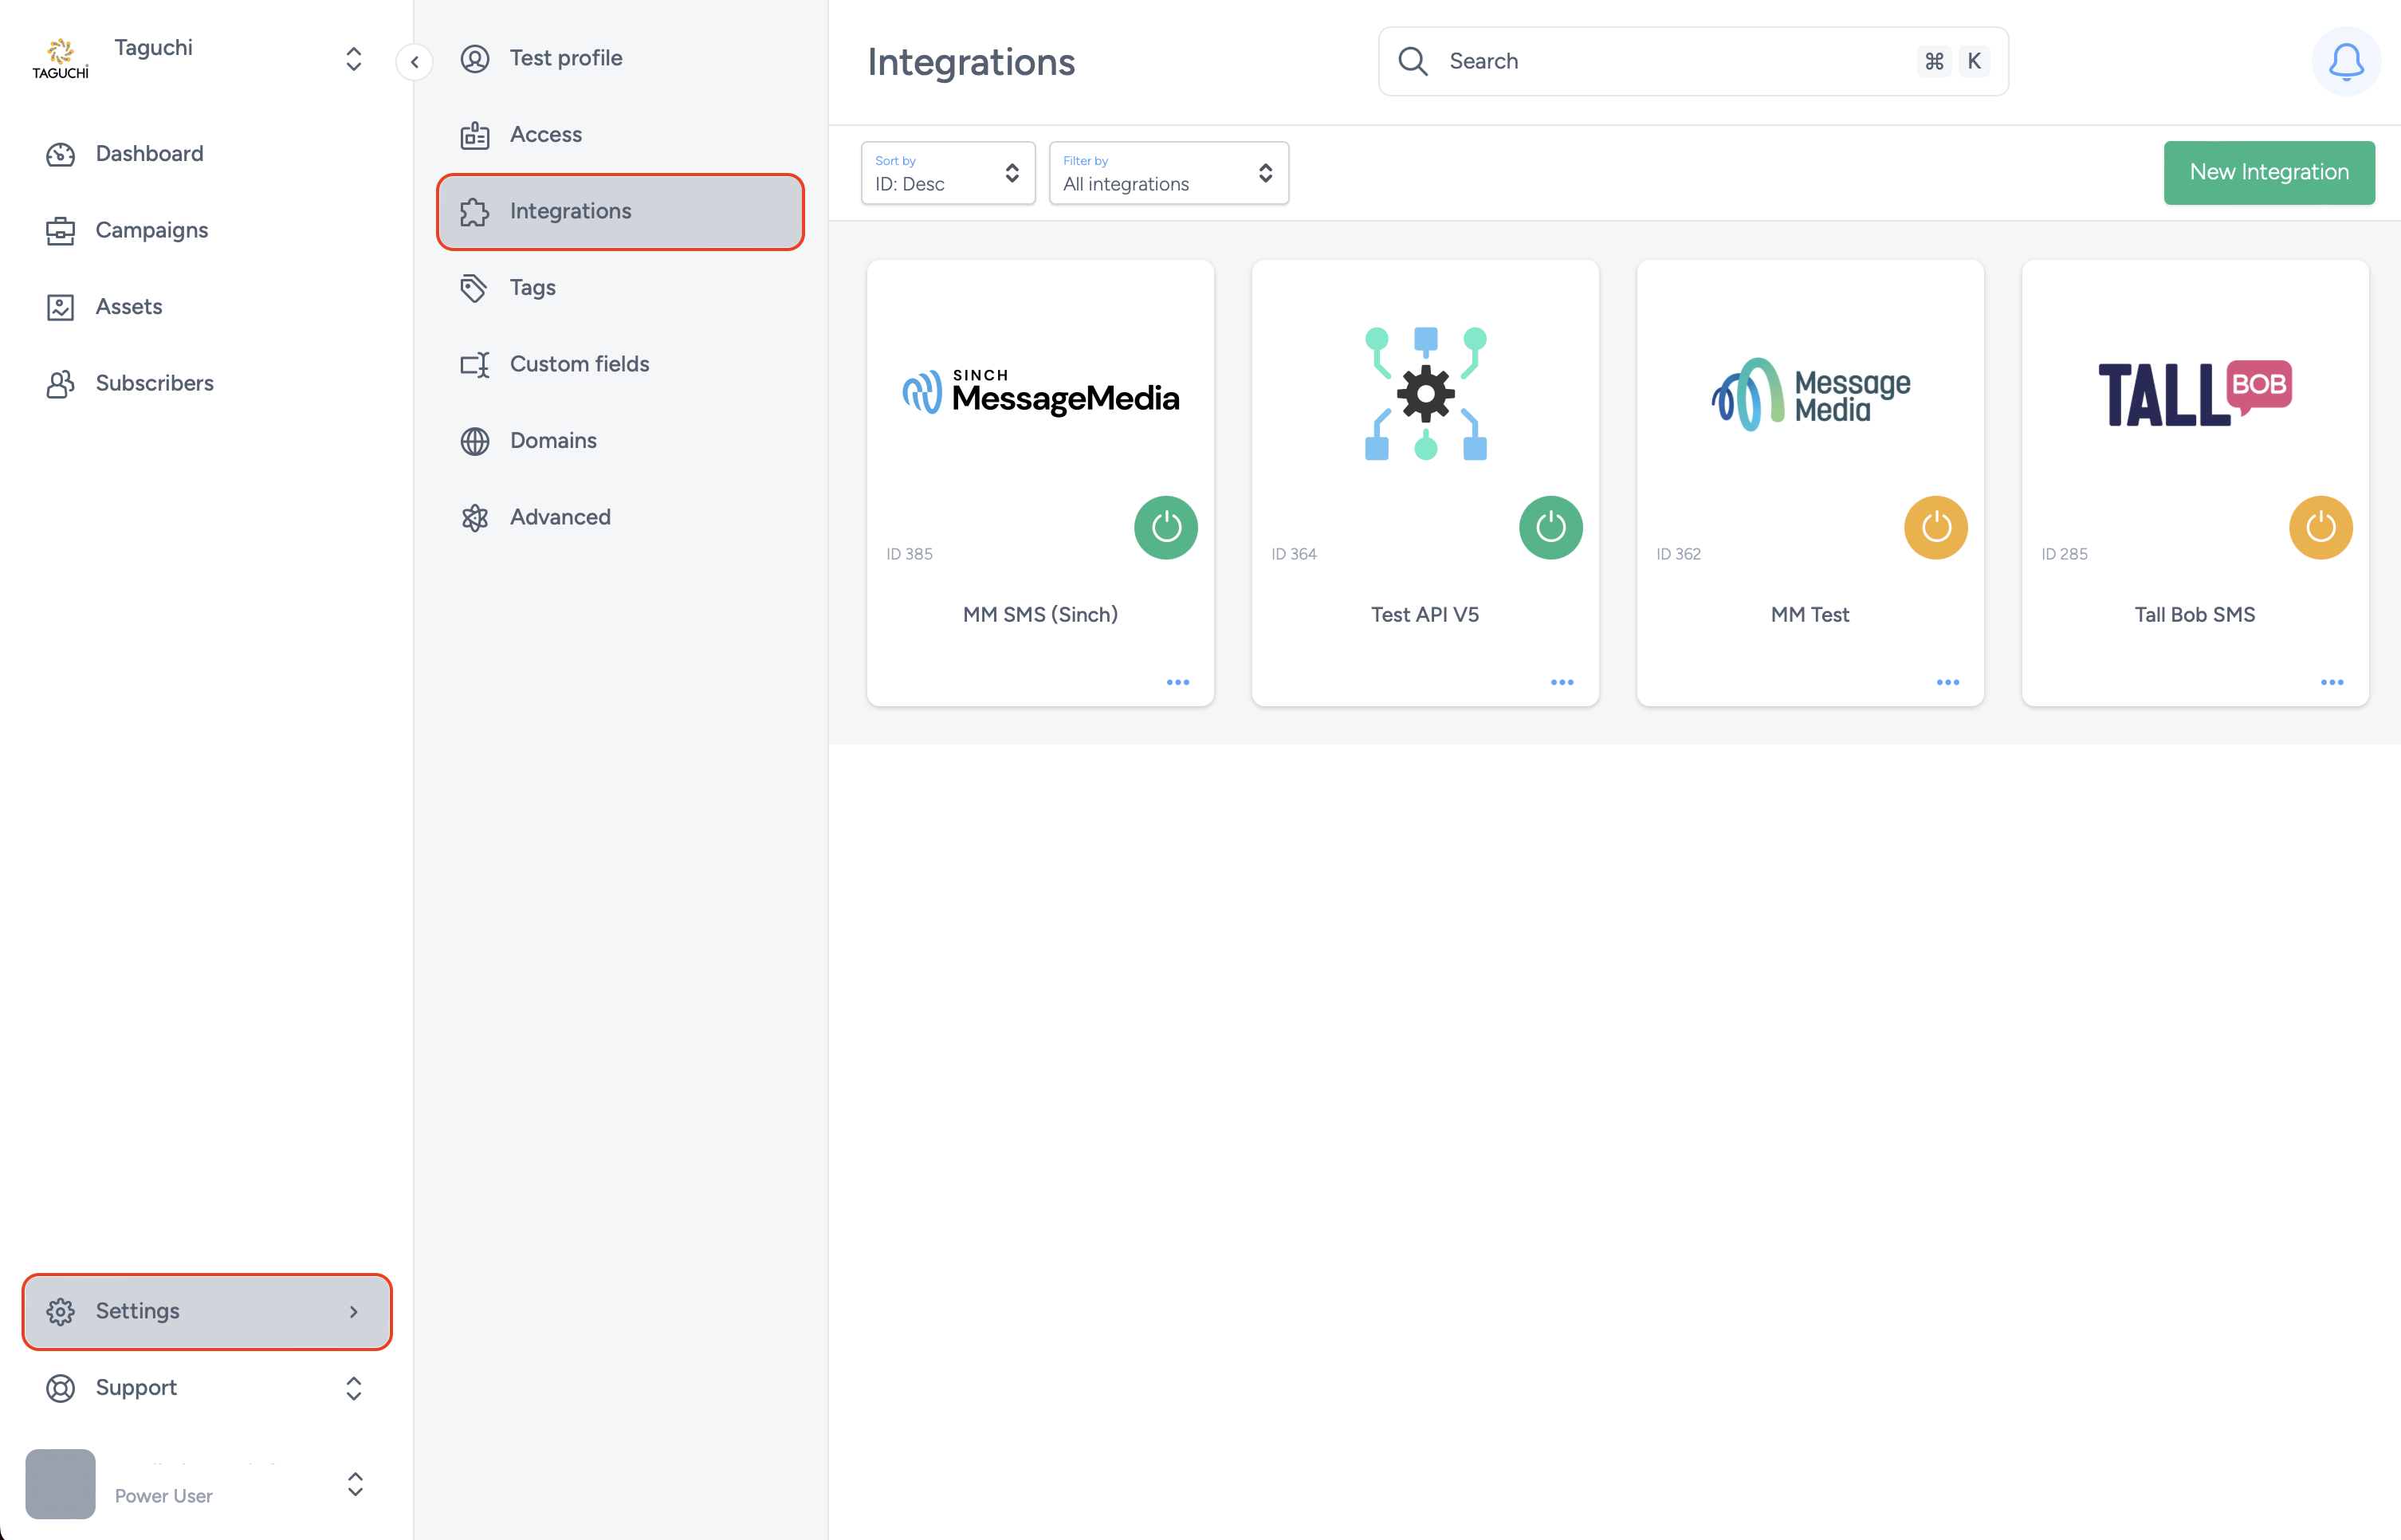
To create a new integration, ensure that you have the required user type integration role privileges assigned to you. The 'Integration' page is under Settings > Integrations.

Select ‘New Integration’ and a new screen will popup.

Details

- Set the name of the integration. For example, Partition Allocation.
- Under 'Type', select ‘Scheduled: Partition assignment’.
- Under ‘Schedule start date/time’, select the date and time you want the integration to start running from.
- Under ‘Repeats’, select how often you want the integration to repeat. Your options are daily or hourly. It is recommended to keep this integration set to daily.
Note
- If you set the integration to run daily, it will run every day at the same time as set by you in the ‘Schedule start date/time’ section.
- If you set the integration to run hourly, it will run every hour from the time you set up in the ‘Schedule start/date time’ section.
Configuration

- Match this custom field first: When you select this dropdown, a list of all available subscriber custom fields will appear for you. These are the custom fields that are present in a subscriber’s profile. For example, if your organisation has multiple stores, you may have a custom field that captures a subscriber’s preferred store. You can use that custom field here. Once chosen and set, the integration will then look to match the value of the preferred store custom field in a subscriber’s profile to its related partition ID and allocate that partition ID to the subscriber’s profile.
- Match this custom field second: This option comes handy in case there are multiple custom fields that can help narrow down a subscriber’s partition and the subscriber may have one and/or the other custom field. You can then set up the integration to match for a second relevant custom field in the absence of the first.
- Match this custom field third: The purpose of this is similar to the second custom field. The partition assignment integration gives you up to 3 custom fields to define for partition assignment per subscriber.
The second and third custom fields are not mandatory to help activate the integration.
Setting up this integration allows each subscriber profile to be assigned to a dedicated partition that may be relevant to them for a variety of reasons. The integration set up allows you to define the criteria on the basis of which a subscriber profile should be assigned to a particular partition.
Save changes & Activate

Once you have set up your integration, you will be able to save changes (1) and activate (2) the integration. You can only activate, once you have saved changes.
Deactivate

To stop the integration, click on Deactivate. This will stop partition assignment for new subscribers. Subscribers with partitions already assigned to them will stay as it is.
Active Intgration

Once the integration has been saved and activated, the on/off icon of the integration card will change from yellow (Off) to green (On) which indicates that it is now activated.
Update Integration


If you want to update your integration, you will be able to make the changes while it is activated or deactivated. Once the changes have been made, you will be able to update the integration by clicking on 'Save changes'. The integration will be updated immediately.
If active, it will continue to stay active with saved changes. If deactivated, it will continue to stay deactivated with saved changes.
If you are having trouble with this integration, please contact Taguchi Support for assistance.
