- Support Home
- Knowledge Base
- Web Forms
- Setting up a preference centre using the Taguchi web activity
Related articles
Need some help?
If you have questions or can't find what you're looking for, we're here to help.
Taguchi Support is available 24 hours a day, Monday to Friday.
Create New TicketAPI Version 5
Did you know Taguchi has an API that supports all of the functionality provided by the admin interface and more?
Explore API Documentation
Thanks for your feedback!
Setting up a preference centre using the Taguchi web activity
This is a step-by-step guide on how to create a preference centre using the Taguchi web activity.
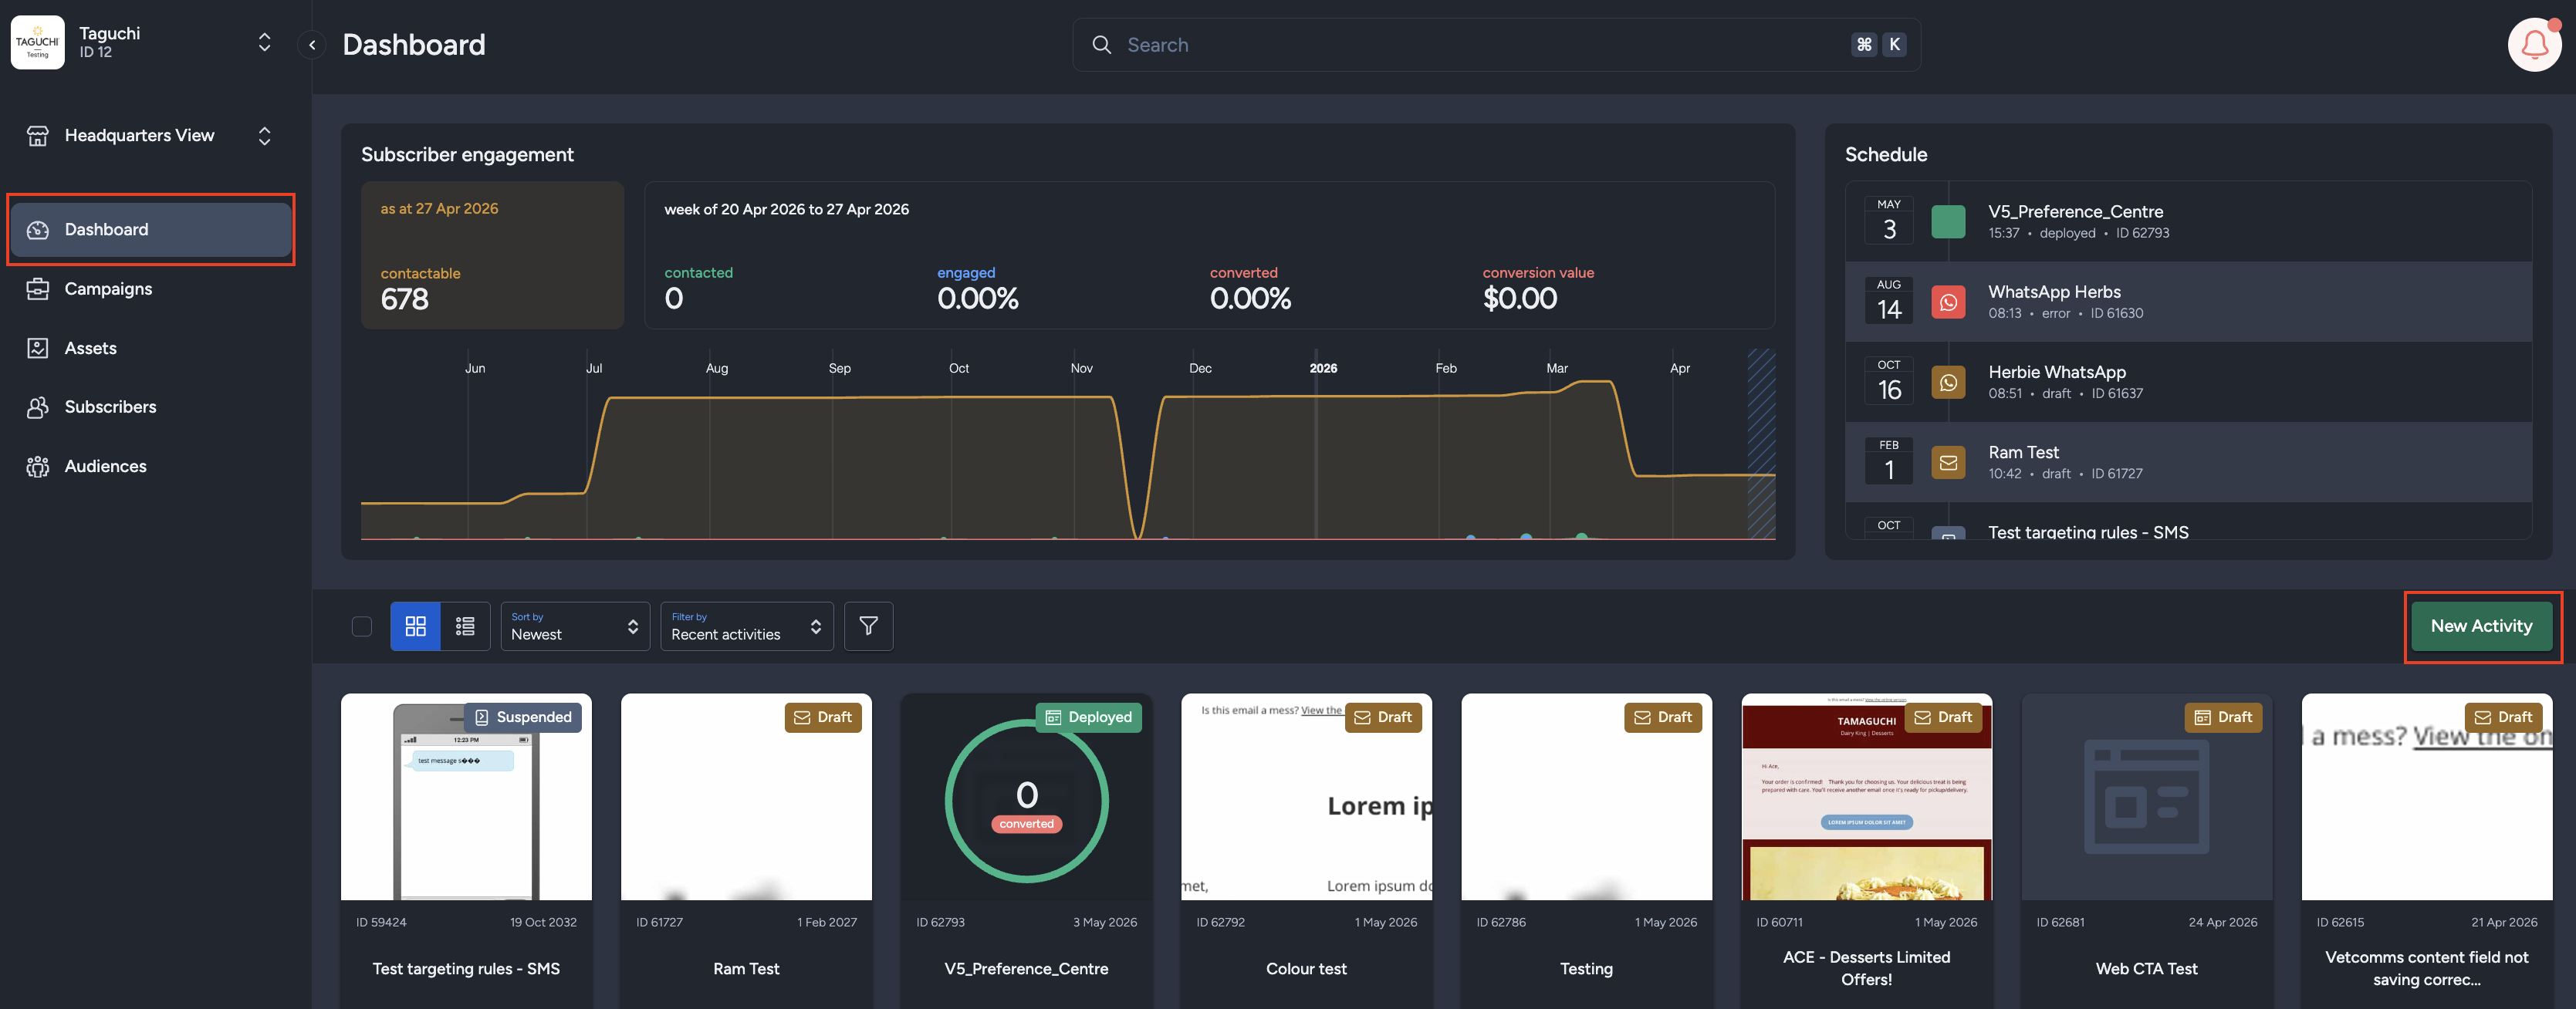
Log in to Taguchi, select the Dashboard, then click "New Activity".
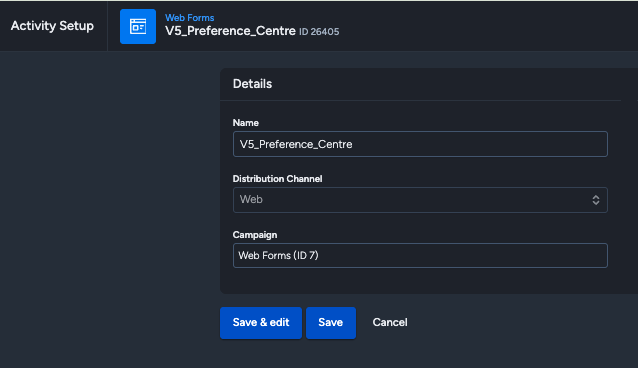
In the web activity editor, fill out the required fields then click "Save".
- Name: Your preferred name
- Distribution Channel: Web
- Campaign: Select from existing campaign
- Theme: In the activity editor, start creating the webform by selecting first the existing theme.
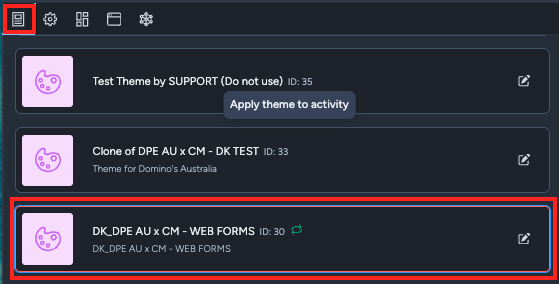 For more information on configuring a theme for web please refer to configuring a theme for web KB.
- Configuration: In the configuration tab, select "Web Form"
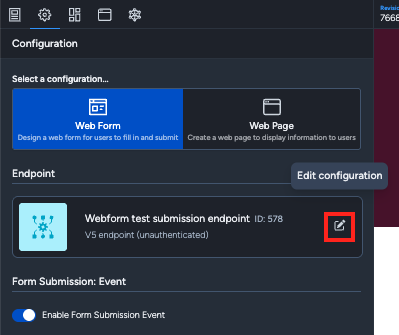
A. Endpoint: Select from your existing integration
- Click "Edit Configuration" to enter more details of the Endpoint
For more information on integration and how to create one, please refer to Integration KB.
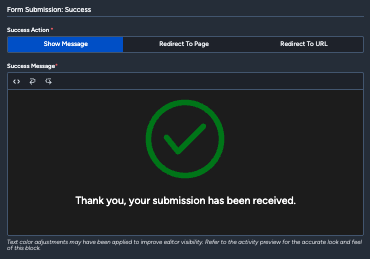
B. Form Submission Success: The default success action is "Show Message" but you have an option to redirect to an existing page or to a URL which you will need to specify.
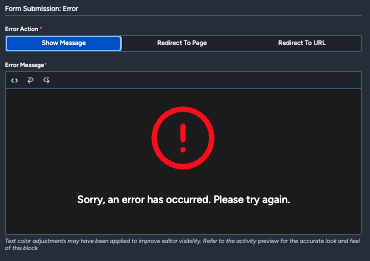
C. Form Submission Error: The default error action is "Show Message" but you have an option to redirect to an existing page or to a URL which you will need to specify.
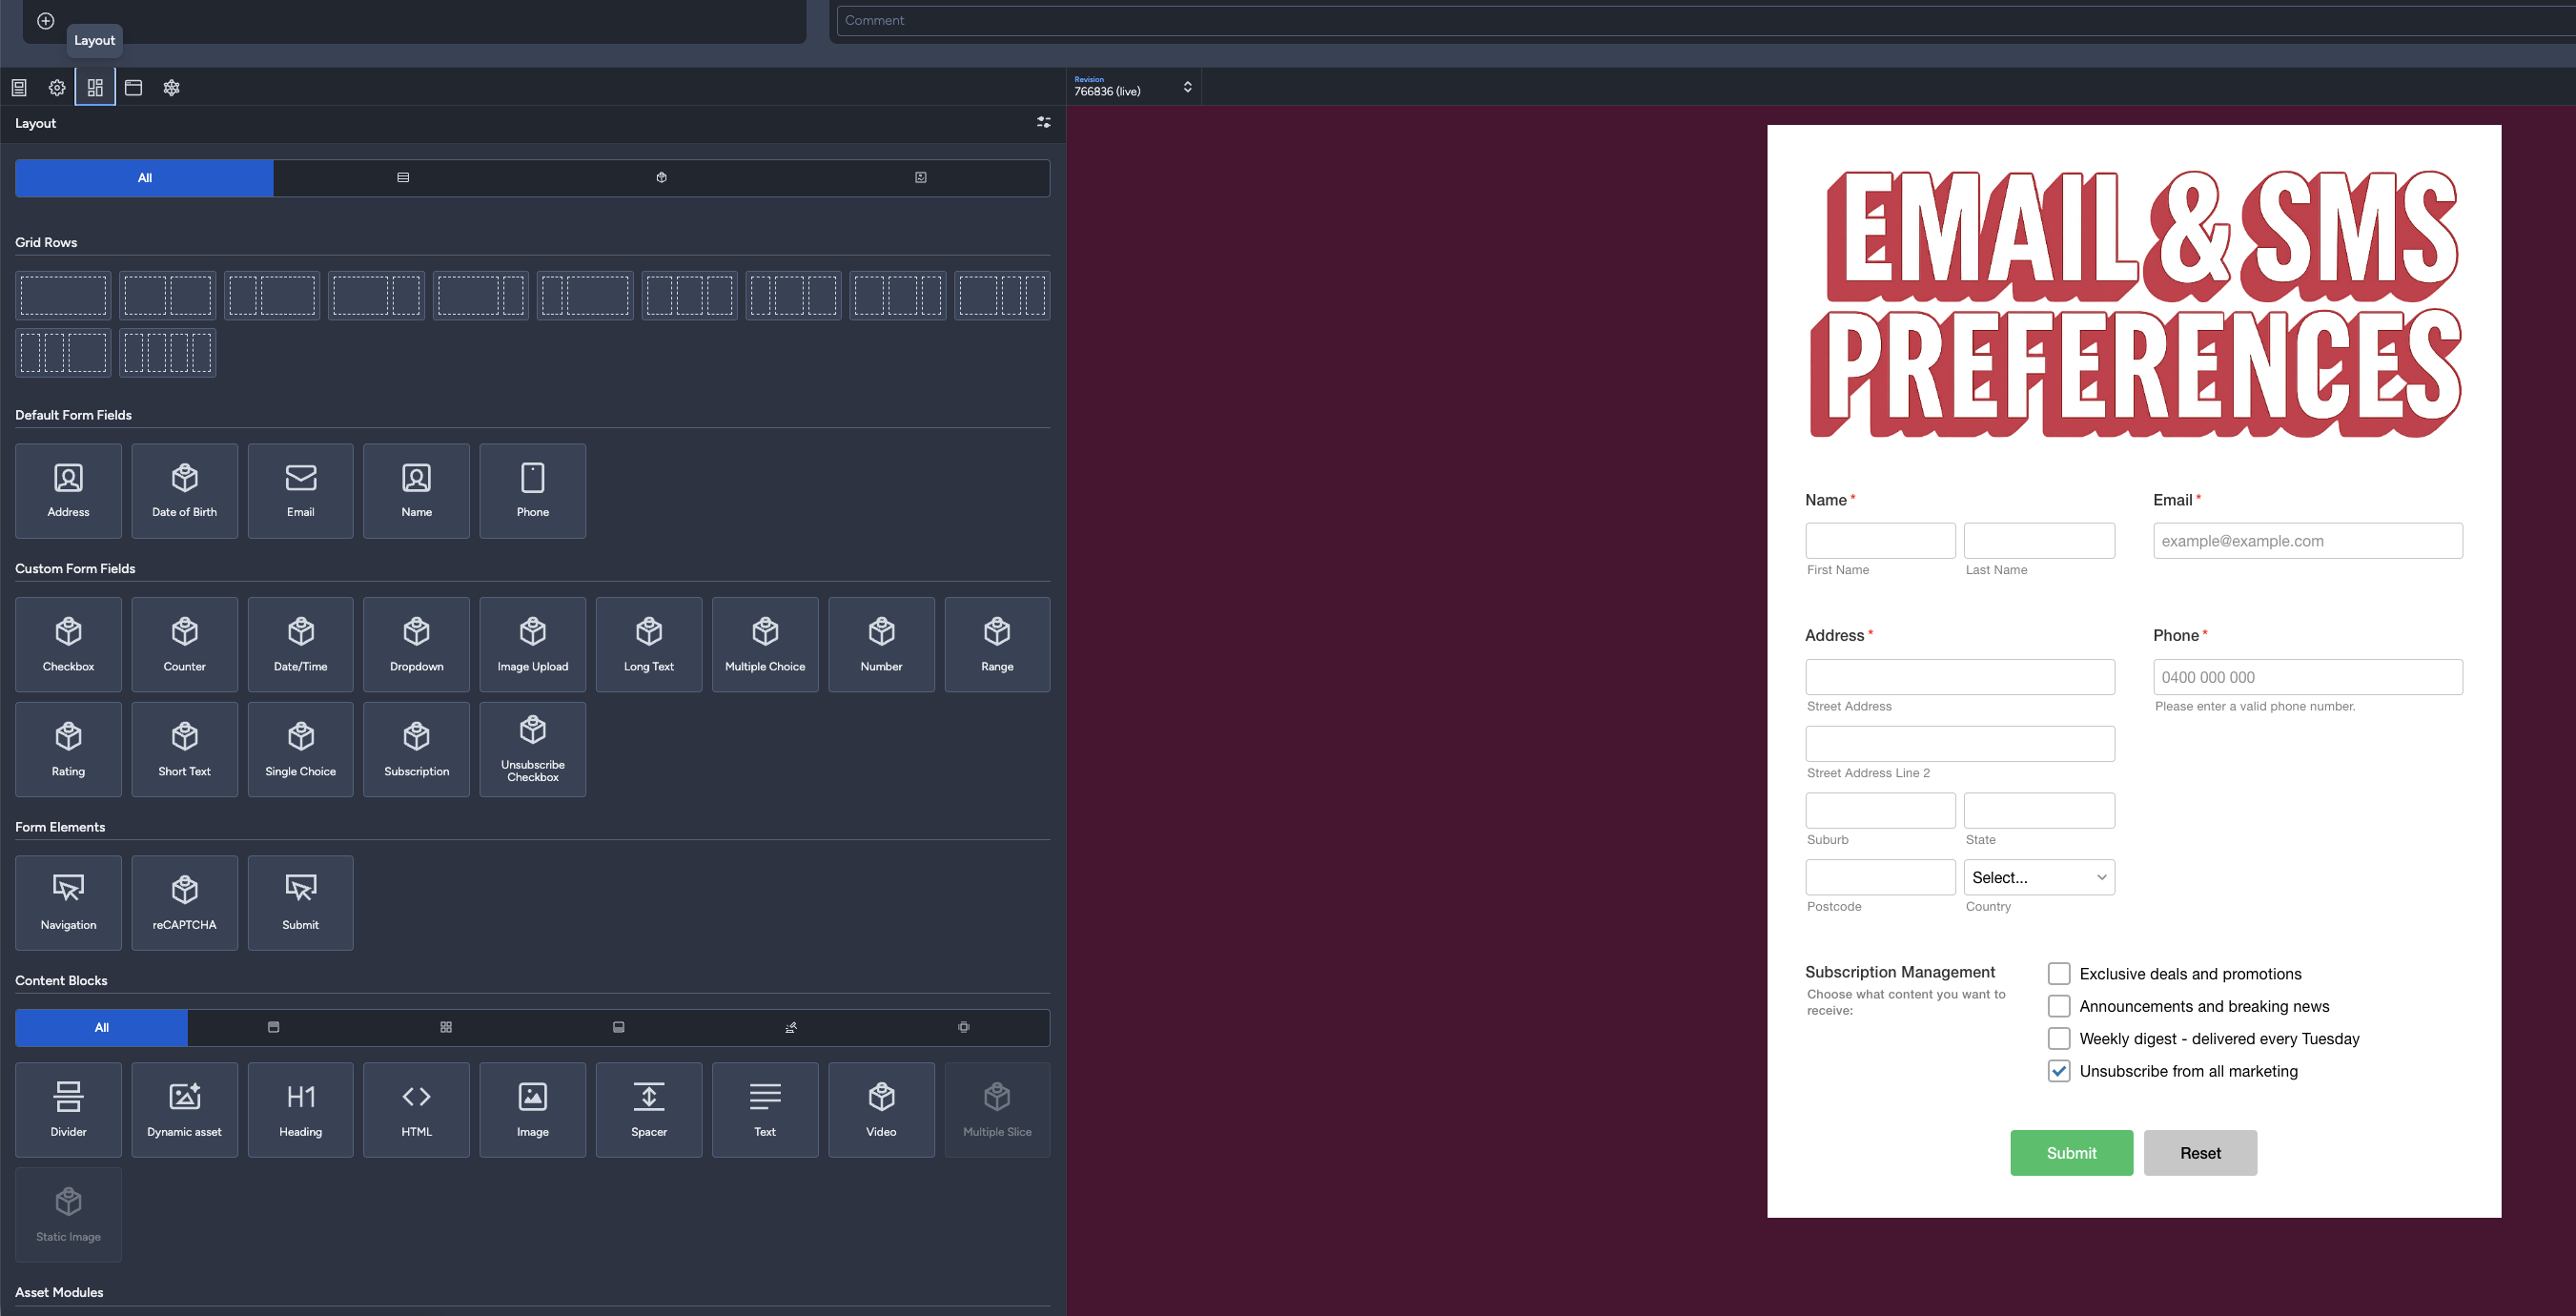
- Layout: In the layout tab, you can start creating the webform using the existing form fields, elements and content blocks.
To let subscribers select one or more partitions, such as a preferred store, see How to add a Partition Selector to a webform.
Depending on the activity type (email, SMS, web etc), different content blocks & fields will be displayed in the activity edit interface. Read more about the V5 activity editor here.
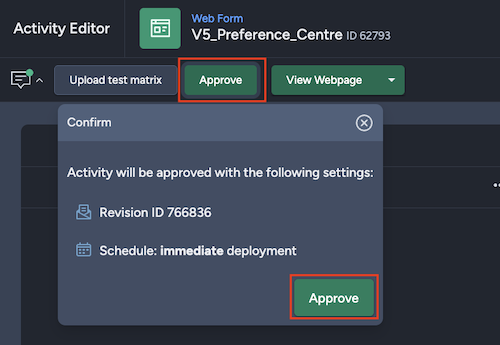
- Once you are done creating the webform, save it, approve then deploy.
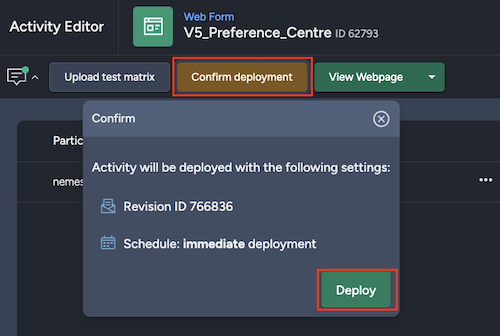
- View the actual webform by clicking "View Webpage". You can also get the URL of the webform from the "View Webpage" dropdown which you can use to link the webform to other activities.
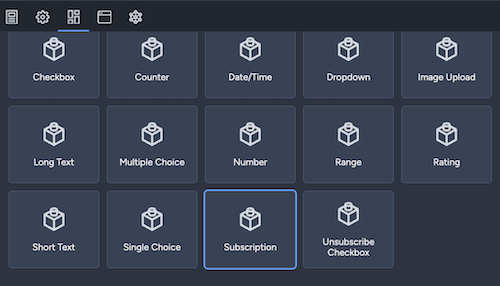
Subscription management block & how it works
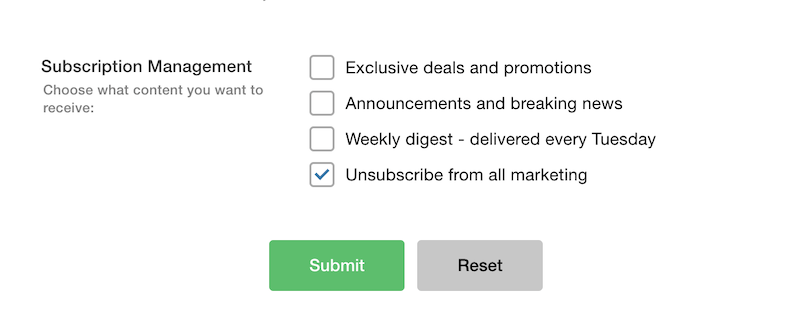
This section lets users choose which email communications they want to receive. Users can subscribe to specific content types—such as promotions, news updates, or a weekly digest—by checking the relevant boxes. Selecting “Unsubscribe from all marketing” opts the user out of all marketing communications, overriding individual subscription preferences. Changes are typically saved when the user submits or updates their preferences.
Unsubscribe block
This option allows users to opt out of all marketing communications. By checking the box, the user will no longer receive promotional emails, newsletters, product updates, or other marketing-related messages from the organization.
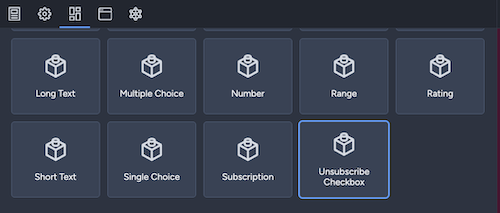

Why you shouldn't use subscription management along with the unsubscribe block?
Using both blocks together can create redundancy and confusion because they serve overlapping purposes.
Best Practice
Use the Subscription Management block when you want users to manage specific communication preferences and optionally opt out of all marketing. Use the Marketing Unsubscribe block as a standalone page or form when the sole purpose is to let users quickly unsubscribe from all marketing communications.
Keeping only one unsubscribe mechanism in a given interface makes the experience clearer and reduces the risk of conflicting selections.
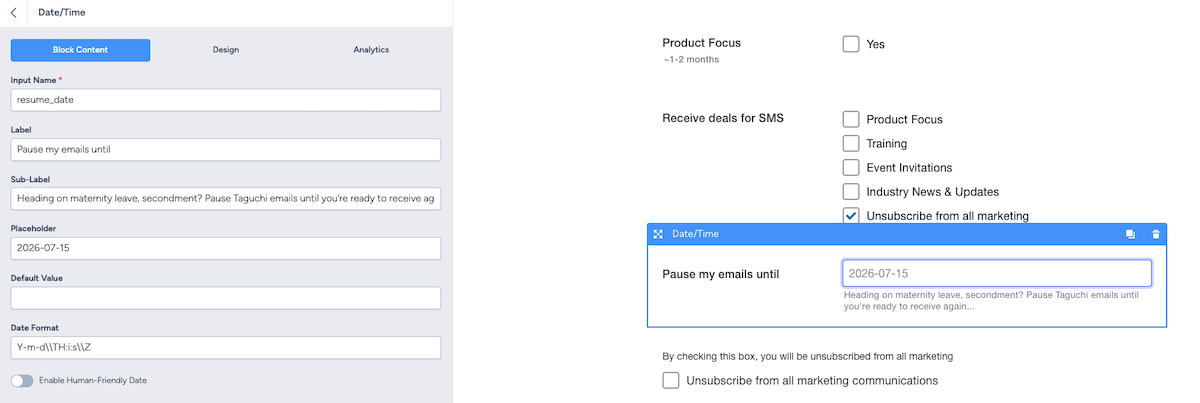
Pause communications options:
A) Pre-populate a 'resume_date' field with today's date + X days.
B) Provide a date picker and the subscriber chooses their resume date.
For the settings that need to be adjusted in the theme, to point to the preference centre page (Custom Unsubscribe) option, please refer to KB: Email Unsubscribe Actions.
💬 For further assistance, contact Taguchi Support.