- Support Home
- Knowledge Base
- Web Forms
- How do I use the V5 web form template to run an acquisition campaign?
Related articles
Need some help?
If you have questions or can't find what you're looking for, we're here for you.
Taguchi Support is available Monday to Friday, 9am - 5:30pm AEDT.
Create New TicketTaguchi Certified Training
Join our free and live online training sessions. You'll benefit from a better understanding of the platform's features and functionality. Plus with Taguchi Certified Rewards, every session you attend, you're not just learning - you're earning your way to some fantastic rewards.
About Taguchi Certified RewardsAPI Version 5
Did you know Taguchi has an API that supports all of the functionality provided by the admin interface and more?
Explore API Documentation
Thanks for your feedback!
How do I use the V5 web form template to run an acquisition campaign?
To create a webform for your acquisition campaign, these are the general steps you take. This is intended as a quick-start overview. Please see the relevant support categories for more information.
Step 1: Log in to Taguchi
Ensure you have logged in to Taguchi, if you do not know how to do this, please see the section 'Logging In' in the v5 User Guide before attempting further steps.
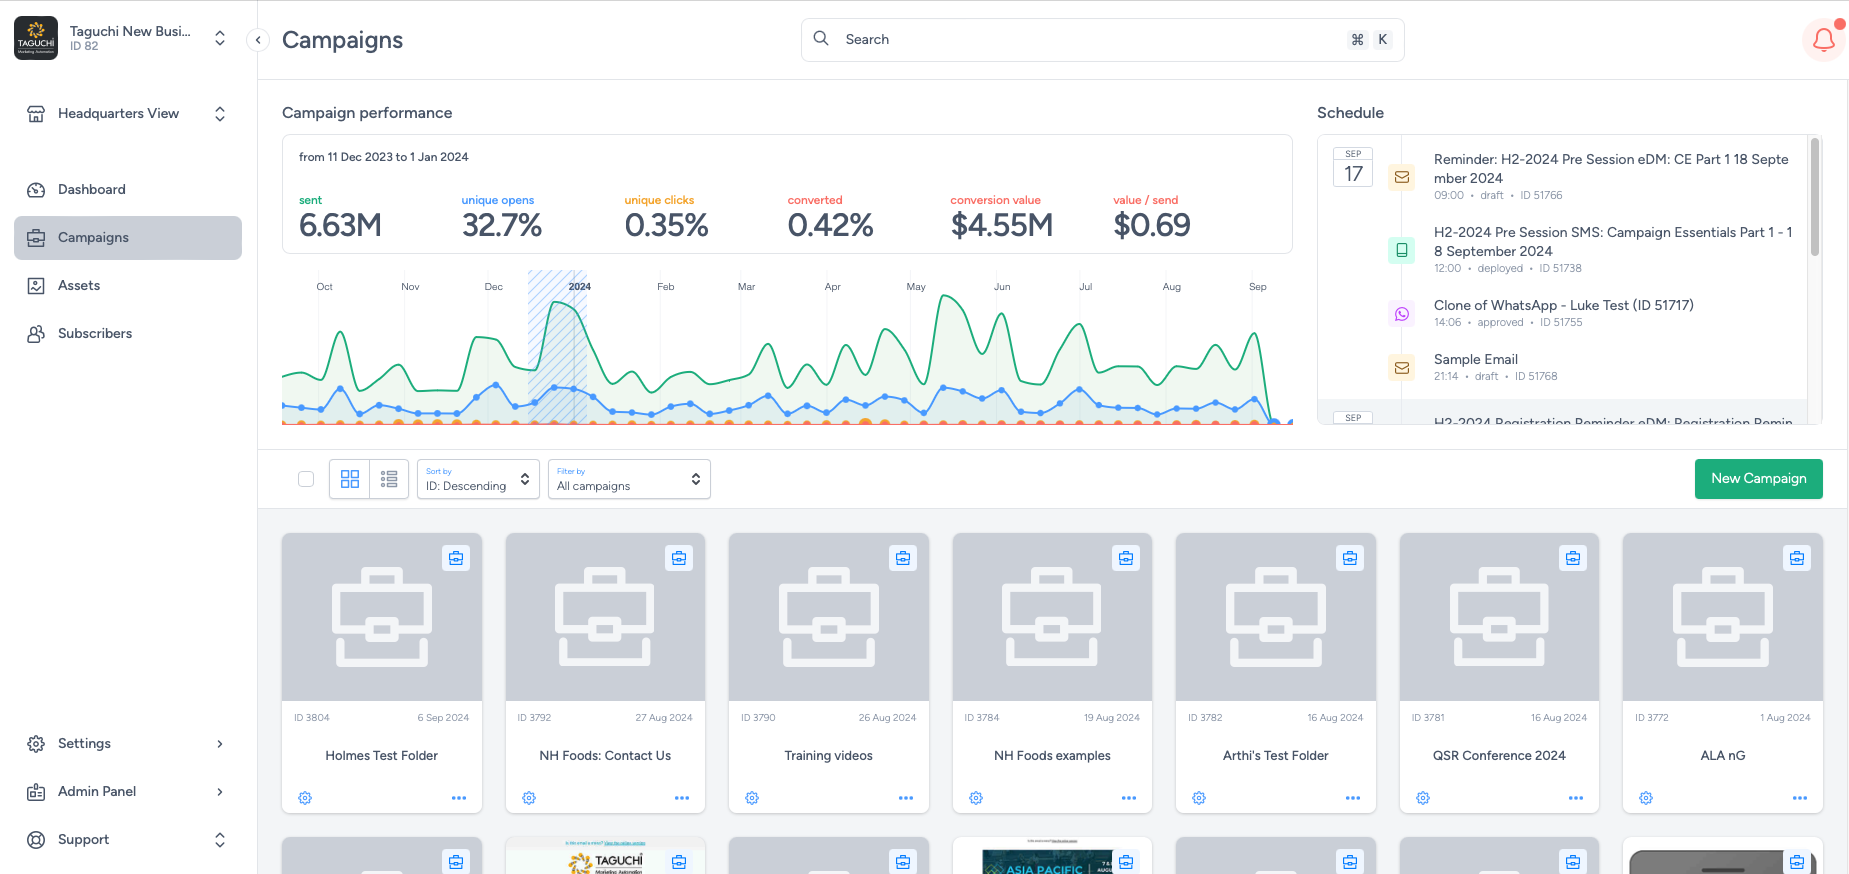
Step 2: Create a new campaign
If you have already created a campaign, skip to Step 3. Click on Campaigns in the menu on the left hand side of the Taguchi user interface. Campaigns are created by clicking the ‘New Campaign’ button located on the right hand side of the Taguchi user interface. This will display a window where you can enter in the campaign details:
- Name: Create a unique and useful campaign name (We recommend using a logical description, as well as any marketing reference codes, job number codes that will help identify the campaign in future e.g. J1257 Launch Campaign.)
- Start date: This is where you can specify the start date/time of the campaign.
- End date: This is an optional field where you can add an ending date/time of the campaign.
- Notes: This is an optional field where you can add notes about the campaign. For example, you might want to add a descriptor about what the campaign is. After you have entered the campaign details, click the Save button, you will be redirected to the campaign section and your new campaign will appear as the first campaign in the top left of the campaign grid.
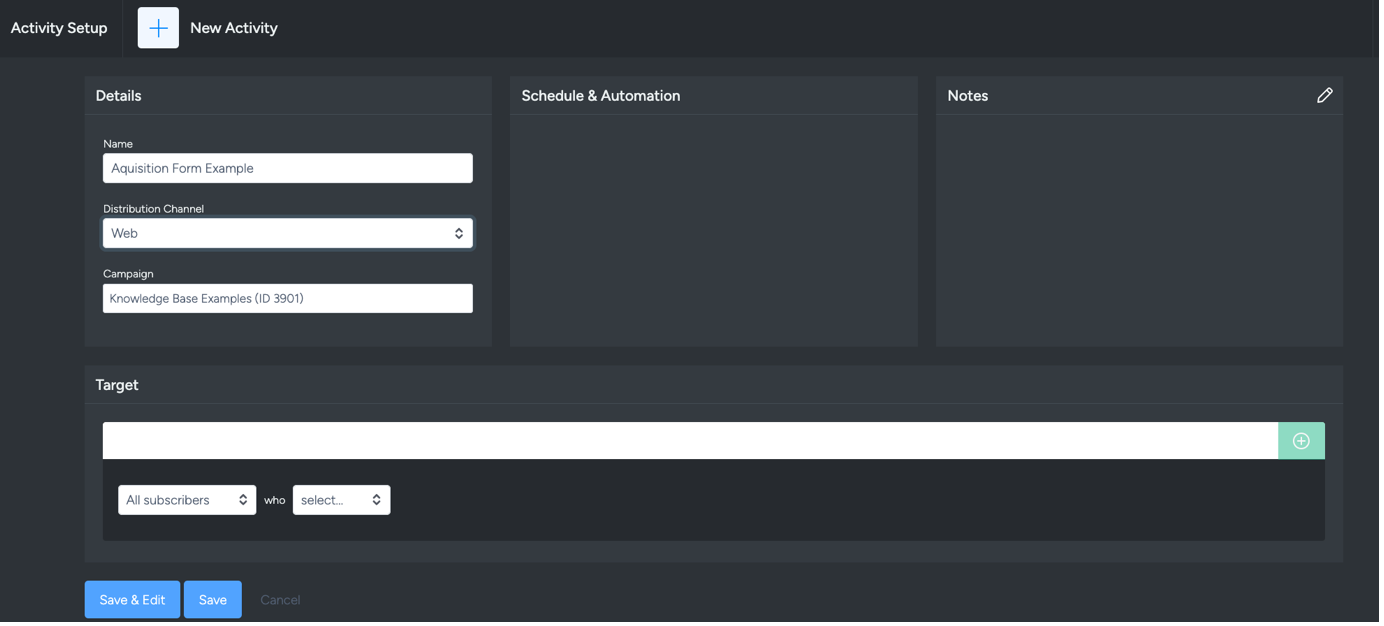
Step 3: Create a new activity
Activities are created within the Campaign detail view. Activities are created by clicking the 'New Activity’ button.

Distribution channel: Ensure your distribution channel is selected to Web to open up the V5 webform template.
Once the ‘Save’ button has been clicked, the activity is created. Click the activity tile and the activity page will load where the setup process begins.
Every activity created displays a unique Activity ID which is a simple way of referencing.
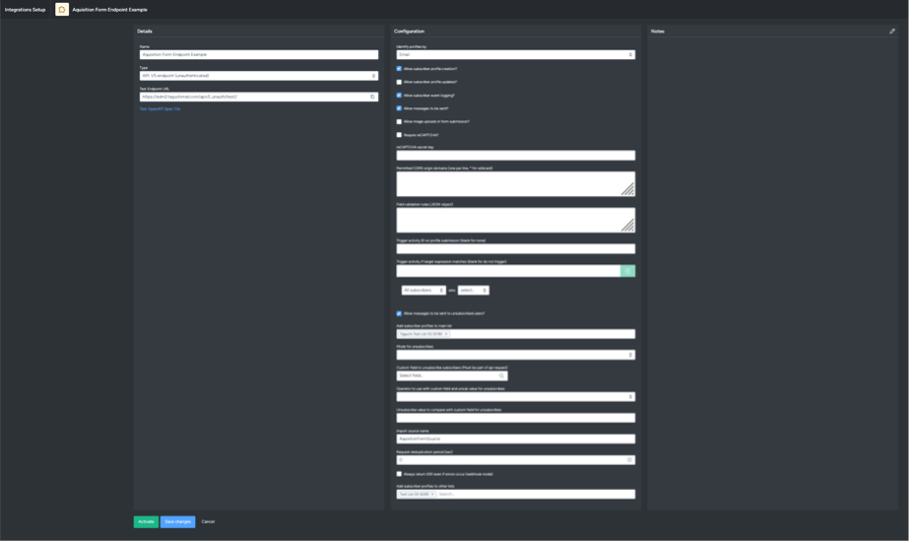
Step 4: Select your configuration and endpoint
Select web form to design a form for users to fill in and submit to your desired endpoint.
If your subscription management process relies on a unique key outside of Taguchi, to avoid creating or updating existing profiles, it is best to first confirm with your Client Success contact on how the subscription management process is set up in your organisation before deciding on your desired V5 unauthenticated endpoint set up for an Acquisition web form. If you are creating an acquisition form that is to be for acquiring brand new subscribers and where subscription management is handled by Taguchi:
Profiles are allowed to be created in Taguchi upon submission and subscribed to the subscriber list(s) of choice.
Example integration fields for this use case:
Once your V5 API integration has been set up and activated, you can now head into your web form activity and select your new integration endpoint via the webform endpoint selections.
For more information on setting up a V5 API endpoint integration, please refer to the article: V5 API Endpoint (Unauthenticated) Integration.
Step 5: Edit the web form content and data fields
See the V5 Web Activity Edit Interface Guide on how to further edit content within the V5 web template and edit template aesthetics using your organisation themes. For acquisition campaigns, it is likely you would like to collect the following:
- Subscriber unique identifier (email or phone)
- Marketing opt in checkbox
- Submission button
To do this:
- Drag in your desired grid rows
- Drag in your desired form fields from the standard default options
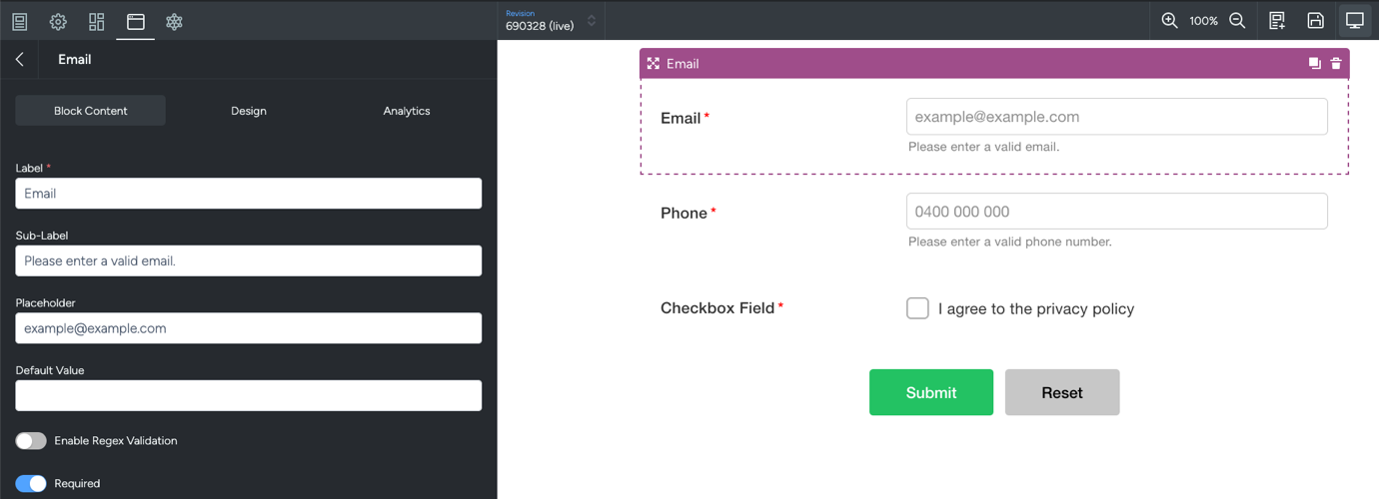
Step 6: Configure your data field blocks
Email field configuration:
- Label – Edit your main label copy displayed in the field.
- Sub-label – Provide small sub text to assist your customers with field input.
- Placeholder – Edit the placeholder displayed to assist your customers with format validation.
- Default value – Ensure this is empty to avoid submission of a default value.
- Enable Regex Validation – Option to apply regex validation if desired.
- Required – Ensure this is applied if field is required for submission.
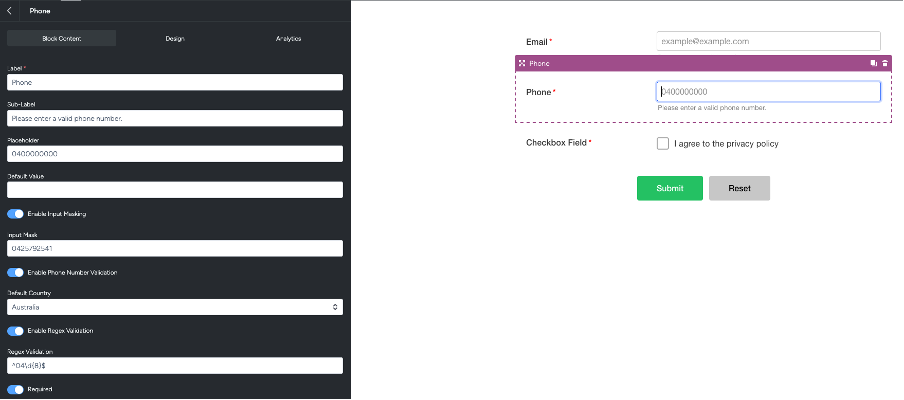
Phone field configuration:
Phone value is also considered a unique key in Taguchi, therefore it will be used to identify new and existing profiles. It is important to consider the format in which your existing data set imports ‘phone’ to avoid creating duplicate profiles. In doubt, please only collect one or the other (email or phone).
Important tip: Ensure your phone field value has proper regex validation rules in place to maintain data integrity.
For example, to ensure customers only input Australian Mobile numbers within the format of "04" and is followed by exactly 8 digits, the regex validation to use is: ^04\d{8}$
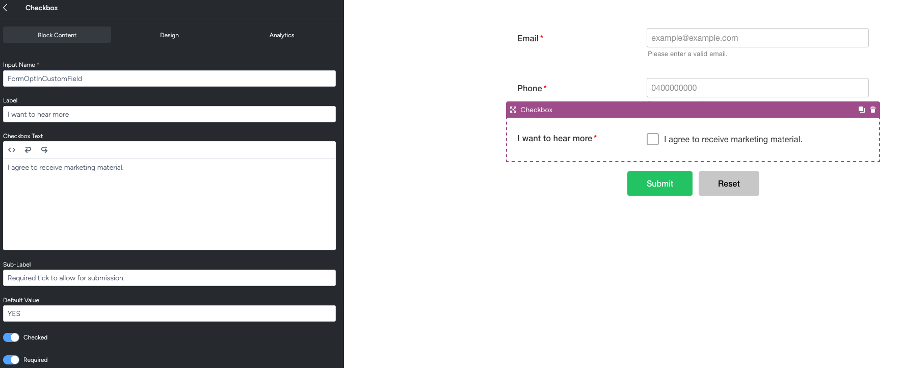
Checkbox field configuration:
- Input name – This is the custom field that will save to customer profiles.
- Label – Label your checkbox to define the field.
- Checkbox text – Apply additional copy to your checkbox field.
- Sub-label – Provide small sub text to assist your customers with field input.
- Default value – This is the value saved within the Input Name custom field.
- Checked required – Ensure this is applied if field is required for submission.
- Required – Ensure this is applied if field is required for submission.
Example set up below:
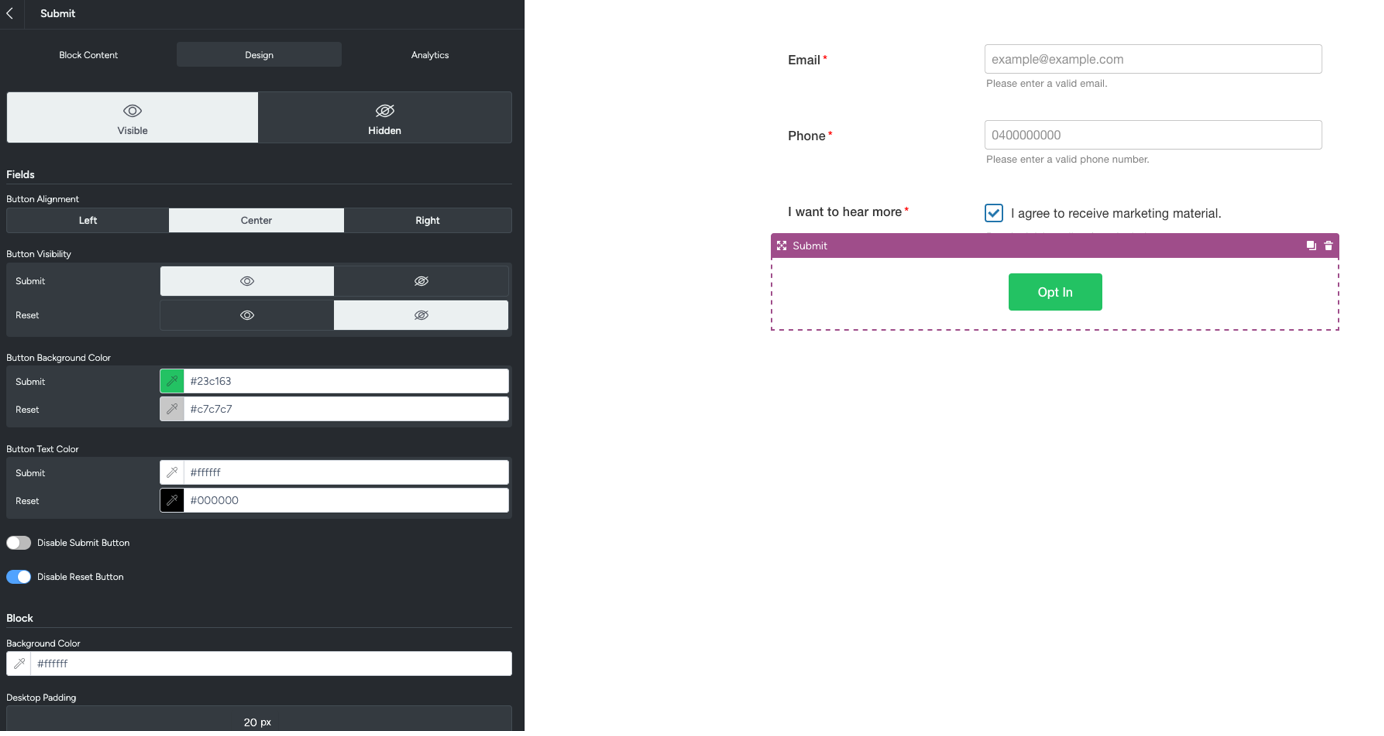
Submit button configuration:
Block content
- Button Text – Edit your copy in your button(s) here
Design
- Edit button aesthetics
- Hide / display buttons
- Disable / enable buttons
Analytics
- Update your GA link tracking fields
Example set up below for opt in single button:
Step 7: Approving and sharing your form
Once you have updated your form fields and completed the configuration, you can now begin testing your form submission.
- Approve your form via the ‘Approve’ button on the top left corner
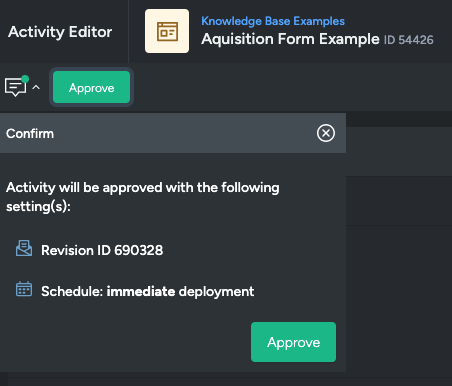
- Share or embed your webform via the ‘View Webpage’ button options once it is approved.
Tick “personalised” if you would like to apply the form via an activity sent from the Taguchi platform (this will ensure all the customers pre-existing data fields are already populated for them).
Important note: Please run thorough testing on any created web form’s before sharing to customers to ensure your form is set up correctly for your use case.
💬 For further assistance, contact Taguchi Support.